
Dad bought me two cool tees from Questacon in Canberra on one of his trips recently. He's a bus driver so goes to all rad places. He knows I love Sheldon from Big Bang Theory, so he bought me some nerdy t-shirts. I'm not claiming to be an all-encompassing nerd. My nerdism is strictly DC Comics and Sci-Fi. Regardless, I do love the shirts Daddy got me1 He also knows that I love to cut up my t-shirts, so he always buys them extra large with plenty of room for snipping and stitching!

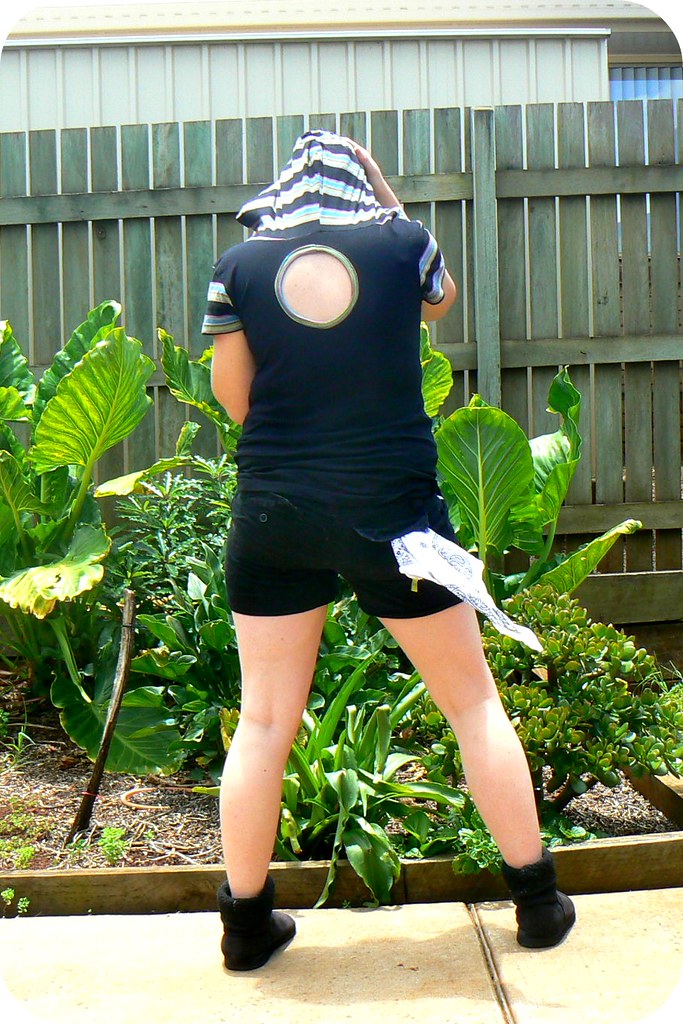
This is what I made using an extra shirt for the contrast! It has a surprise back!
Click below to read the TUTORIAL!
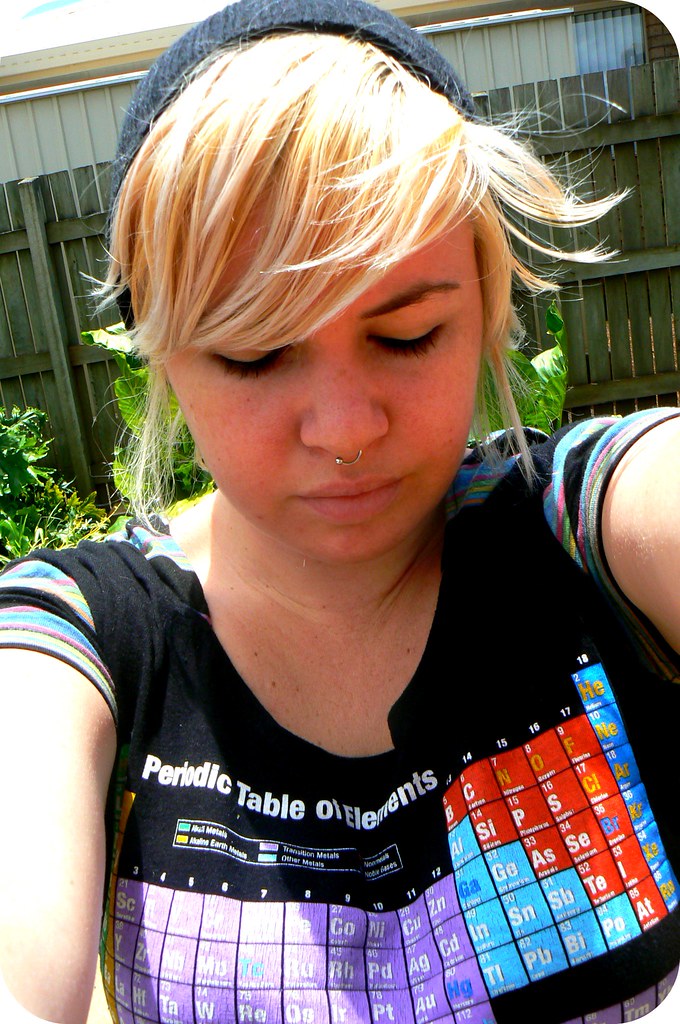
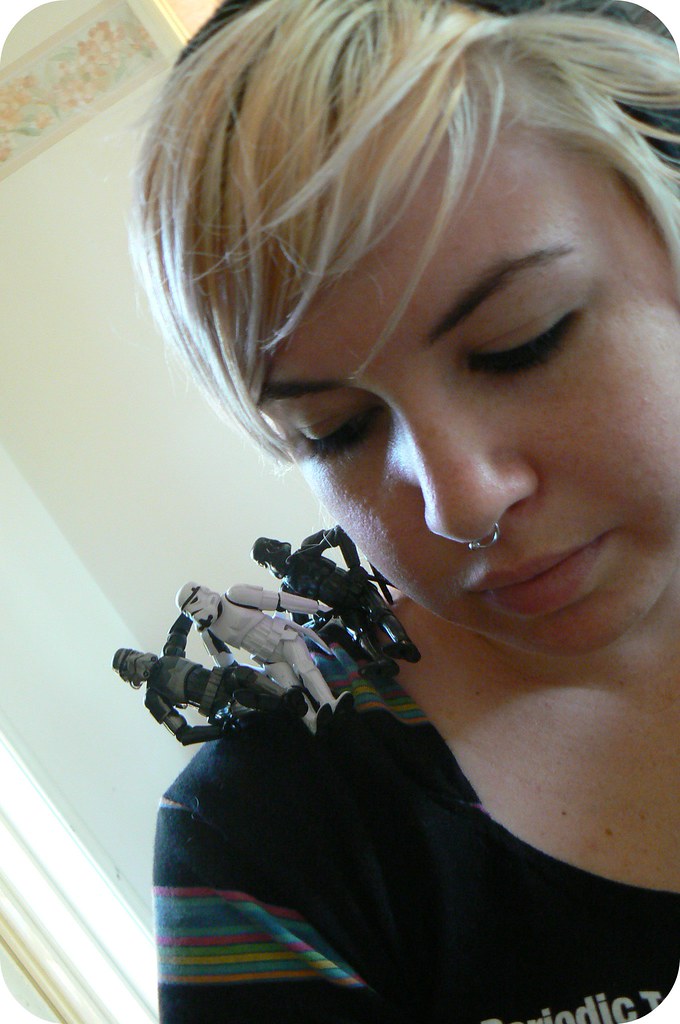
This is one of the ones he got me, a black t-shirt with the Table of Elements across the chest. I found another shirt I scored from an opshop that had rainbow-coloured stripes across it. It wasn't an exact match of colours, but it was good enough for me!

As always, get a shirt that fits you well! Fold it in half and lay it over the t-shirt, cutting out a front and back + seam allowance!

I didn't make the new shirt have quite such a scoop neck, as I'm adding a hood.
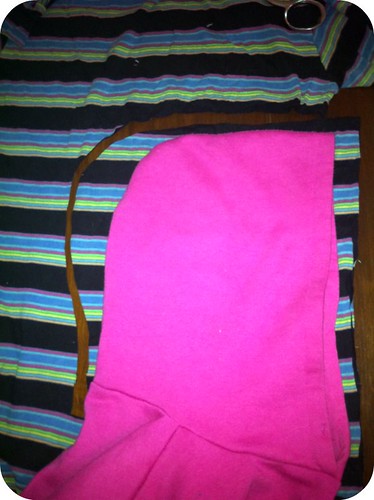
From the second t-shirt, I'm cutting out a hood. I used a hood from one of my favourite hoodies for the shape. If you want it to be precise, you'll need to measure around the neck of your tee and the base of the hood to make sure it will fit. It's ok if it doesn't though. If the hood is too big you can always overlap the hood at the centre front, if it is too short you can just fold over the front of the neck and hem it [which is what I did] or you could add lace or a bow.
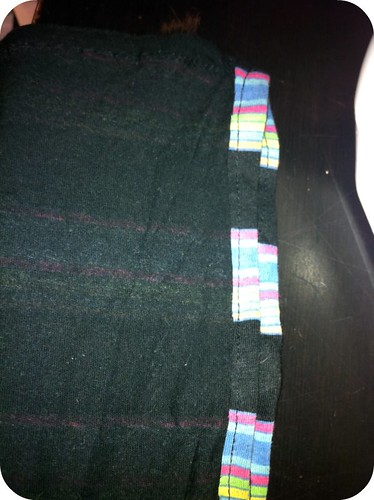
Awesome me forgot to take a photo of the sleeves. I used the existing sleeves from my stripey tee as the new sleeves for the new tee!
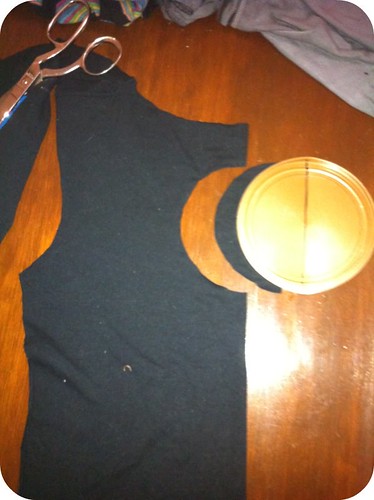
I used the lid from an old formula tin, folded it in a half a little to mark the centre, then folded the back of the shirt too and traced around the lid. I cut it out and voila, a perfect circle.

Cut a strip of fabric, mine was about 6cm wide and as long as the circumfrence of the keyhole. I didn't worry about a seam allowance on the ends, because I found if the binding is a little smaller than the hole, you can stretch it and it kinds of sits flatter.
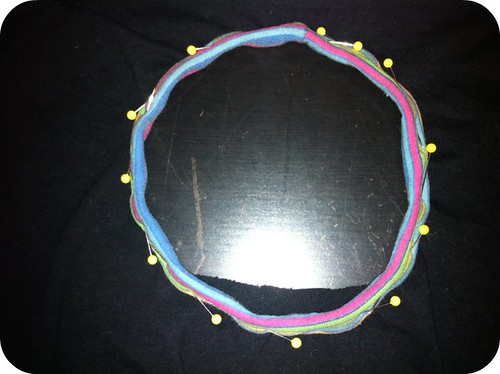
So stitch the ends together so the strip is a loop, then fold it and pin it, folding the raw edges under. Take your time with this, you do want it perfect!
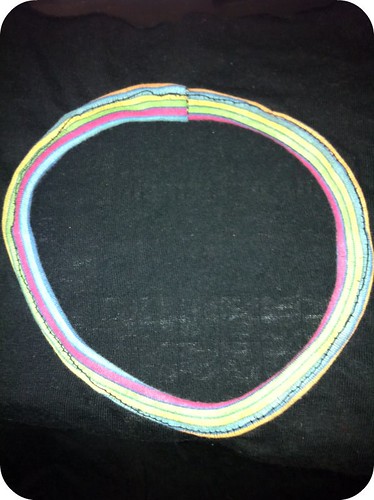
Stitch it!
Wow, this photo looks bad. I swear it looks rad IRL... right?
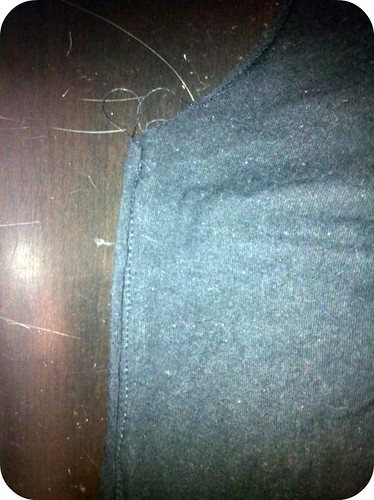
Stitch the side-seams. If you haven't already stitch the shoudler seams too. I left my existing shoulder seams there so I didn't have to worry about this second bit.

Attach the sleeves

Place the hood pieces so the right sides are together and stitch along the top and the back.
Fold the front edge of the hood over and stitch to hem it

Pin the centre back of the tee to the centre back seam of the hood and stitch the hood to the shirt.
THE END!


 • www.max-california.com")

8 comments
I know what I'm making next! Also, major LOLZ that you can't find Hieronimo's head.
ReplyDeletewohoo, awesome tutorial. thanks!
ReplyDeleteSweet! Gotta try this.
ReplyDeleteAnd I like the periodic table shirt!
Great tutorial Max! I love the shirt as well. :)
ReplyDeleteLove this idea!
ReplyDeleteSuper geeky! Very cute!
ReplyDeleteVery cool! I don't know if I would go for the keyhole back - I am one of those people who feel cold very easily - but I definitely like your version! And anyway, geek t-shirts rock the world! :)
ReplyDeleteCheers,
poet
This is pretty cool!! Im loving all of it!!
ReplyDeleteI love comments!