

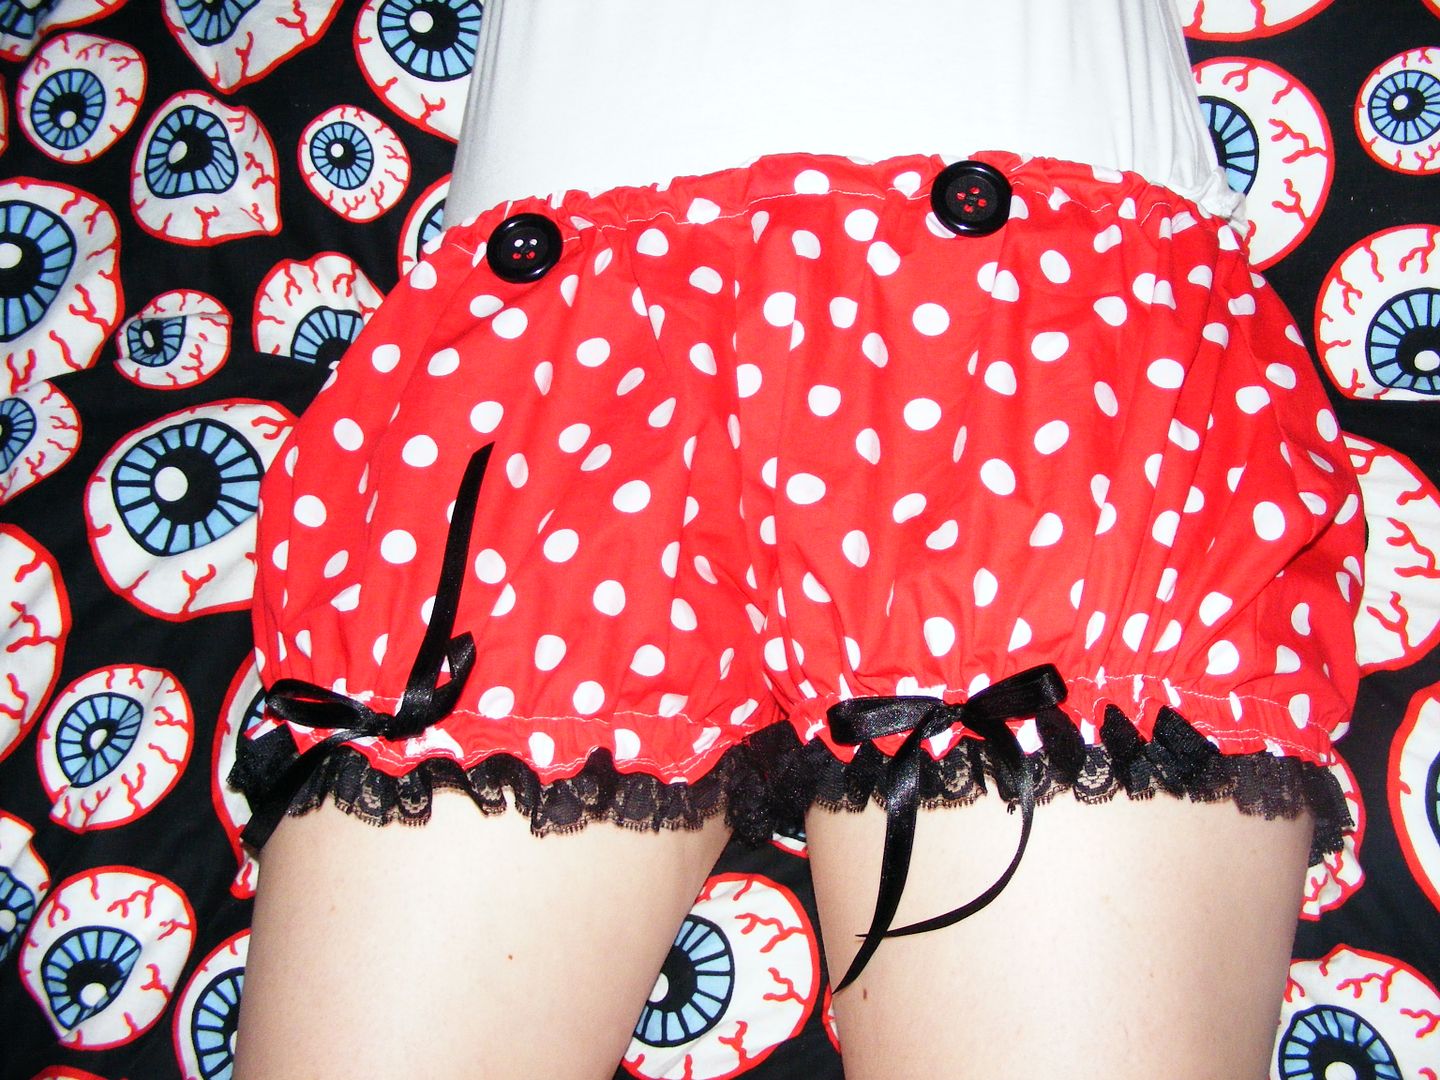
I started these last night after I posted last, and finished them up this morning.
They are pretty easy, but there's a few things you can do that makes them even easier! I'm cutting and pasting what I wrote down as I did each piece. The basic construction of the bloomers is rather easy, just doing the elastic and embellishing is all up to you!
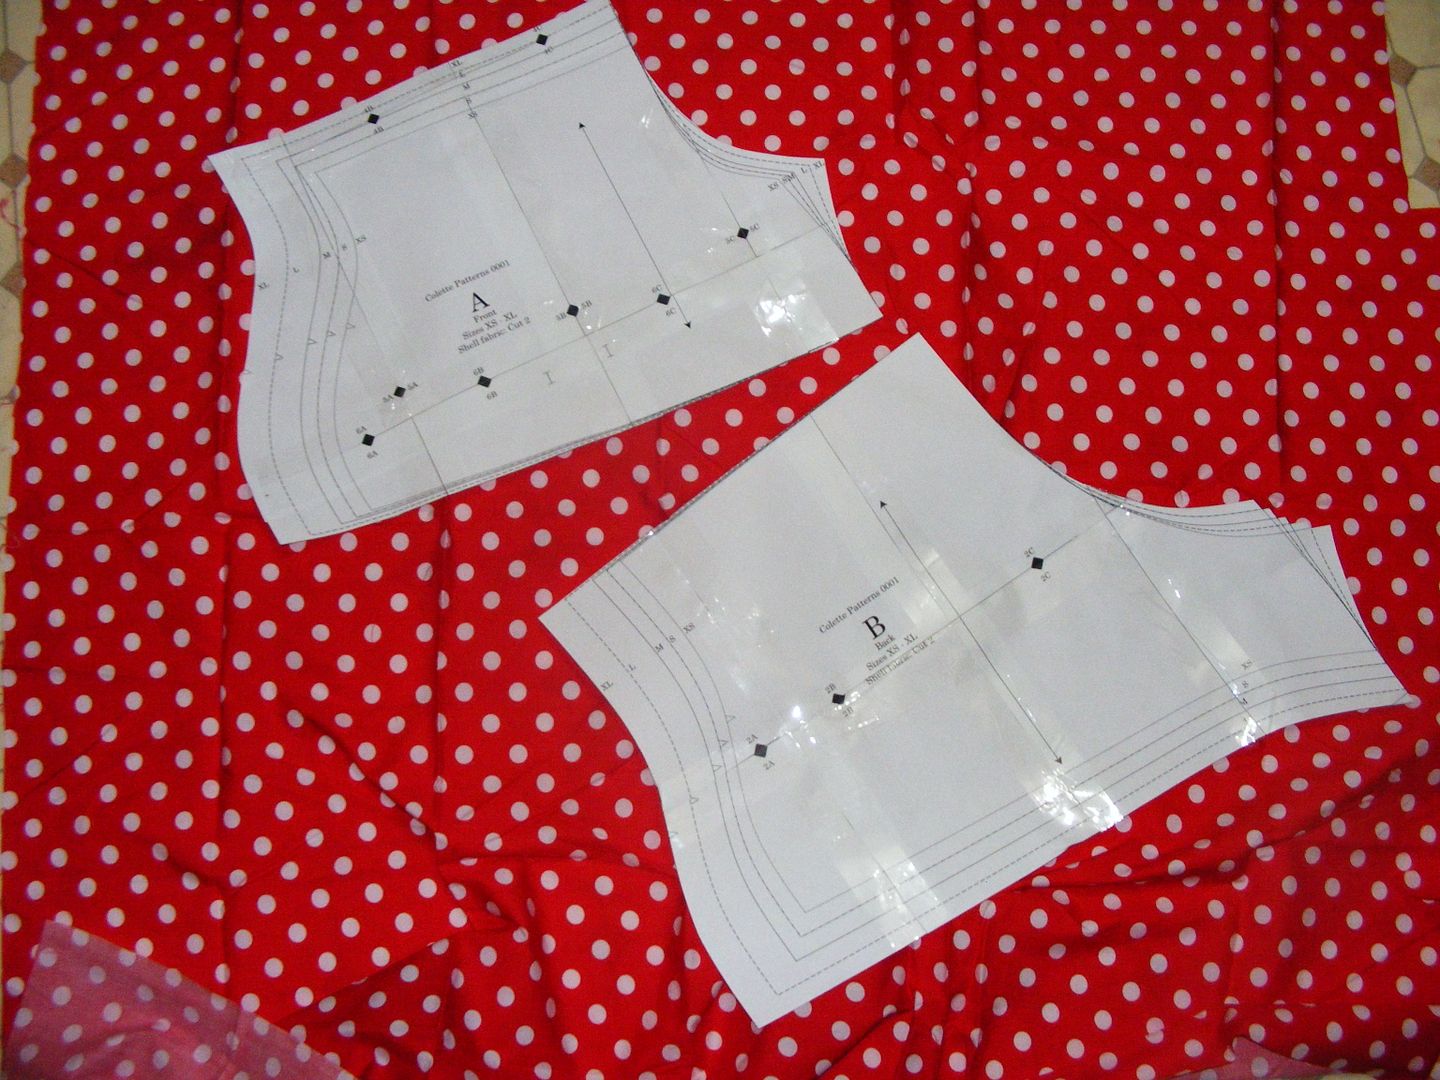
After printing out TWENTY TWO pages, I realised you don't really need to print out that many, just the pages with the pattern on it ((7-22))
Lay all the pieces out, matching up the triangles and the numbers. Do it on the floor or on a big table, don't do what I started doing and do it in front of the computer. It won't work and it will be annoying! About 15 minutes of cutting and using about 10 000 metres of sticky-tape, I finally had my patterns!
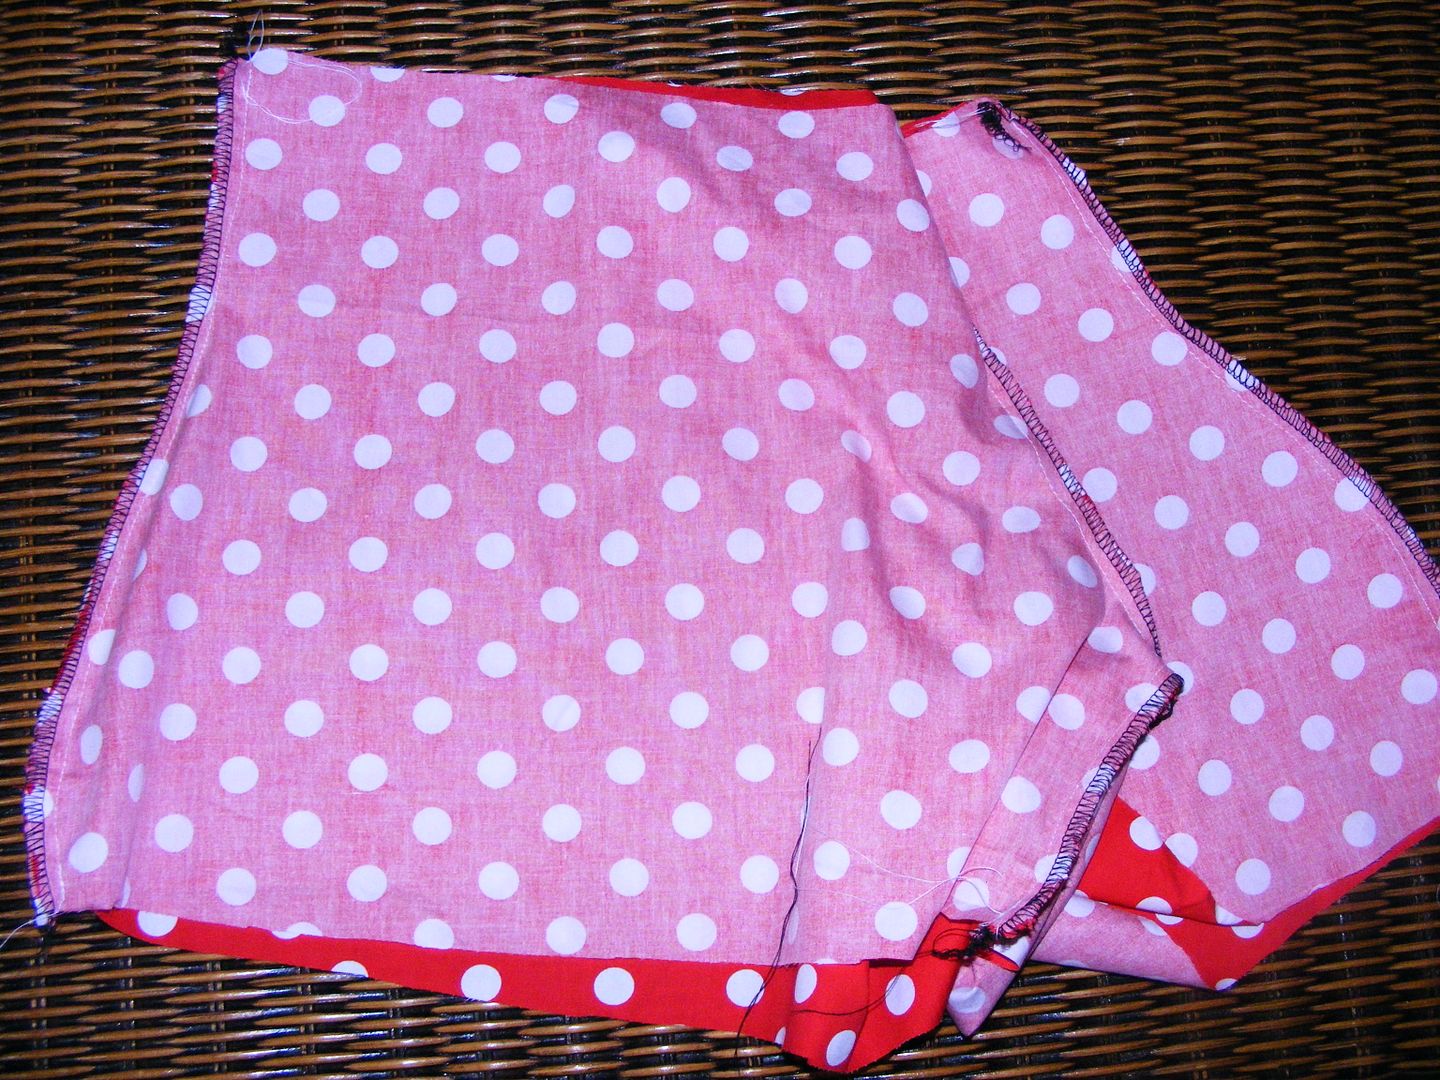
Here's my fabric choice. I saw on the original site for the pattern a girl commented saying she had made Minnie Mouse ones! Well I remembered I had some of this fabric left over from a vintage swimsuit I made for a customer, and decided this would be perfect for it!
Fold your fabric in half and pin the pieces on. Or weigh them down with heavy objects and trace around them. Cut out your pieces, making sure you have a pair for the front and a pair for the back!
This pattern will be pretty good for a beginner, because it's just a fancified basic shorts pattern!
First off, put your fronts right sides together, and your backs right sides together. Stitch the curved line for both sets. Overlock ((or zigzag if you don't have an overlocker))
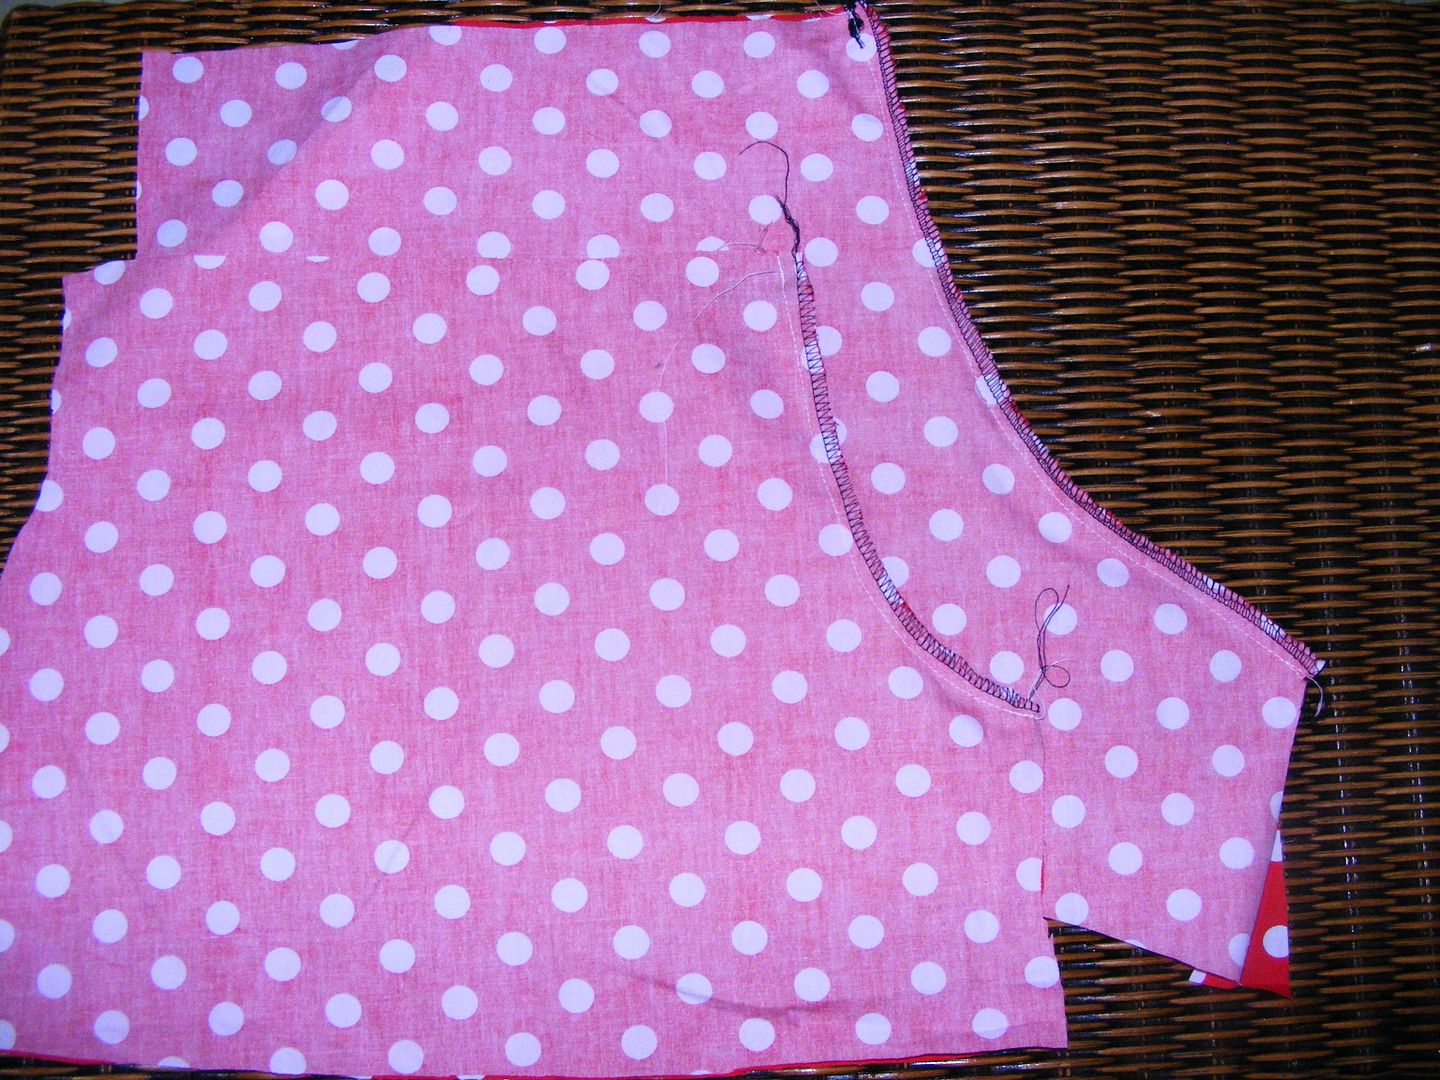
Then, with right sides together, sew the fronts to the backs at the crotch ((the short little bit)). Overlock.
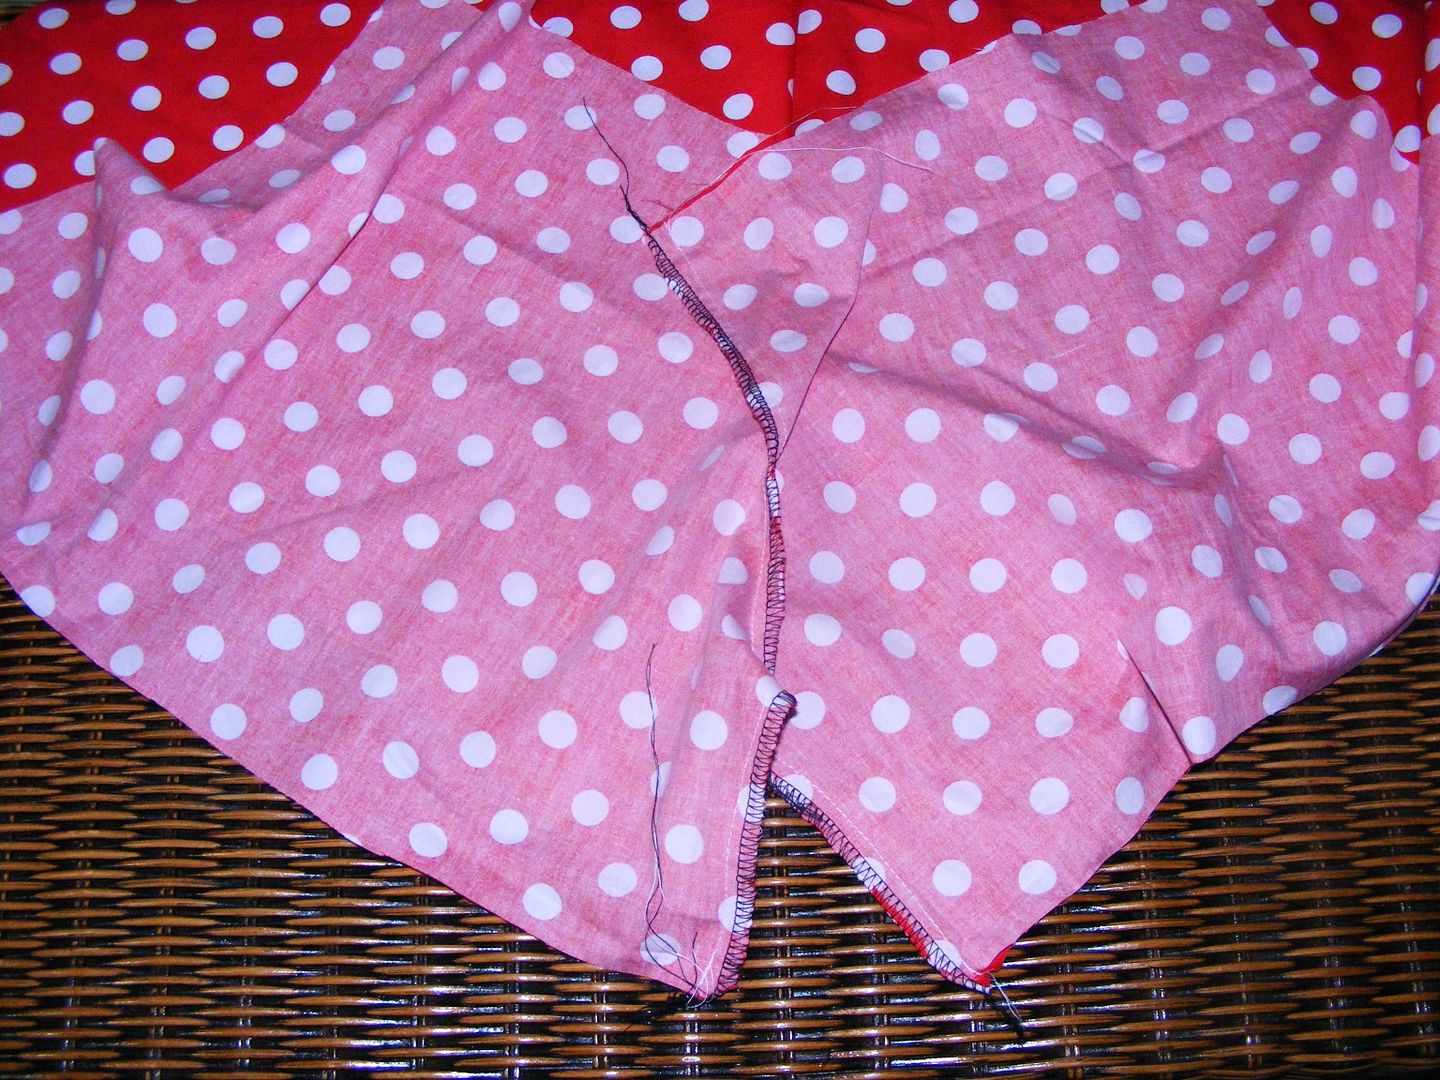
Stitch up the sideseams :) Overlock.
Ok, here is where I change things up a bit. You can follow the instructions with the pattern, but I found it too tedious and kinda difficult.
I did do the buttonholes, despite the fact I HATE buttonholes with a passion. They hate me too, so it's mutual.
Here is what I did, see if you like this idea better :)
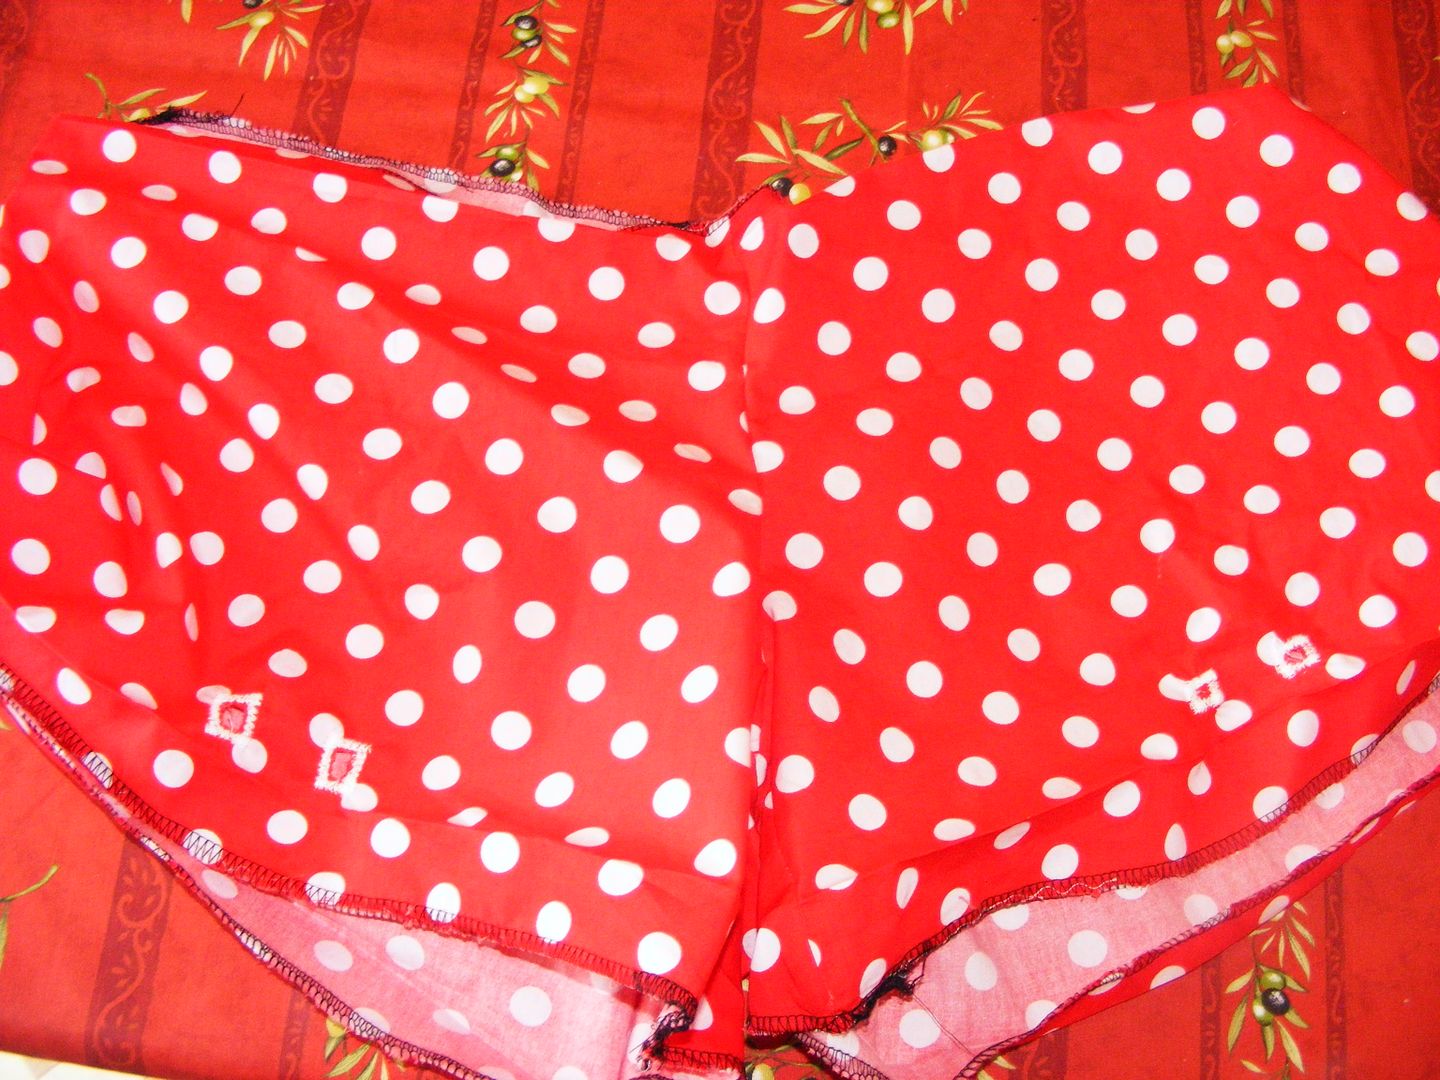
Overlock the leg openings and the top opening. Fold these over about an inch and iron. Trust me, ironing as you sew really does help! Sometimes I'm too lazy, but if I do iron I am always grateful to myself!
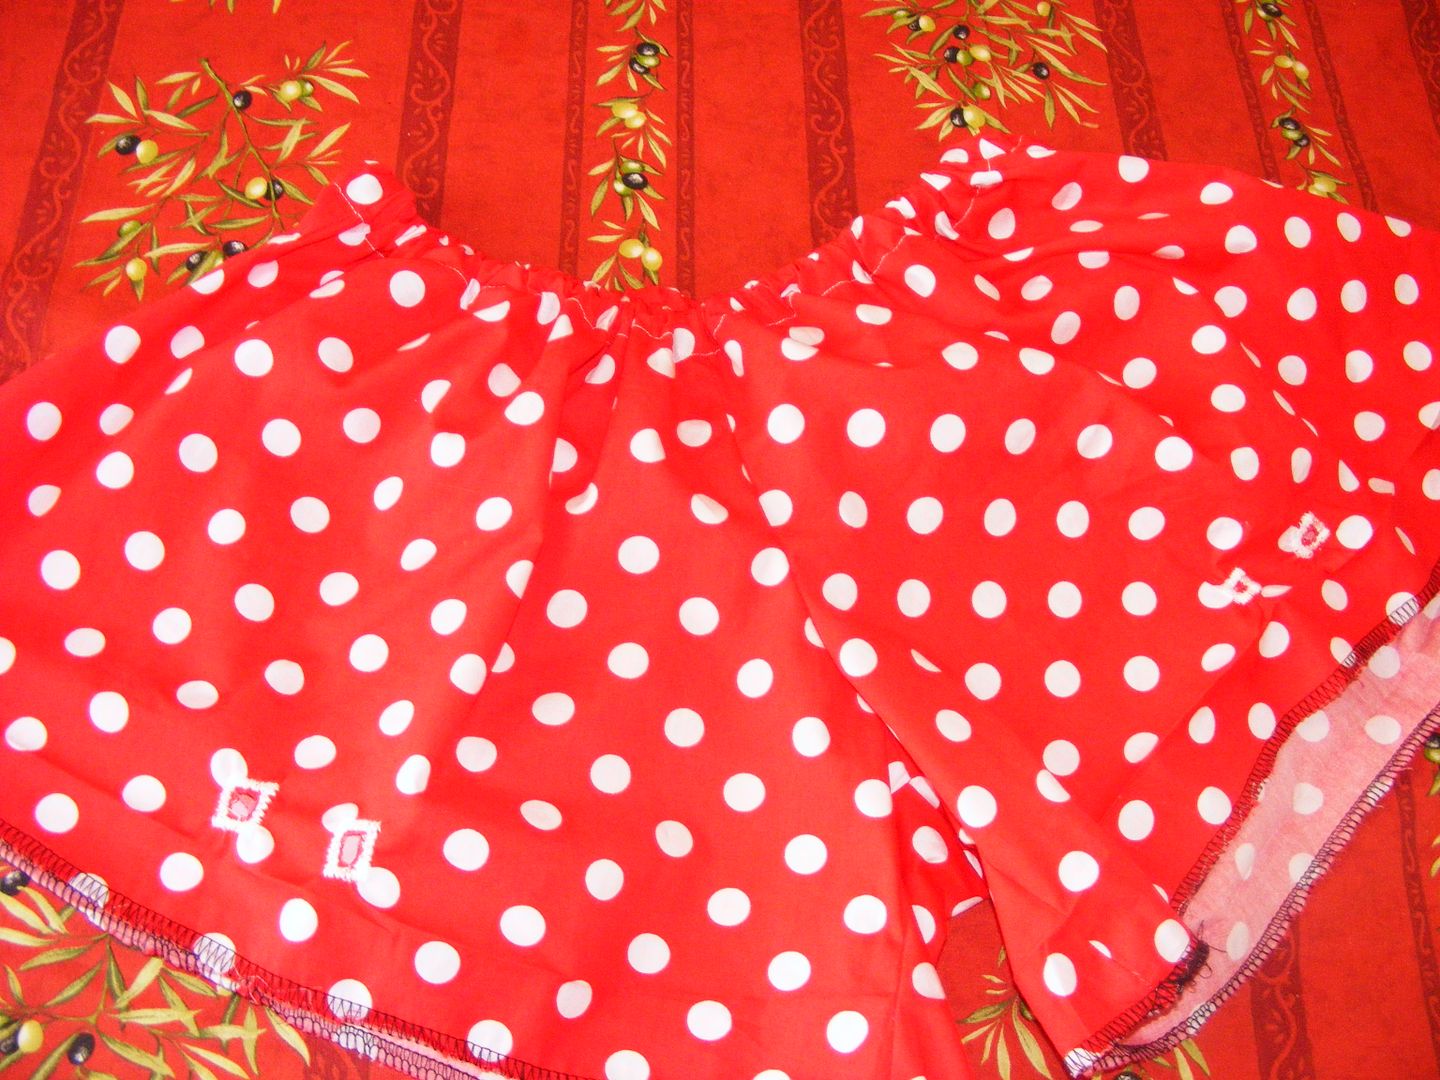
Measure around your low-waist ((or wherever the bloomers are going to sit on you)) with elastic. Stitch the ends together so you have a loop.

Now attach it to the waist band. Slip it underneath the ironed-over bit and stitch over the overlocked bit. Be careful not to stitch over the elastic, you need it to stretch the whole way around.

With the leg-holes, do one line of stitching with the presser foot against the fold of the fabric. ((IF YOU ARE ADDING LACE ADD IT TO THIS STEP!))
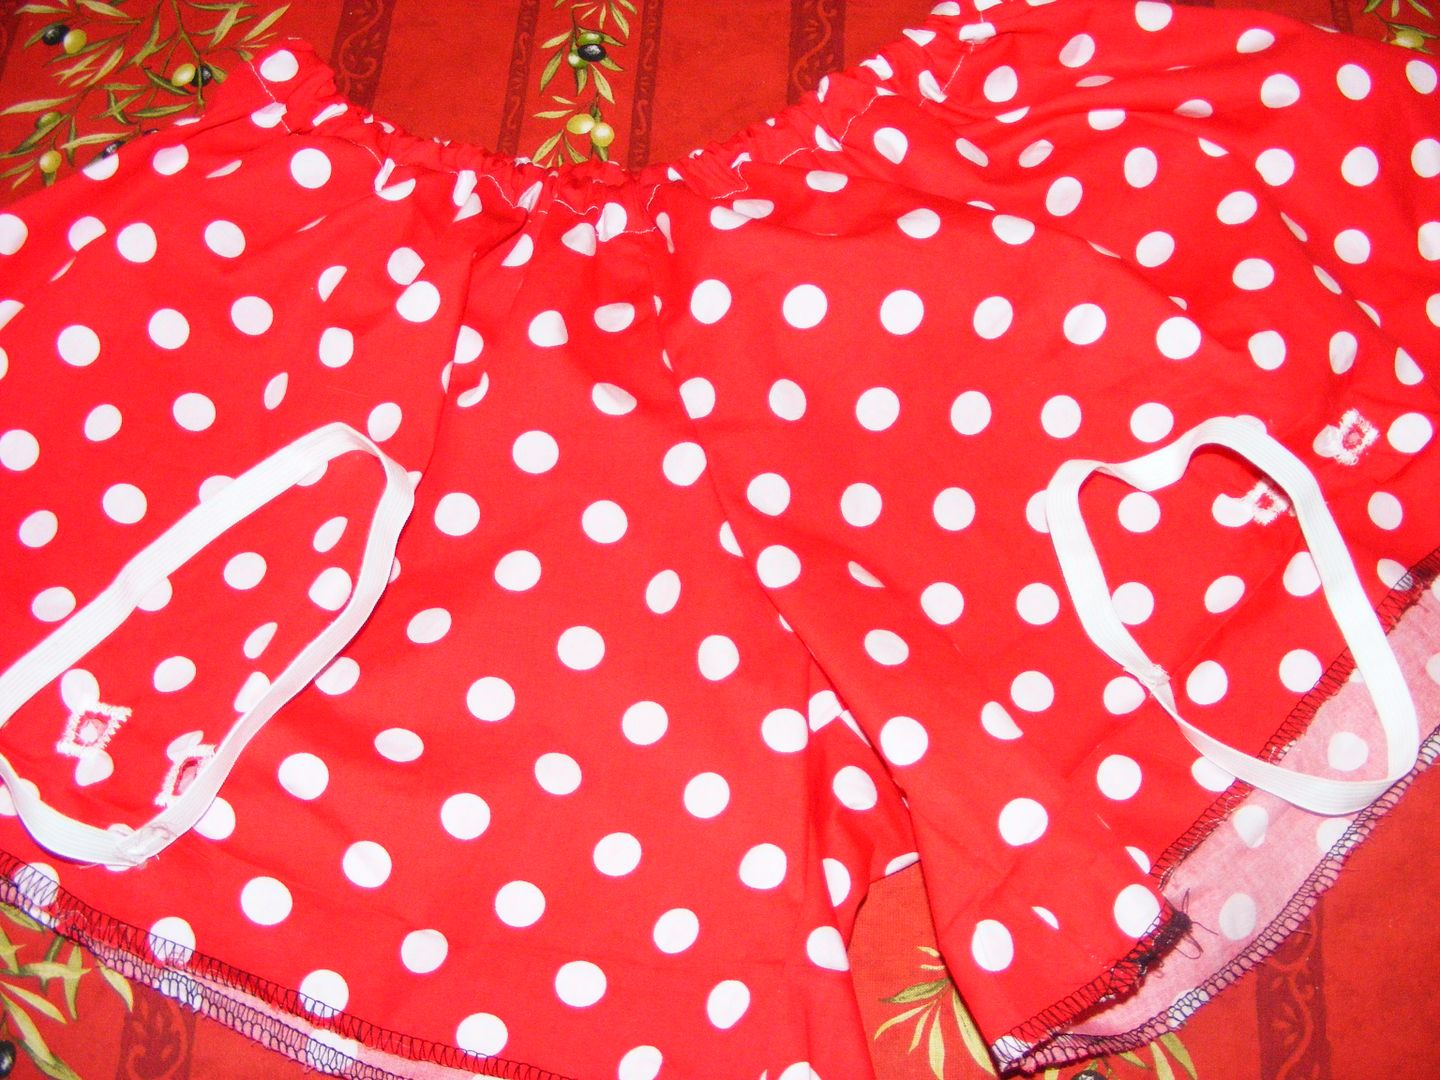
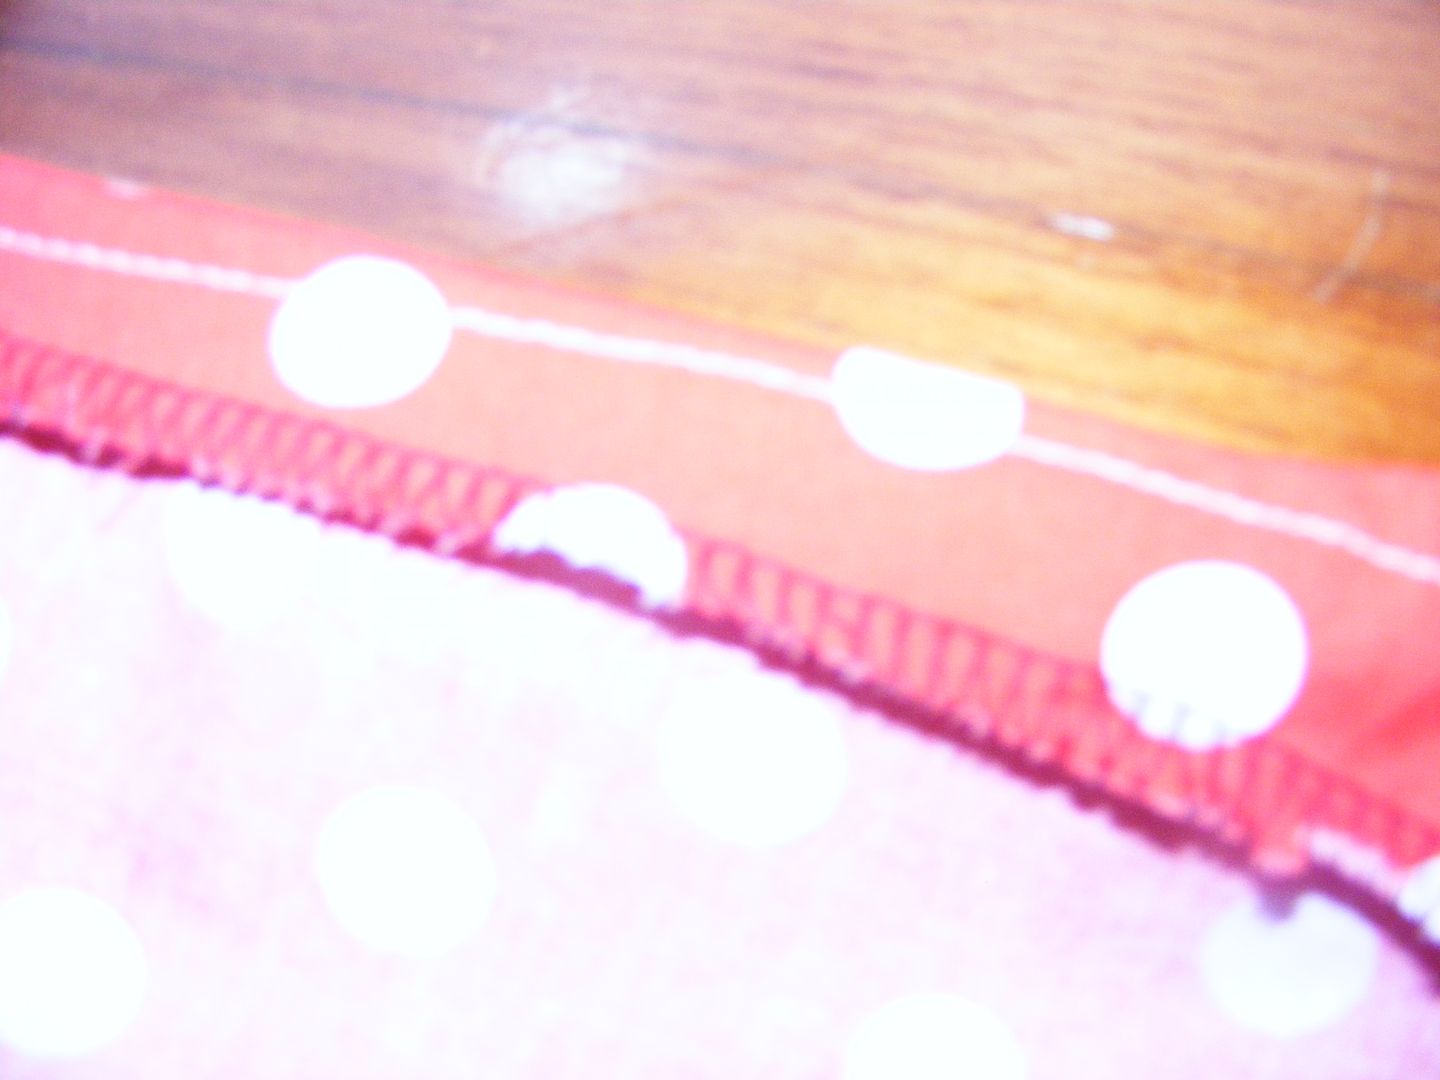
Now do the same like you did to your waistband, push the elastic up against the seam and stitch on the other side of it. If you run over the elastic, no great biggie, just keep stretching the elastic out and carry on. You'll want to make sure you don't do this too often otherwise the gathering will be weird.
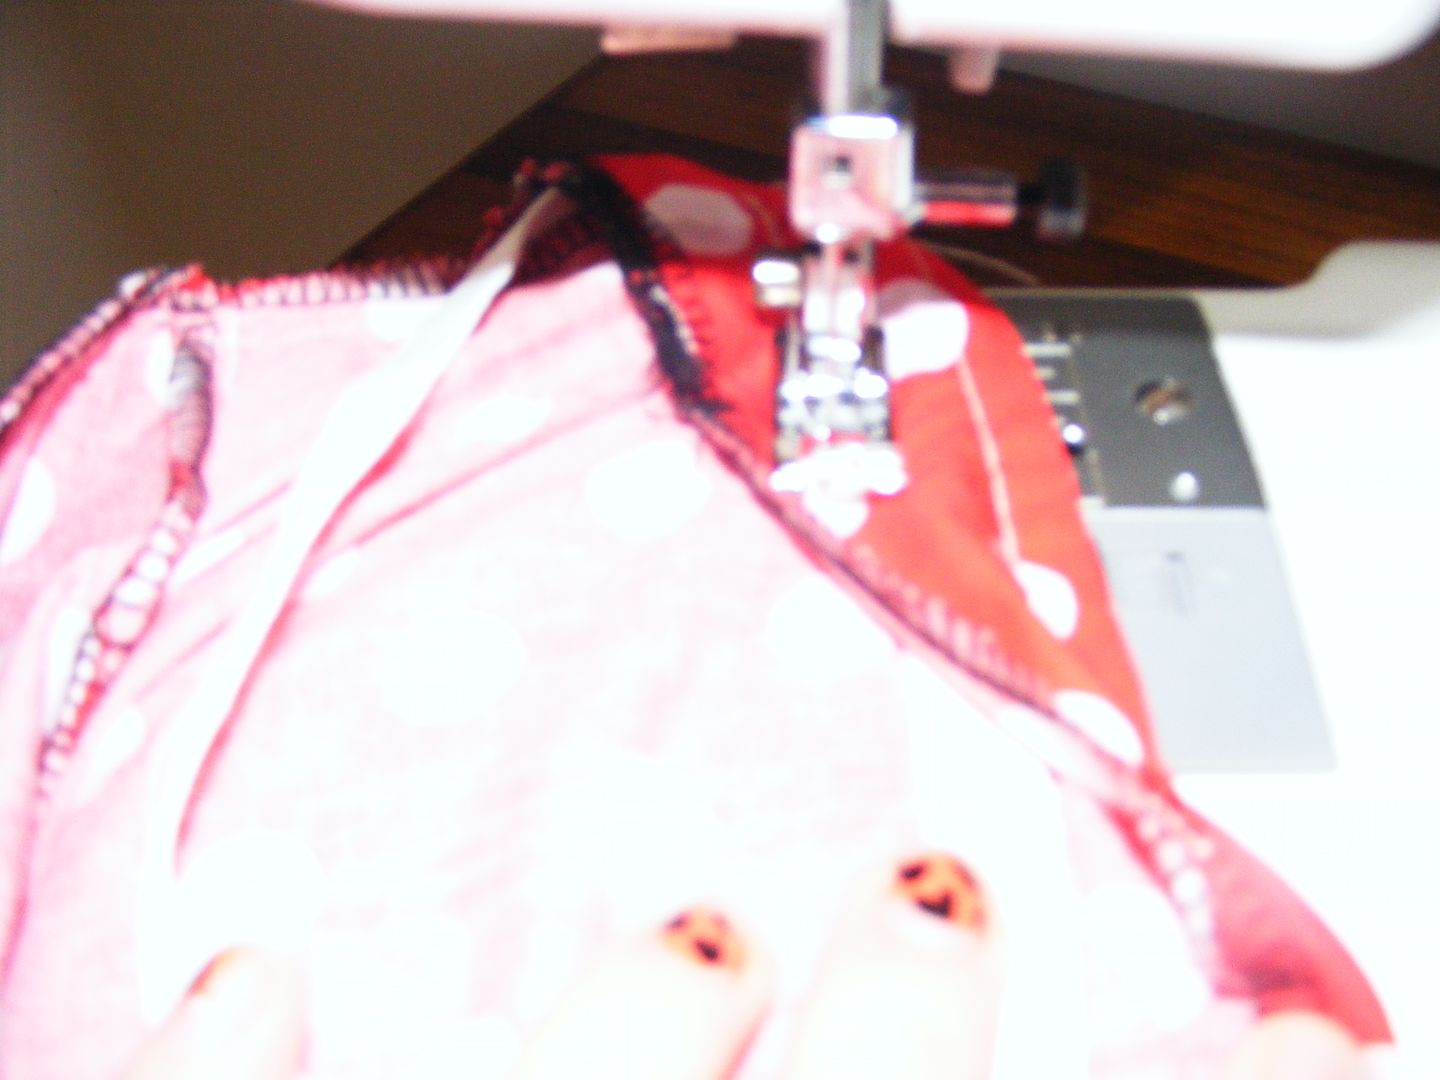
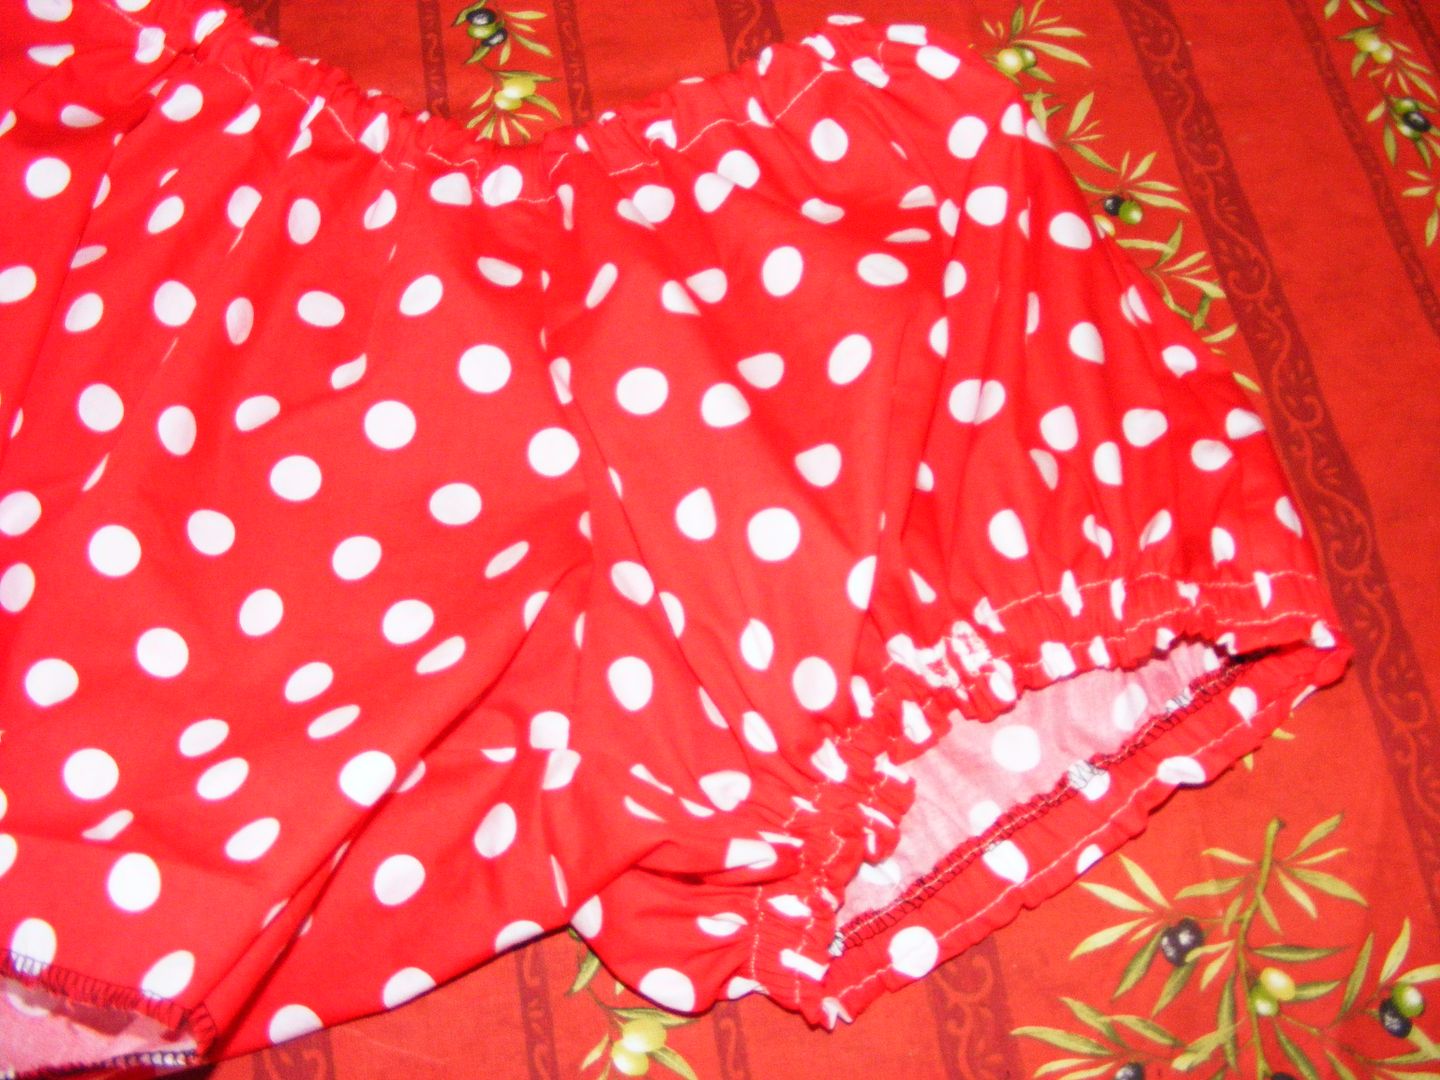

I added some lace at the last minute, stitching over the first line of stitching I did on the leg-holes. In retrospect, I'd probably do this at the same time as I did the first line of stitching if I could do it again!

Then embellish however you see fit. I stitched bows + buttons to the fronts :)

So what's stopping you? I used size L for myself, and it only used up about a metre of fabric!


 • www.max-california.com")

4 comments
These are so adorable! I'm definitely putting them on the top of my "to do" list.
ReplyDeleteThose look great! If I have a material that I like for the pattern I'll definitely make them.
ReplyDeleteSo sweet ^_^
ReplyDeletethese are really great, think i'll have to make a pair asap! thanks for the tutorial, great blog-i'm following! :) x
ReplyDeleteI love comments!