
Little Monster's friend Little Genius came over today for a surprise visit. He'd been playing in the mud so his mummy had given him a bath, then put him in his pjs and gumboots [it is still raining!] and wrapped him up in a cute hooded dressing gown!
I've been intending to make my little honey child one of these since he was BORN, and I got around to it tonight [triumphantly ticks this off list]


Anyway, here we go!
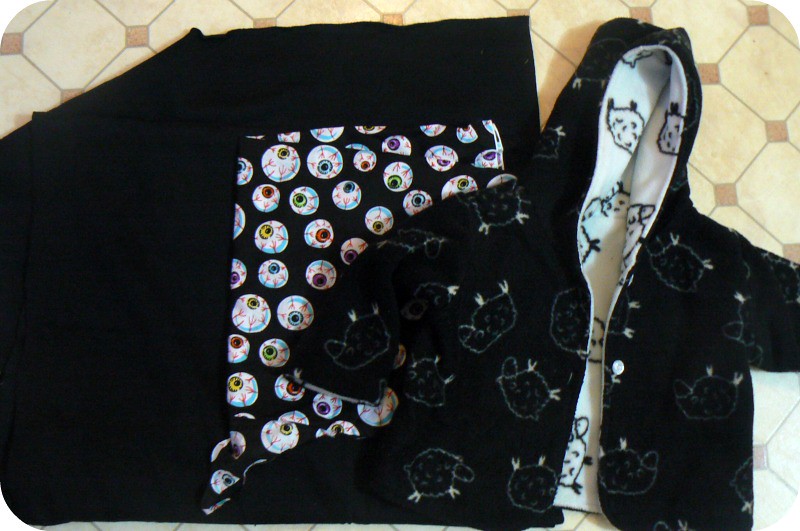
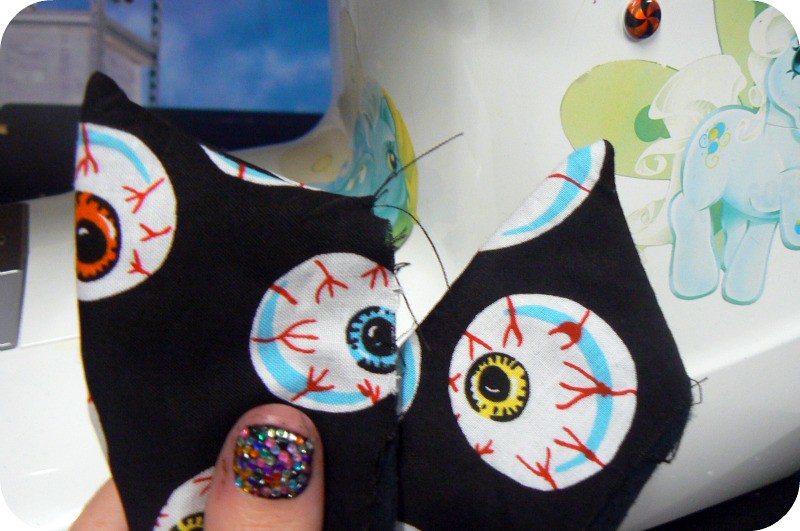
I used a hoodie that Vince pretty well, some black fleece and some rad contrast fabric. You don't need the contrast fabric. It doesn't even have to be cotton, a different coloured fleece will probably be easier, but I just used what I had on hand!
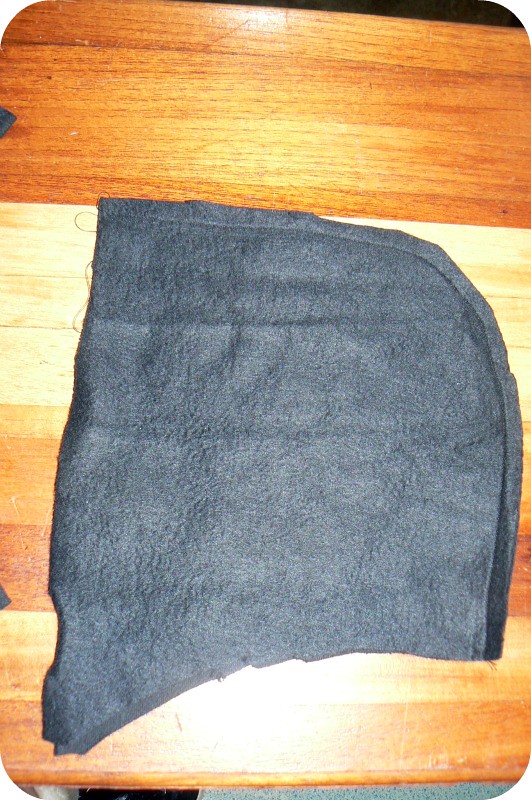
Using the hoodie as a pattern, cut yourself out a hood. You can make yourself a pattern first by tracing around each piece of the hoodie onto paper, but I was fairly confident so I just went straight onto the fabric.

Don't forget seam allowance!
Do the same for the sleeves.

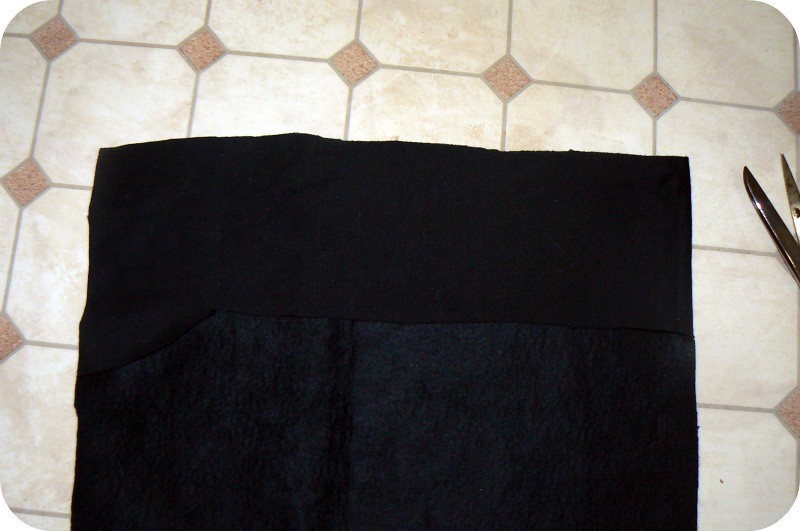
Do the same for the front of the dressing gown. I made my longer, and also extended the front over so it was 1.5 times what it would have been originally.

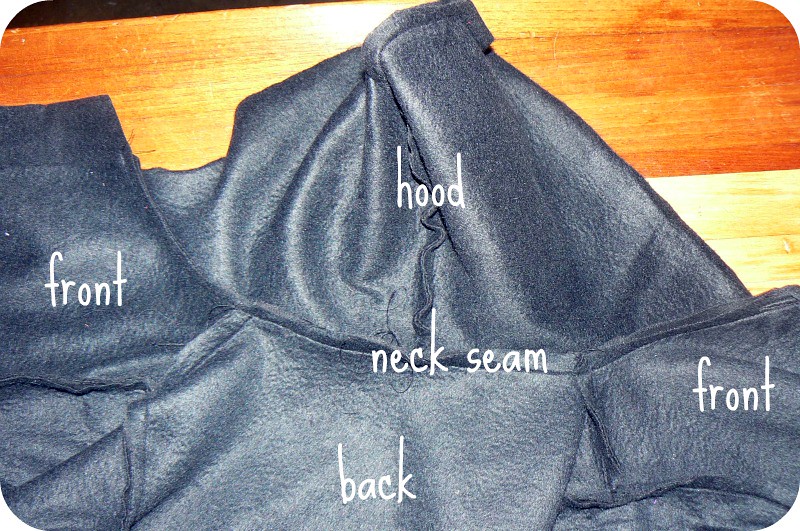
Trace around the back of the hoodie for your back piece, but remember to match up the length with the front pieces!

When I place the front of the robe over the back, you can see how far it overlaps the centre line.


Mine is about 10cm wide because I am folding it in half. Cut a tie from the fleece and one from the contrast fabric [if the contrast fabric is not thin, don't worry about the fleece tie].

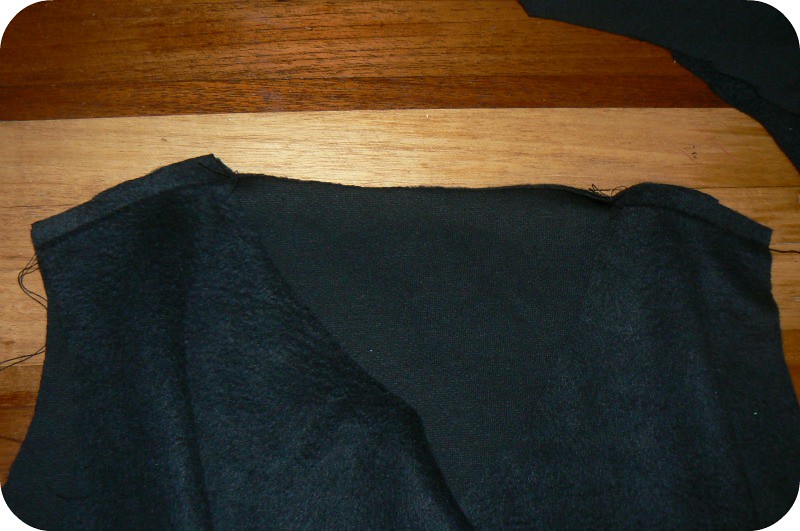
And then attach the sleeves and hem them

Then stitch the hood pieces together and attach it to the neckline of your hoodie.

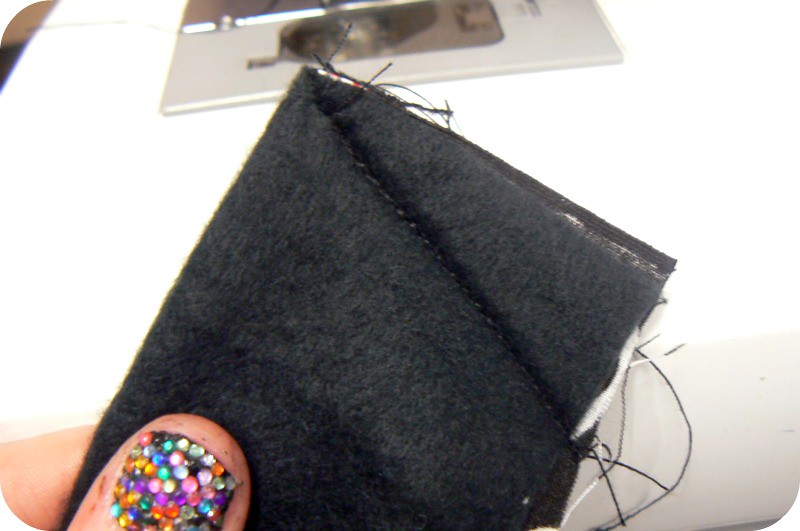
Fold it in half lengthways, pretty sides on the inside.
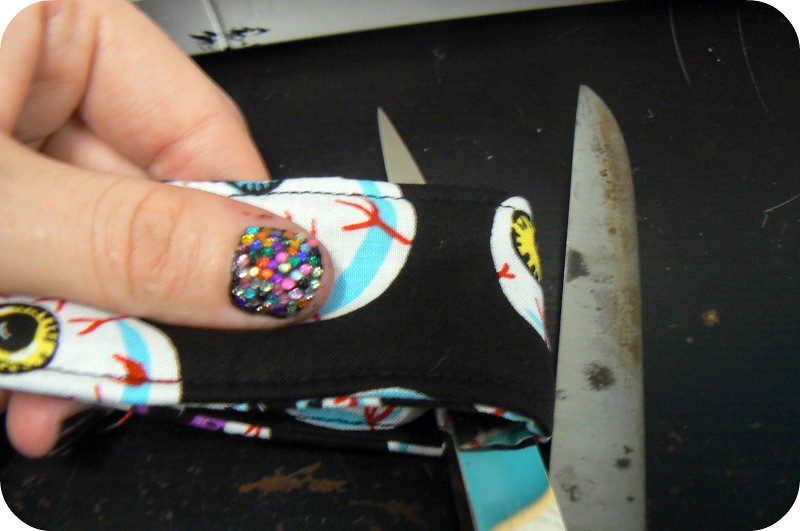
Stitch at a diagonal on the edges. Snip and then turn these the right way out. This step is called "Mitering" the corners.


Fold your tie in half and then cut along the fold. Now you have two ties! SEE WHAT YOU DID THERE? Yeh, pretty clever.
Pin the ties in at the side seams about an inch or two down from the arm-pits. The Little Monster was in bed for the night so I just guessed his proportions. If you're little monster is up and about you can quickly figure out where bubba's waist is.

Now stitch the sideseam all in one with the armpit and the sleeve. I love stitching sleeves this way, so easy!
You're almost done!
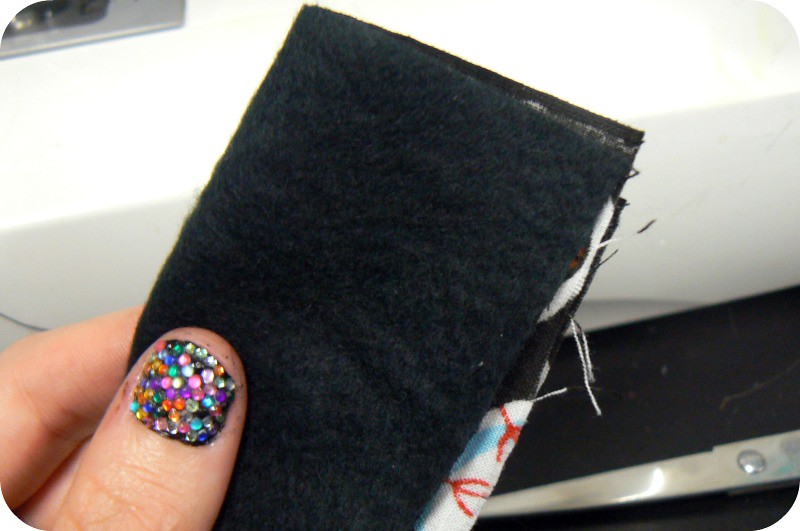
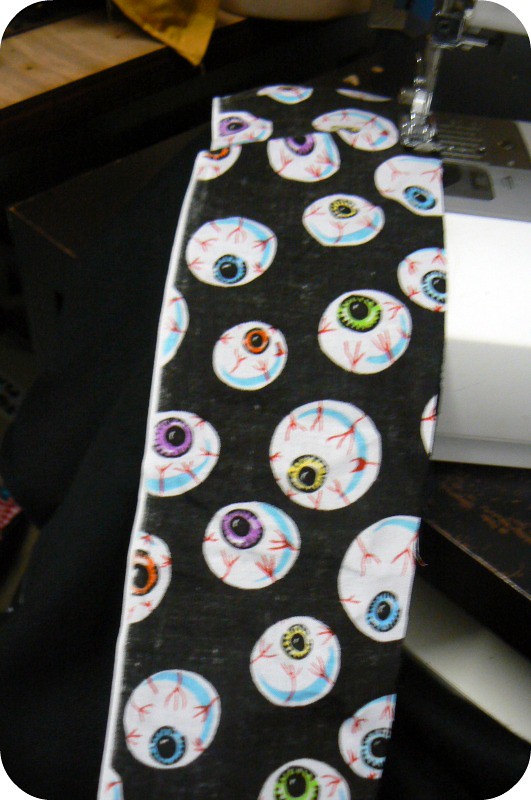
Fold the robe in half, the front edges against each other and the hood in half. Measure form the top of the hood all along the outer edge of the robe, we're going to schmancy it up with some contrast colour/patterns!
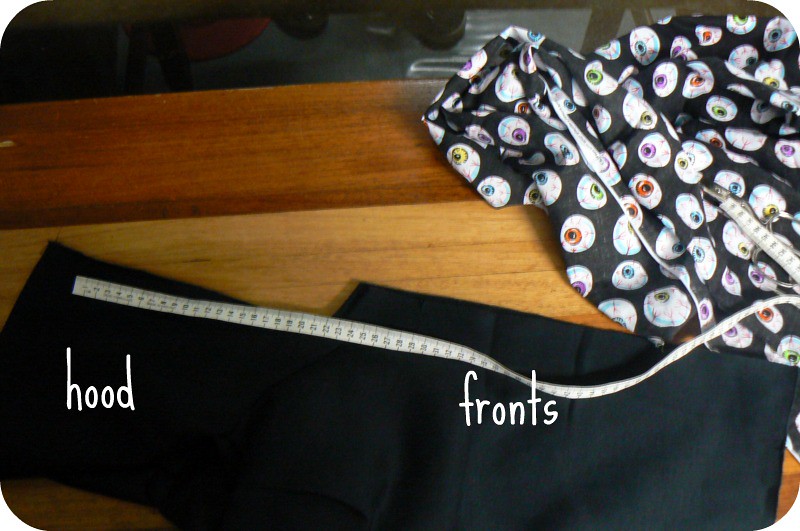
Double this measurement and cut this length out of your contrast fabric. I made mine about 10cm wide, to make it kind of wide and enough to fold under 1cm on each side.
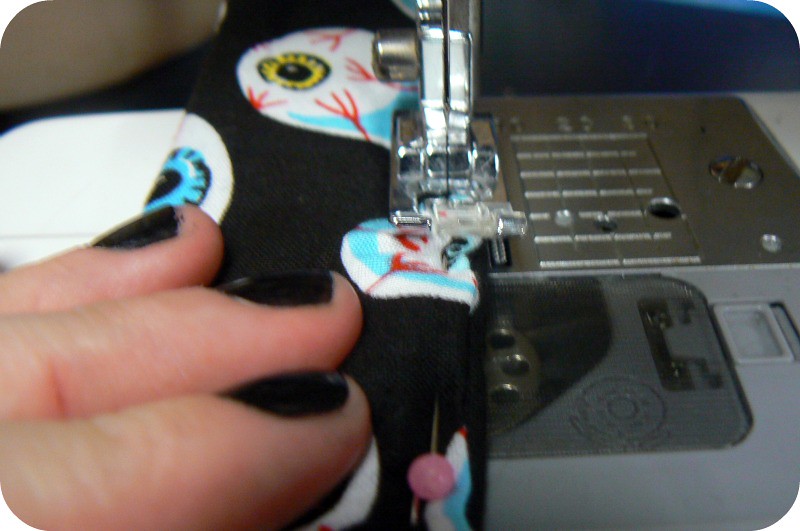
Stitch one edge of the contrast fabric all around the edge of your robe
Now this section is probably A LOT easier if you iron the binding. Fold up one cm on each long end of the binding and iron it down. I didn't do that, I just winged it, ironing would have made it heaps easier though!
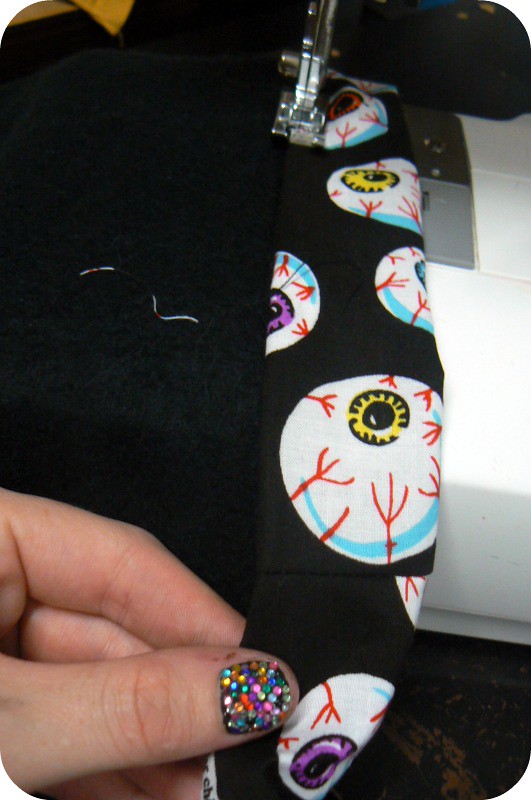
You can iron the binding in half lengthways also, then just hold it along the edge of the robe and stitch it.
Then just hem the robe and you are done!


 • www.max-california.com")

13 comments
That's so cute. I like the eyeball fabric.
ReplyDeleteCould your child be any cuter?
ReplyDeleteArrgghhh your child is adorable
ReplyDeleteThis is awesome! I may need to do this for myself. :)
ReplyDeleteAnd I love your sparkly thumbnail. :)
oh my goodness I love it! So cute!
ReplyDeleteAre your fingernails bedazzled?
ReplyDeletelol yes
Deletethank you! I am going to attempt this for my daughter this week! I bought a conventional pattern that was WAY too confusing for me. Having step-by-step photos is so much better. I added your blog to my reader, as most DIY projects for kids I find are for girls. I have a 7-month-old son and I'm stoked to see a mom making stuff for boys. Cheers.
ReplyDeleteHope it worked out!!
DeleteI'm sad your pics aren't working.
ReplyDeleteWorking on fixing that now :D
DeleteI LOVE THIS!!!!
ReplyDeleteI LOVE THIS!!!!
ReplyDeleteI love comments!