

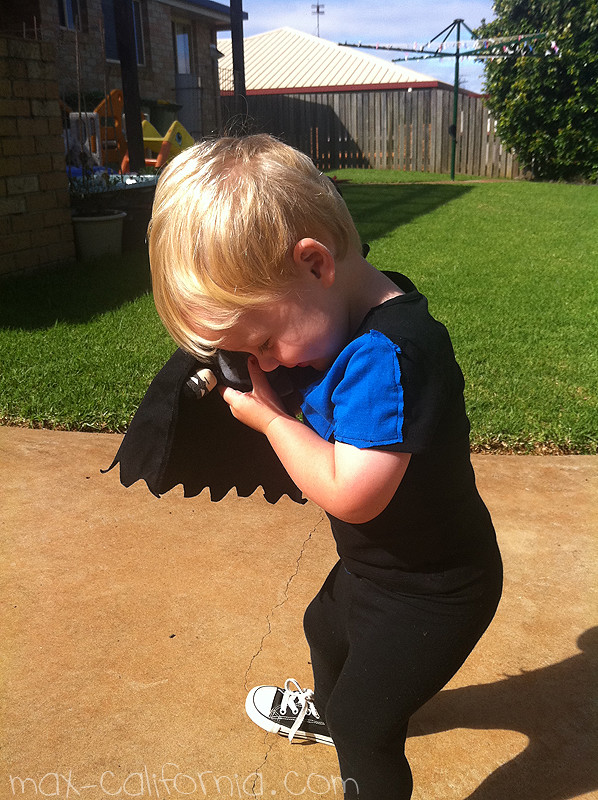
In the Batman Universe, I'm in love with pretty much all of them. Well all the Robins anyway :) One of my favourites is the first Robin, the one most of you would know! Dick Grayson is his real name and he's been Batman's sidekick for a very long time. He's the one who was an acrobat in the circus with his parents "The Flying Graysons" and he watched them die and then Batman took him under his wing. Yey Batman!
Anywho, when Dick Grayson grew up, he became his own superhero. He became Nightwing. He moved to a nearby city called Blüdhaven and became to that city what ol Batman is to Gotham. He's a total babe and I love him loads!
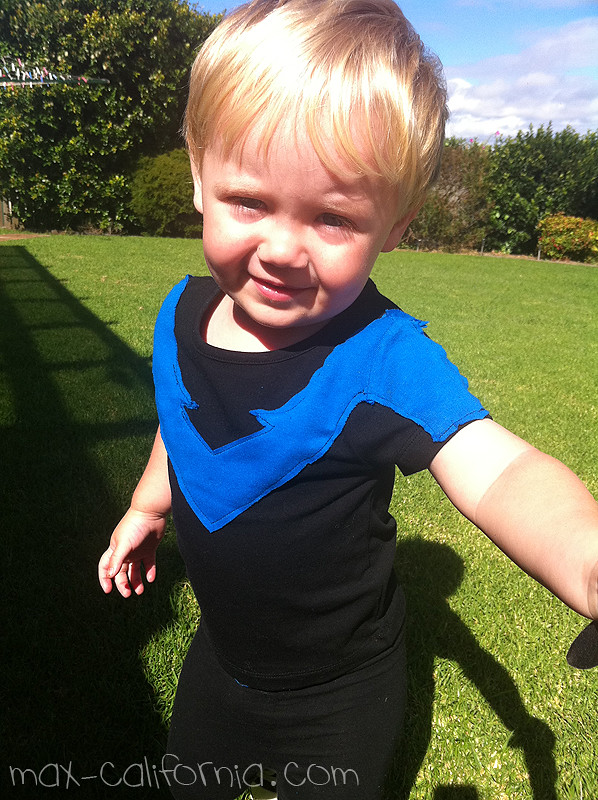
For Supanova, I started making this shirt for Vince but I didn't end up finishing it in time so I finished it a few days afterwards and I'm pretty pleased with its simplicity! I wrote this tutorial using two scrappy tees I had lying around and even though they are ugly as sin I can kind of see this idea working on cuter tees and it not necessarily being Nightwing-ish.
I bought the original shirts from Big W for about $3 each. Just a plain black tee-shirt and a plain blue long-sleeved shirt. The second shirt doesn't have to be long-sleeved, it was the only kind I could find in the colour I needed. Just make sure both shirts are the same size [You'll see I switched out the grey one in the pic below for one a bit more closer in size. The grey one was stretched out and it had raglan sleeves which didn't match up with the set-in sleeves of the other shirt.] I found my second attempt at this shirt [the ugmo version] turned out way better than the original finishing-wise. So maybe do a practice one up first, it's so simple it's not hard to make two!
Click the link below to read the tutorial and see more pics of baby Nightwing! You can also download the PDF of this tutorial here if you would like to print it out!
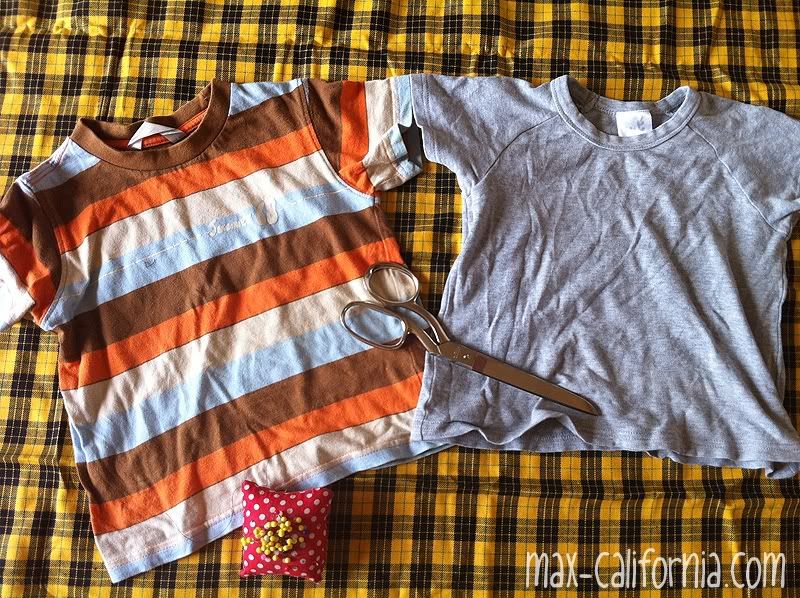 |
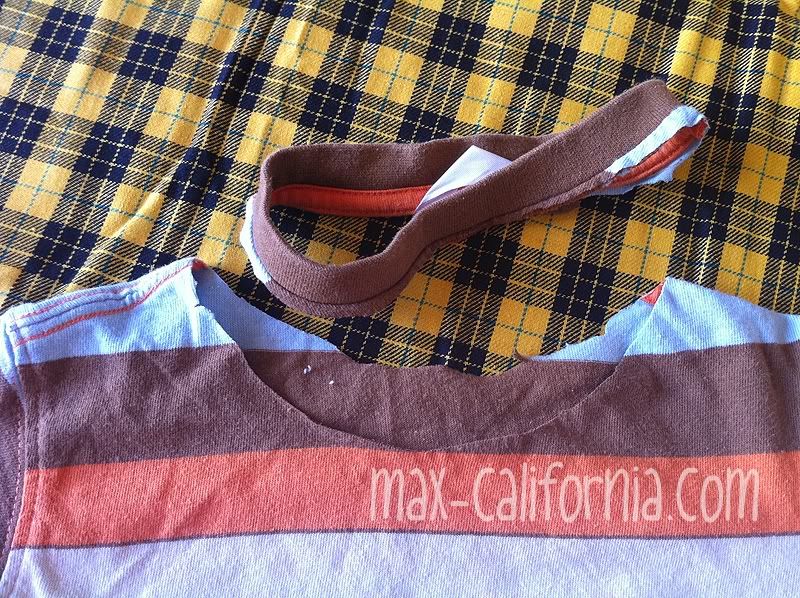
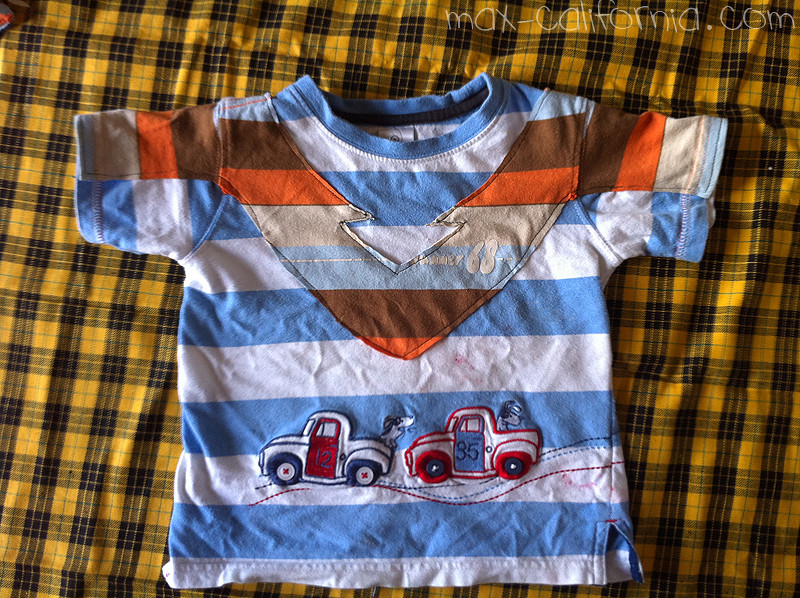
| I switched the grey shirt for a blue + white striped one instead. The fit was better |
1. First we're going to cut the neckline off the 'blue' tee. The 'blue' tee in the photos is this brown and orange striped one. It's going to be the 'blue' stripe across Nightwing's chest. We won't be cutting the 'black' tee at all.
2. Now your going to cut a little over halfway from the fold of the sleeve along the hem. Cut up the sleeve and curve it a little as you go, stopping on the sleeve seam.
3. Now fold the front of the shirt in half. I cut the tip of my point about halfway down the shirt. Cut a diagonal line from that point to the sleeve seam where you cut. You may need to trim it a few times to make it a nice clean straight line.

4. If you open it out it should look a little like this!
5. Fold the shirt in half again and trim bits here and there, wherever it needs to match up better.
6. Cut the back of the shirt off. I cut a curved line from the back of the sleeves that were already cut. It doesn't matter at all, because you won't be using the back at all
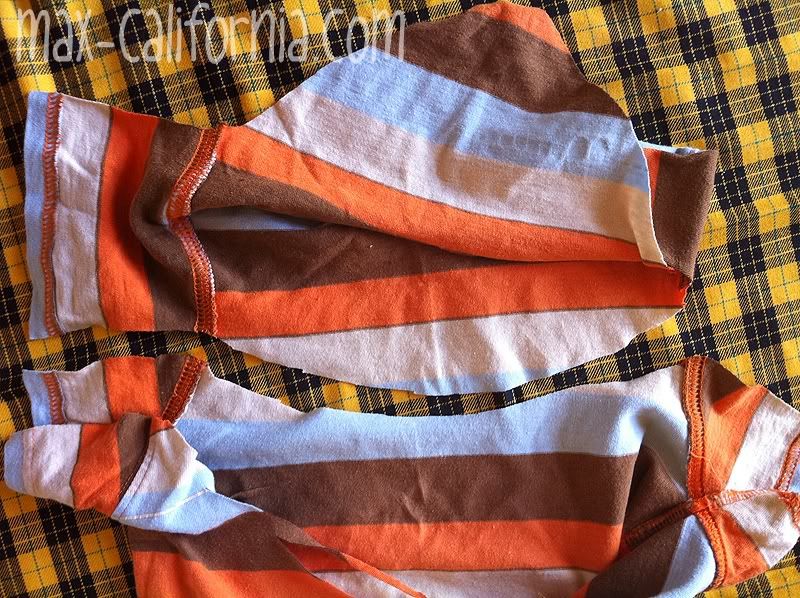
7. The front should now look like this more or less

8. And the back...
9. Now you'll be taking the back off. Basically I just cut a diagonalish line from the back of the sleeve to the neckline. Do that on both sides.

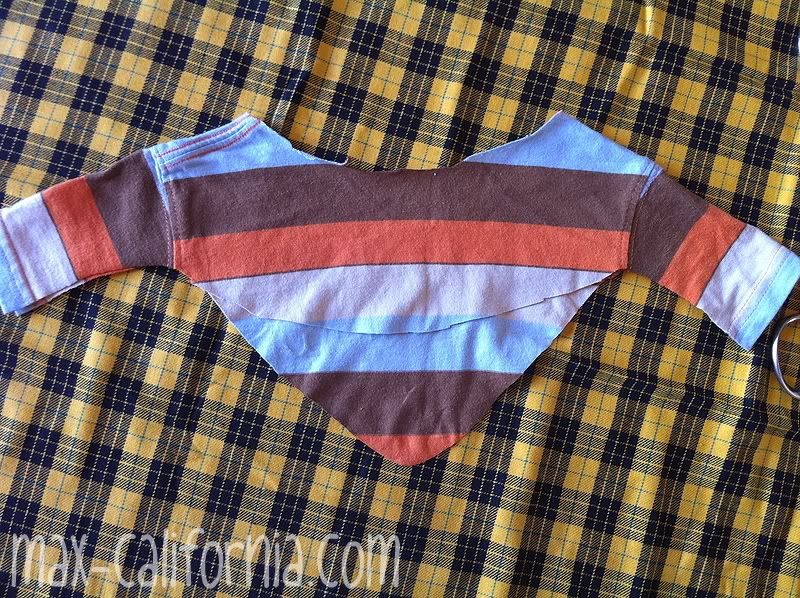
and you should be left with this

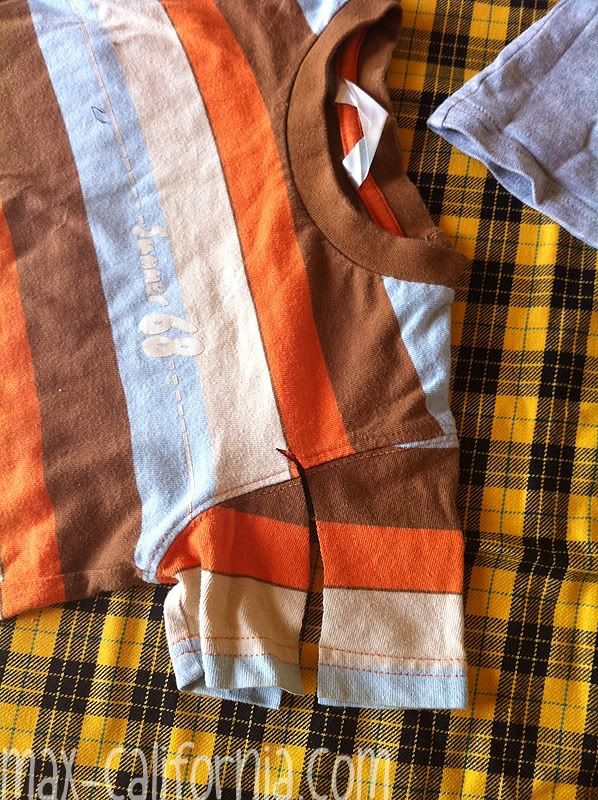
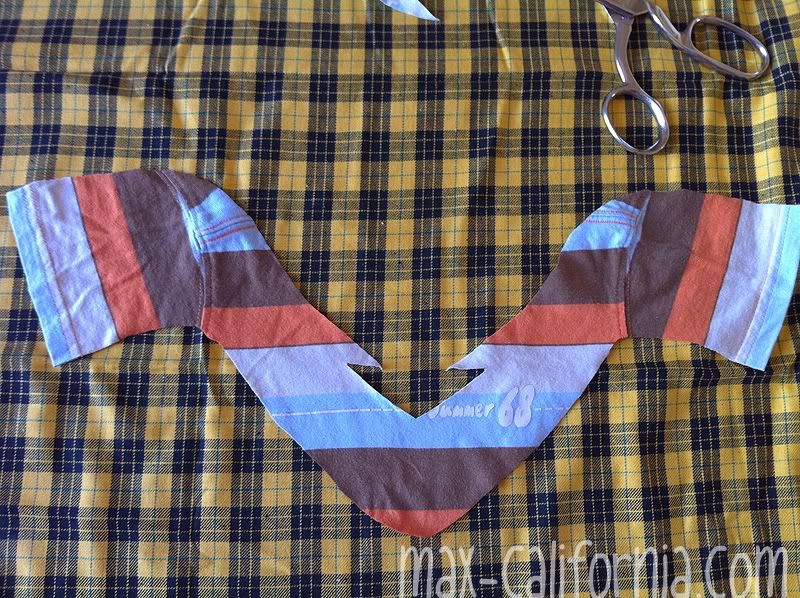
10. Now fold this little piece in half. again. About 5-6cm up the fold do a snip! you'll want the snip to be parallel with the diagonal edge below it and about 4-5cm deep. Now if all this eyeballing and snipping is too scary for you, read through the next few steps and maybe with some tailor's chalk or a pen mark the lines you'll be cutting along.
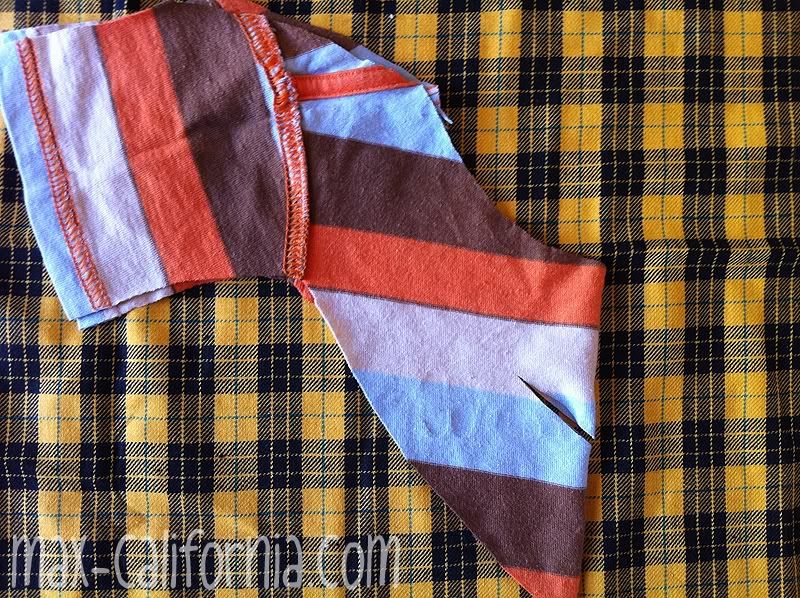
11. Now at a slightly different angle, use the photo below as a guide, snip from the fold to the end of that previous snip you did, cutting a triangle out of the fabric.
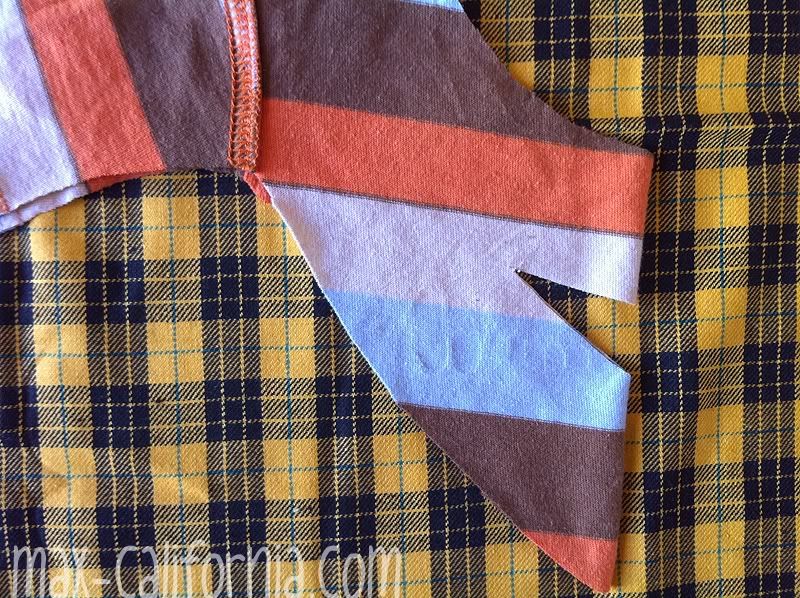
12. Now from the top of that last snip, your going to cut a line right up the rest of the shirt to the back of the sleeves. Again if it's easier to draw the line first, then do it! I kinda eyeballed it and just went with it. You'll see it curved back in slightly after the barb so it's roughly back to 5-6cm wide again as it goes up to the shoulder.
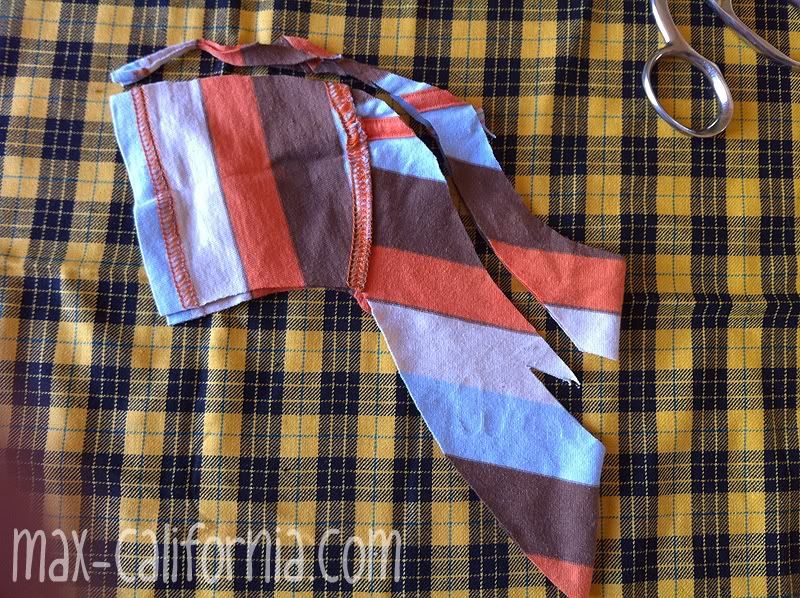
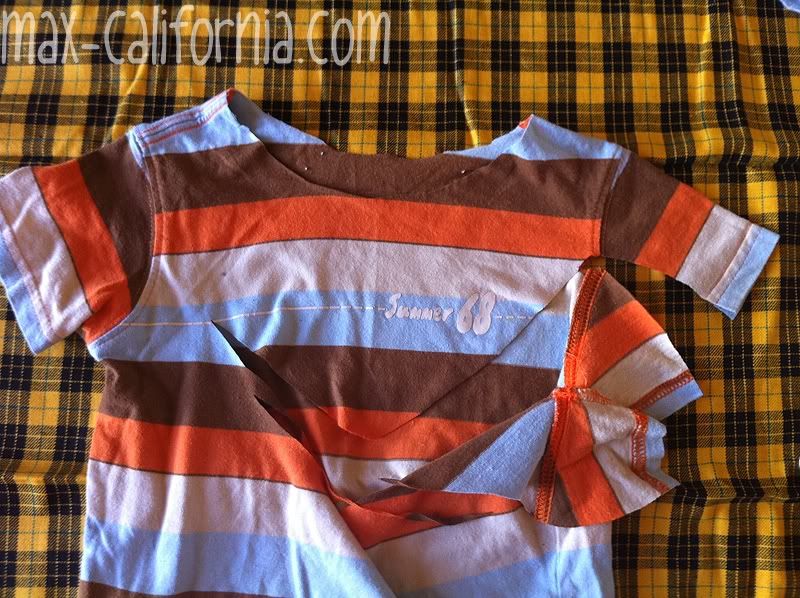
13. Now when you open it up you should have this but in blue! YEY!
14. Lookin' good you guys! Now place it on the base shirt you have, which should be the black shirt if you're going for the actual Nightwing look and not this crazy striped monstrosity I am creating here in the tutorial.
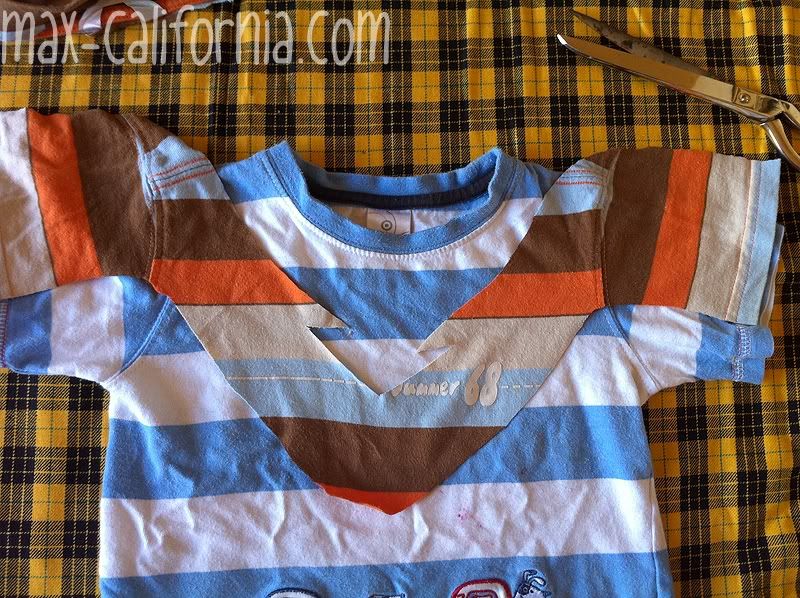
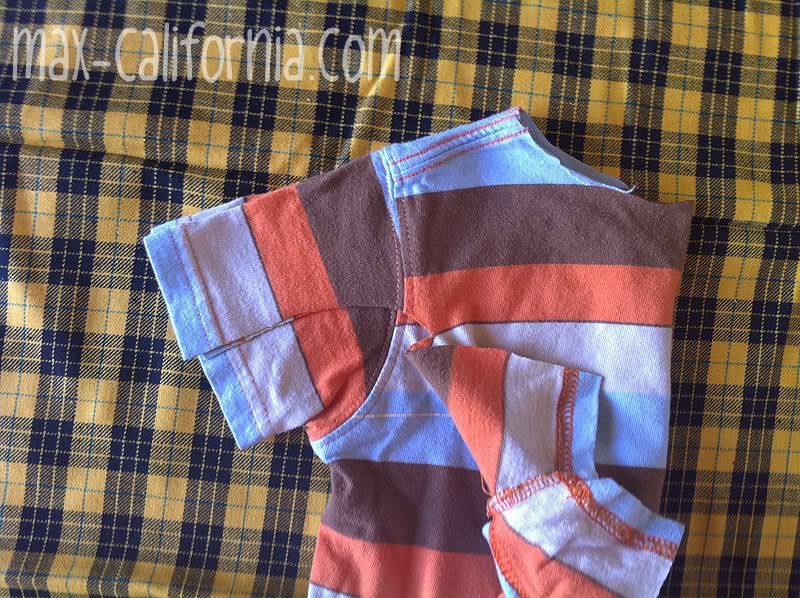
and pin it!
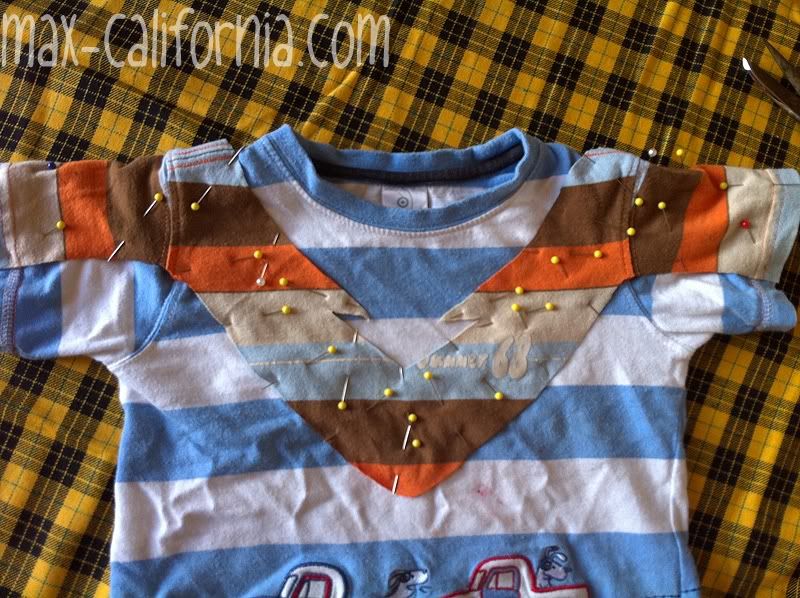
this is what it looks like when you pin over the shoulder.

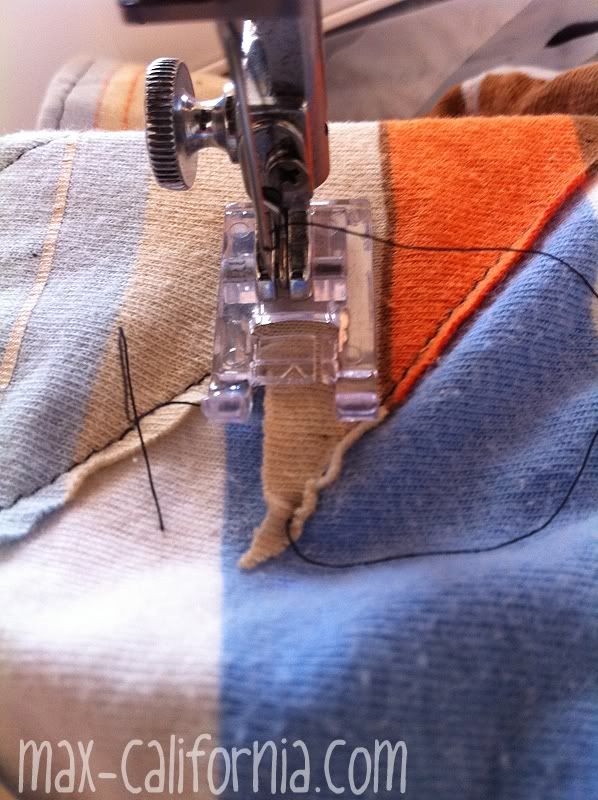
15. Now stitch it!
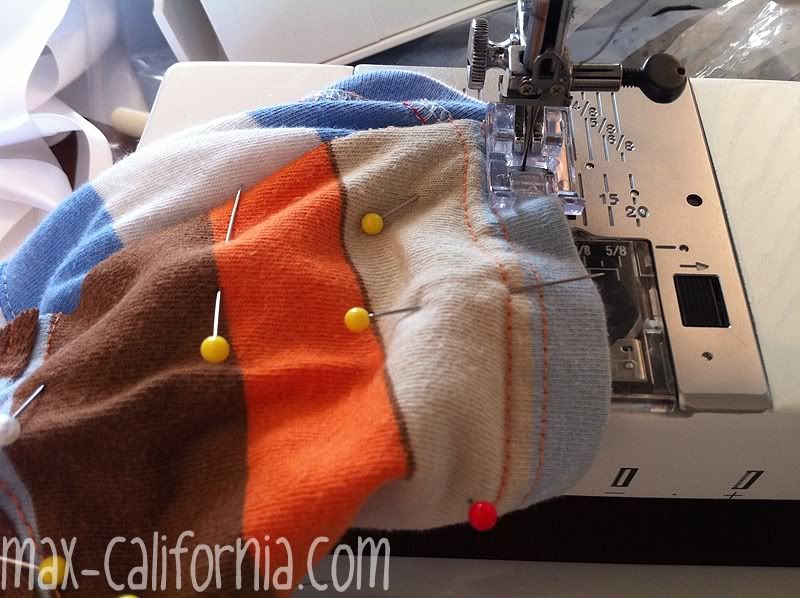
When you get to the barbs stitch towards the point then stop and stitch the rest of the stripe. Come back to that barb at the end and stitch the other side down. It's so much easier this way and you don't get the point all caught up and folded over [which, if you look close enough on the actual Nightwing tee I made, you can see on one of the barbs]
All done! Even though these two shirts are just the ugliest things when put together, it doesn't actually look TERRIBLE. Unless I've just gone crazy :)
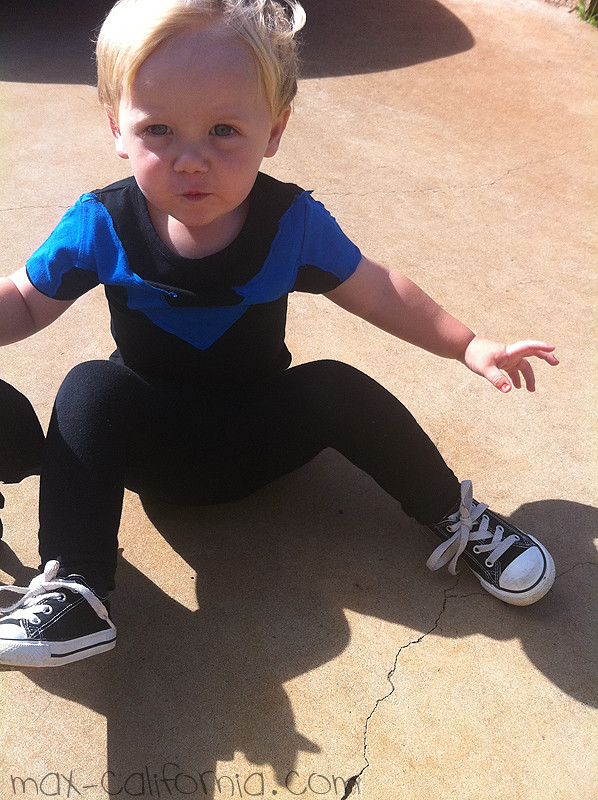
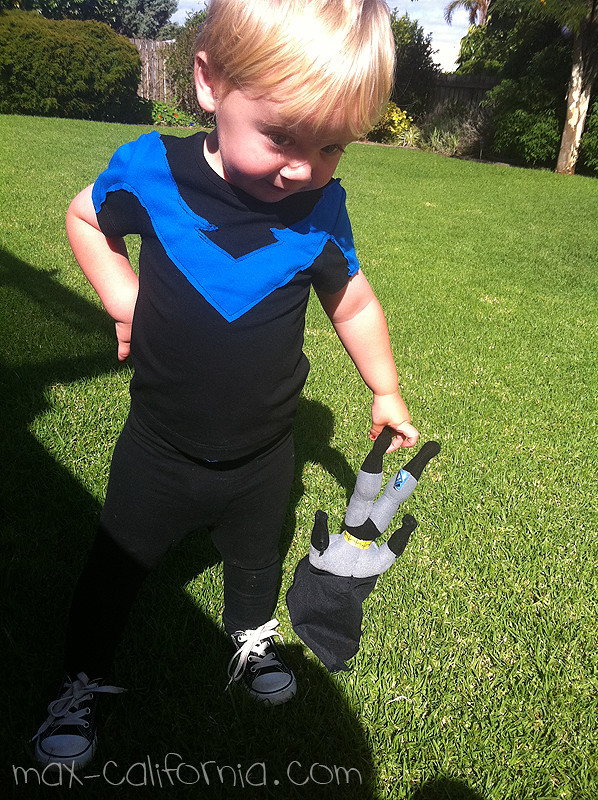
Can you believe the Little Monster is 2 in a month!?


 • www.max-california.com")

5 comments
LOVE this! So super cute! <3
ReplyDeleteLove! My son also hugs/loves on his favorite stuffies like that.
ReplyDeleteyour little nightwing is just adorable!!! I made a nightwing outfit for my bf a few years back for halloween and this looks so much more awesome than what I did ^^
ReplyDeleteOMG, almost 2?! It seems like he was just born a couple of minutes ago. He looks so great in his Nightwing tee, and I love the way the stripy one came out as well!
ReplyDeleteHi, you don't know me, but I used your template to make a Nightwing shirt for my boyfriend for Christmas. He really loved it! :>
ReplyDeleteI love comments!