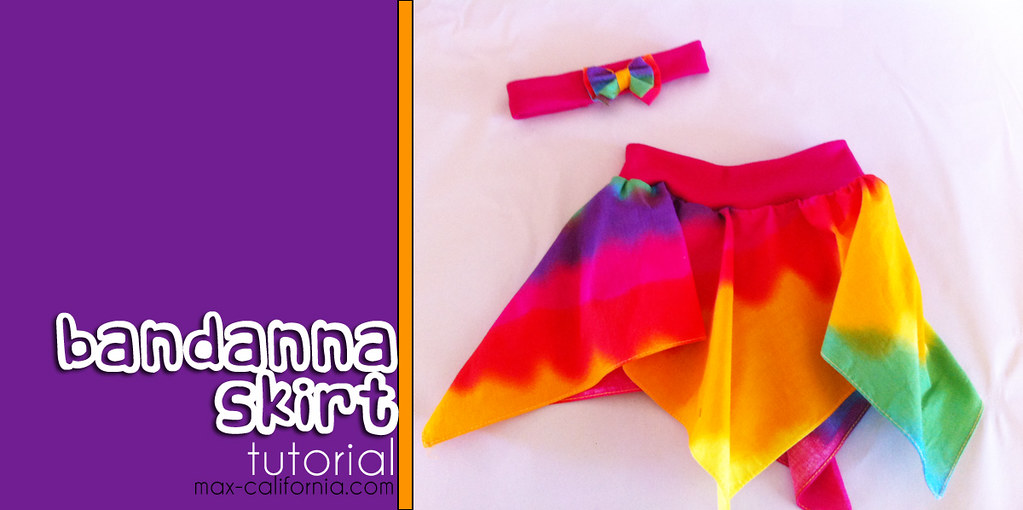
I bought this super cute bandanna from the op-shop before Edison was born. I remember making myself a square 'handkerchief' skirt when I was younger, but it was all from stretch fabrics. I wasn't sure how to make this work, but I was determined to give it a go! All the tutorials I saw online used two bandannas, but this uses just the one! I used some pink stretchknit for the waistband, also a score from the op-shop!
Before I show you how, I was wondering if anyone knows any tips on tie-dying. I would love to recreate this vibrant tie-dye, but I think it may be difficult! What brands do you use, what techniques? Please share so I can...
Here's how you make one!
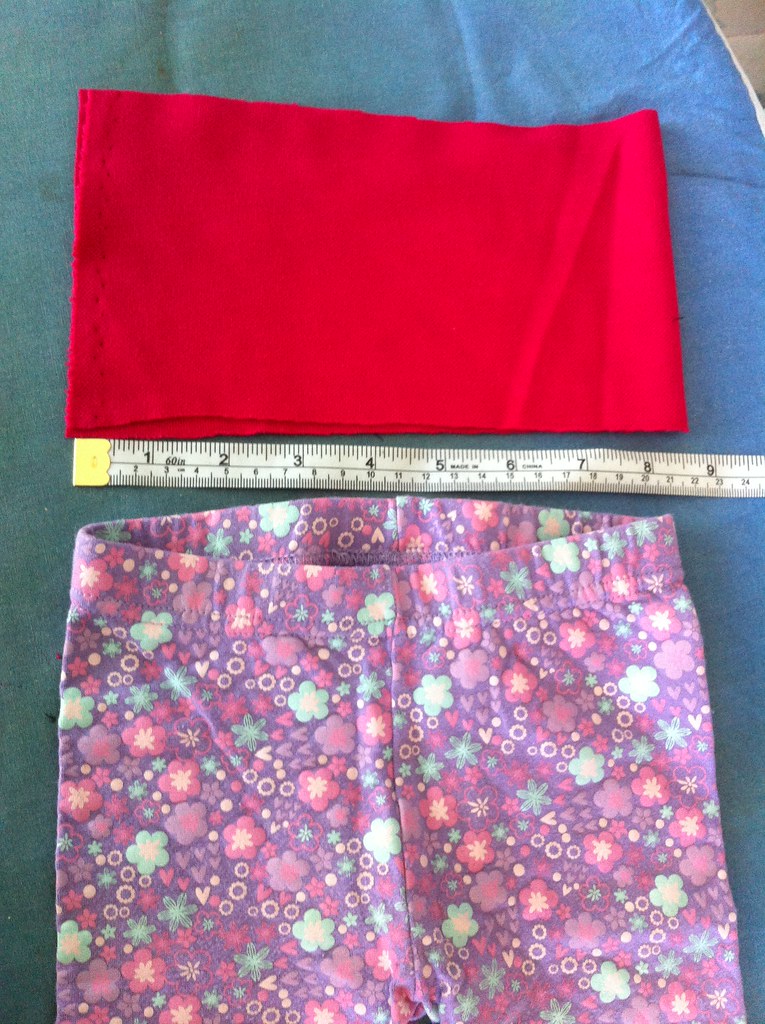
Grab a pair of pants or something that you can use as a guide for the waistband. Here is a guide for children's measurements from baby to age 8 if you don't have any kids clothes. I measured across the waistband and doubled it for the waistband of the skirt. As you can see, this pair of leggings is 21cm across, so my waistband is 42cm long + 2cm for seam allowance. The height of the waistband is completely up to you. I fold it over in half for the finished look, so make it double the height you actually want it, plus 2cm for seam allowance {1cm on top and 1cm on bottom}
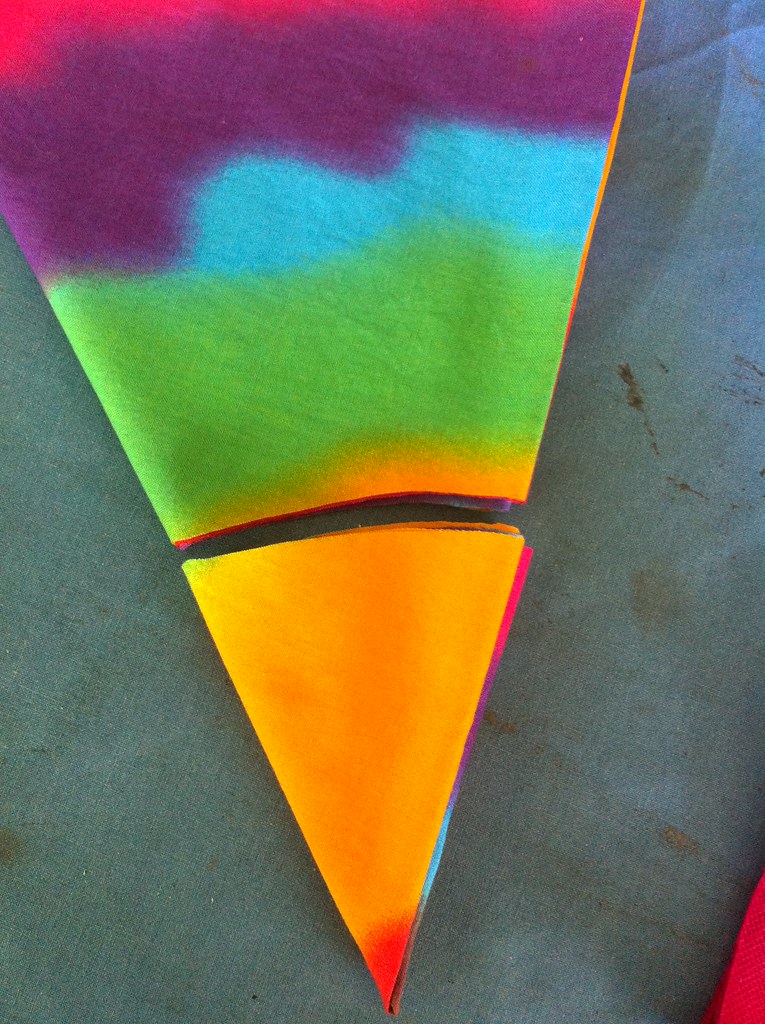
I folded my bandanna into quarters. The folded my waistband in half and half again. Lining up the waistband along one of the folded edges of the bandanna, I did a tiny little snip so I knew how far down to start cutting.
I did the same for the other folded edge of the bandanna. I folded the bandanna in half again, matching up the snips so it was kind of a cone shape. Now cut a curved line through all the layers.
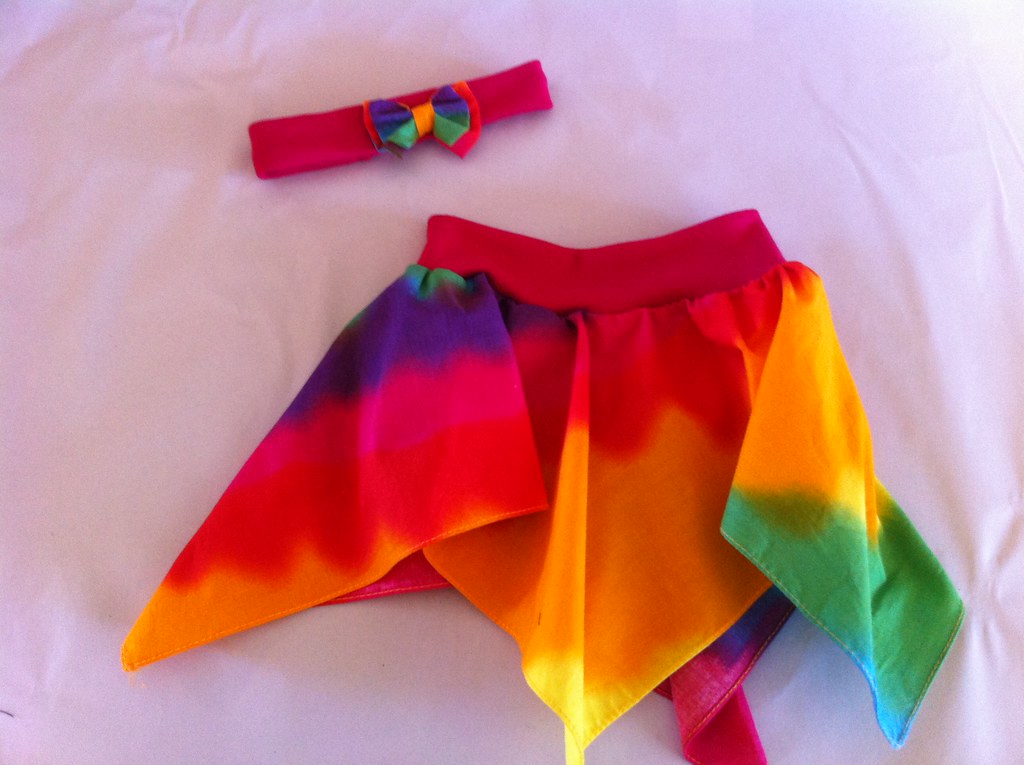
I kept the scrap and made a little bow attached to a band for her hair.
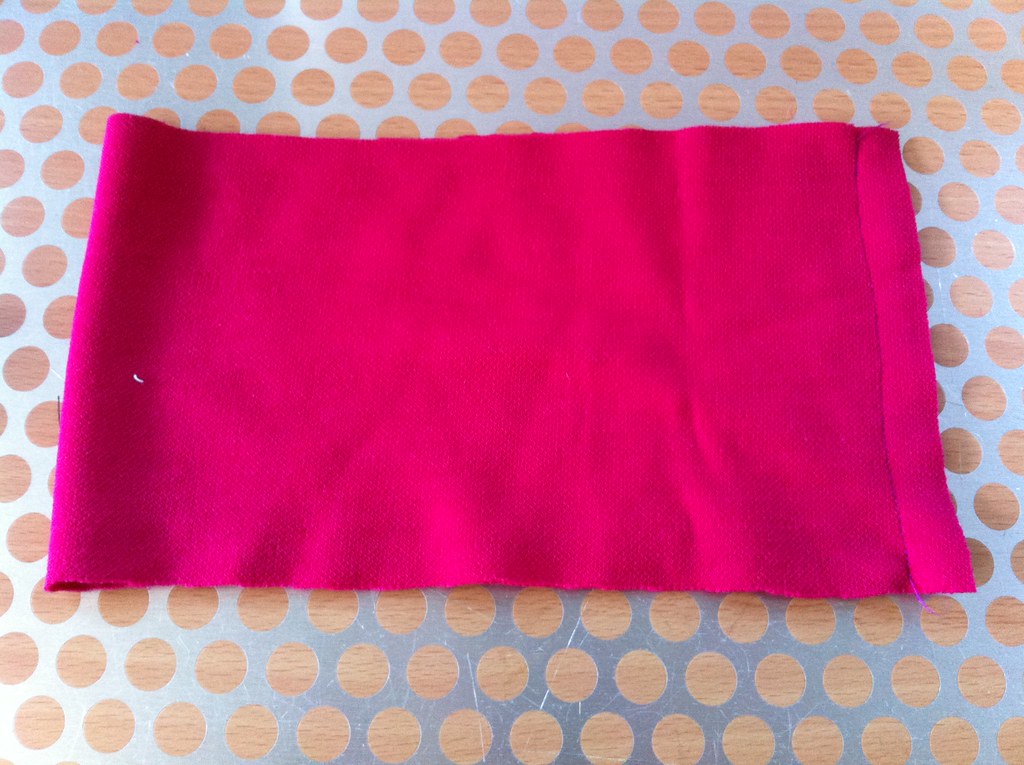
Fold the waistband in half and stitch 1cm down the short edges. Now you'll have a loop.
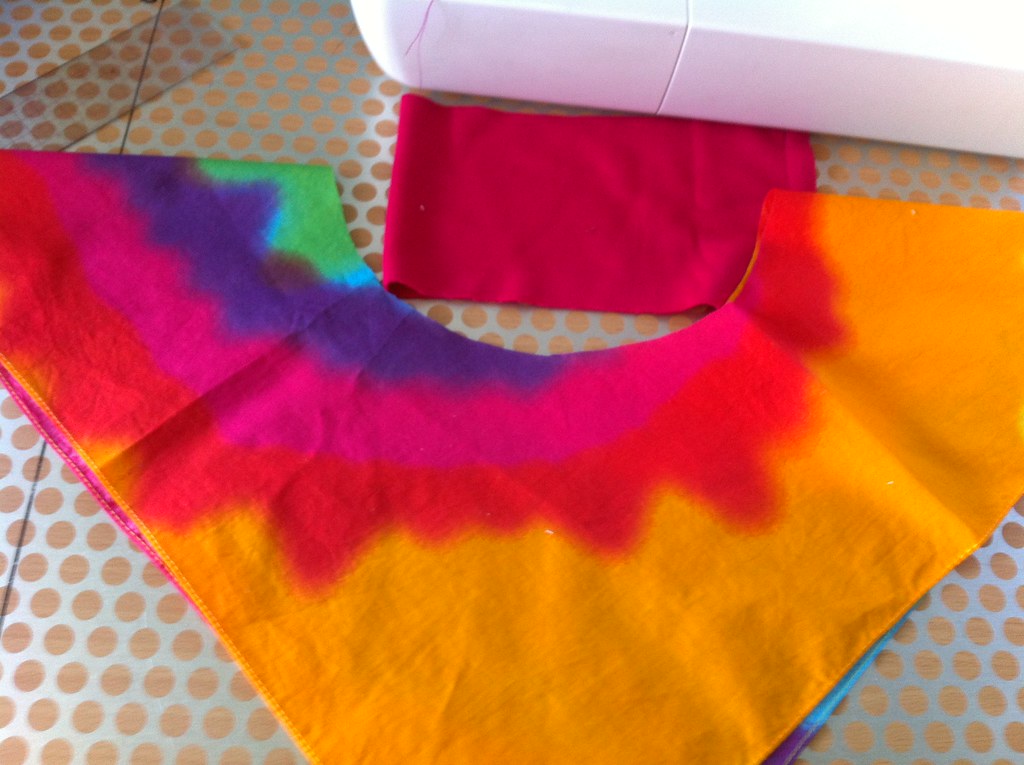
So this is what you have so far. A waistband and a bandanna with a hole cut out of the centre.
Fold the waistband in half and pin the raw edges to the edge of the hole. Stretch the waistband out as you pin it to make sure it is pinned evenly.
Using a wide and long zigzag stitch, stitch the waistband to the skirt, stretching the fabric gently as you sew.
If you have an overlocker, finish the seam off, remembering to stretch slightly. If you don't, the zigzag stitch you used earlier will hold it and prevent it from fraying all the way to mexico. Because that's a long way and a helluva lotta fraying.
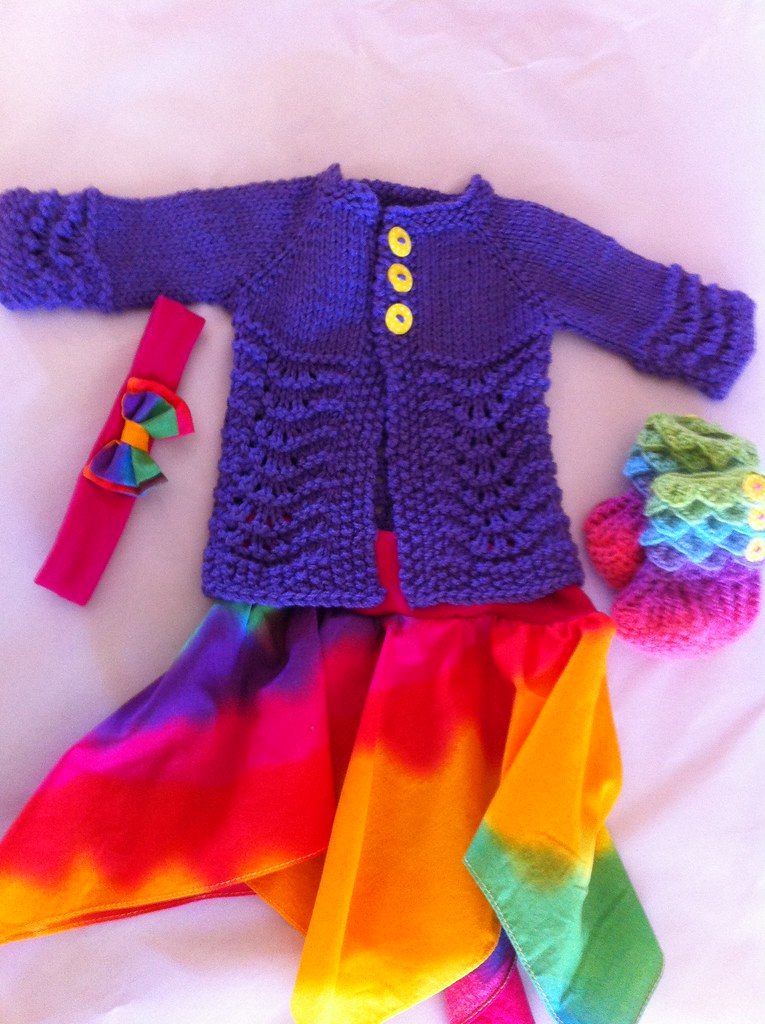
It amazingly goes with this bootie & cardigan set the AMAZING Emma made for me. She is the wife of one of my many, many cousins. We've never met, but we are facebook friends. She is super crafty also, but she completely wins at crocheting. I mean LOOK!
I asked her if she could make the booties for me, I bought the pattern here off Etsy. When they arrived in the post I burst into tears. The cardigan was a complete surprise but SO BEAUTIFUL and the booties are just amazing. Edison wears them all the time, with every outfit! The colours are totally perfect, all my favourite hues.









3 comments
HEY! I just made a couple of bandanna dress for my daughter. She's much larger *4yrs so it's done a bit different but you should check it out. I'm also going to post a tutorial on bandanna baby bibs <3 enjoyed the different style, have a good day!
ReplyDeletehttp://thelifeofacompulsivecrafter.blogspot.com/2012/08/the-circus-inspired-dress.html
So cute! I think an adult version of this would actually make great maternity wear for me!
ReplyDeleteI love it!
ReplyDeleteI love comments!