

It's rated one scissor out of five, even though basic sewing machine knowledge is assumed. You're pretty much cutting out rectangles.

1. Gather your supplies. Sewing machine + my serger, pins, scissors, tape measure + some fabric. I cut up an old bed sheet :D

2. Wow I'm a hot mess.
Measure yourself. You're going to need the measurement around your body under your boobs.

3. As well as underbust, measure how long the straps will need to be. Measure over your shoulder to below your bust front + back ((use your bra as a guide))

Write down your measurements and maybe do alittle doodle like i did for easier reference to what the heck you're doing. you're also going to need to measure yourself from your underbust to however long you want the dress.

These are the pieces you'll be needing. I've put the measurements of my pieces there as a guide for you to compare to.
You're going to 2x Underbust bands, mine are going to be about 9cm high but I'm folding them in half lengthways. OR, a quick way that i did was only cut one underbust band, but placed one of the short edges on the fold of the fabric. That way you sew less! I did the same for the skirt piece.
You'll also need two straps. Make the piece wide enough to be able to fold them in half.
Cut two of the skirt as well, for front + back.

4. Cut your pieces out

Mine was made from a sheet, so I cheekily used the hem on one of the edges as the hem for my dress!

5. Fold your underbust piece in half. I made my piece one continuous piece of fabric instead of a defined front + back. Stitch along the long raw edge. I do 1cm seam allowances.

6. Right. Here's the fun bit! This is going to be hard to explain.
What you're going to do is pleat/gather your skirt onto your underbust band. I'm going to show you the lazy way to gather.
First of all I pin the far left edges together and the far right edges together. Find the exact centre of the underbust piece ((by folding it in half)) and mark. Do the same with the skirt piece. Pin these two centres together.
7. You're going to keep finding the centre of each section. So in between the dar left edge + the centre, find the centre of the underbust piece and mark it. The same with the skirt. Pin them together.
Do the same with the other side.

Keep going, finding the centre of each little section. You may need to start just bunching fabric up and pinning little bunches down when the spaces bewteen pins get smaller. Don't make the bunches too big or your machine will have a hard time sewing over them.

8. Stitch it down. I sew over my pins, but if you're not that confident in your skills, or you really love your machine, take your pins out as you get to them. This is me bunching a little section to sew over it. When it's done it will be a cute little gather.

Stitching over the pinch.

9. Flip it the other way and you'll see your awesome 'gathering' skills!
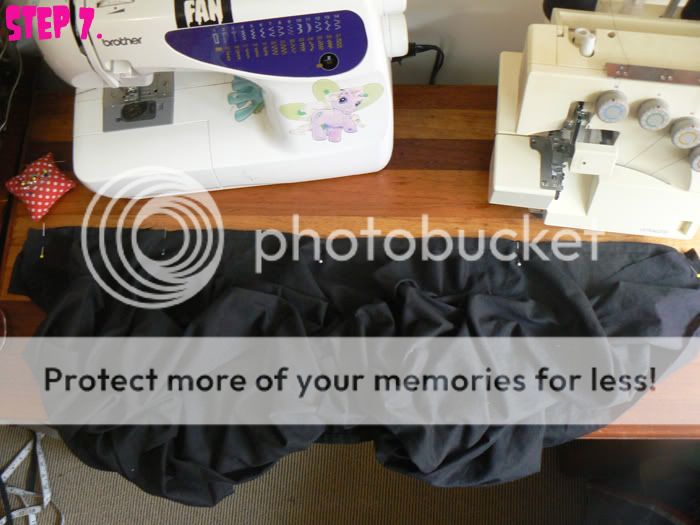
Serge ((overlock)) the raw edge + then topstitch it.

10. You're going to do the back of your dress now ((Almost done!)) Get the edges of your dress + serge them ((not together!))

Make sure you serge the seam between the skirt + the underbust panel down towards the hem. You've already topstitched it down, this just helps it sit better + makes it more comfortable.
This is the part where you put in a zipper. I havn't made a tute for that yet, so it'd be a good idea to consult a book or a website. I have a quick + easy way, which I'll link to later.

11. Straps!
Fold your straps in half lengthways + stitch along the seam.
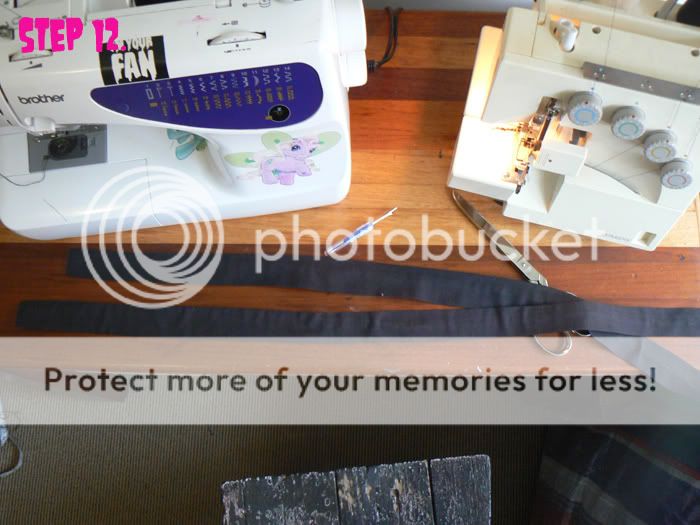
12. Turn them inside out + iron them. Ironing makes everything sit really nice so try to iron as often as you can after you've stitched something. Makes it so much easier!
You can top stitch the straps if you like.

13. Try the dress on and mark/pin where you want the straps to go. I usually follow my bra straps as an easy reference guide. It's hard getting the back by youself, but a bit of twisting and a mirror gives a good enough job. Stitch the straps on, making sure you attach them strongly.
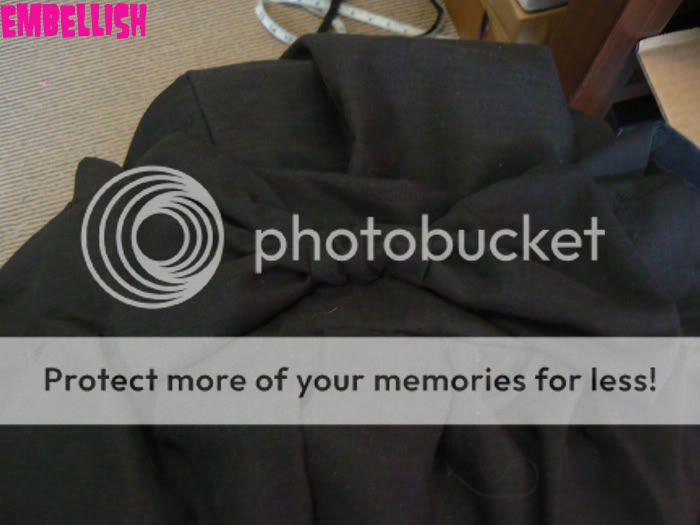
Embellish and you're done!
NOTE:: if you're having issues with the lazy way of gathering, I have some additional photos. Just comment + ask + I'll put em up!
Here's a pic of a delicious pink one Julia made!
 I Love it!
And here's a cute one my friend Stacey made. I DIG the tartan! Yesss!

((And her shirt))
Here's some other variations I have made


 • www.max-california.com")

8 comments
I'm honoured to have my dress posted *^_^*
ReplyDeletelove your tutorials btw <3
I love the pinafore and hopefully I'll be making it sometime this week! The extra photos on gathering would be a great help
ReplyDeletecheers
Sam xx
Hello. hello. I love this dress, and love to DIY my stuff. Can you give me a tutorial on this one? :O
ReplyDeletehttp://hphotos-snc3.fbcdn.net/hs491.snc3/26828_1307003969236_1654664467_776869_3462050_n.jpg
thank you for the wonderful tutorial! I made my own and am LOVING it to pieces :)
ReplyDeletehttp://www.mistyillusions.org/marysew/?p=2538
This is incredibly cute! And a great tutorial. Do you mind if I link to this on my tumblog? It is located at www.sewcrazy.tumblr.com
ReplyDeletesuper cute! i can't wait to try this!
ReplyDelete~selina
Phew! The other night I found this post while blog surfing. I loved this dress so much I made it that night. I put it link to it if you want to see it! http://nezumish.tumblr.com/post/5280781629/underbust-pinafore-dress
ReplyDeleteSoo cute! Love this!
ReplyDeleteI love comments!