

I made a crown for the Little Monster almost two years ago when Where The Wild Things Are came out at the movies. I made a little hood for him as well, but the crown still kicks around in his dress-up box [which is, by the way, quite pitiful. It contains 24 pairs of 3D glasses, a construction helmet, said crown and the Yoda beanie].
I had made that crown out of felt and it looked like this...
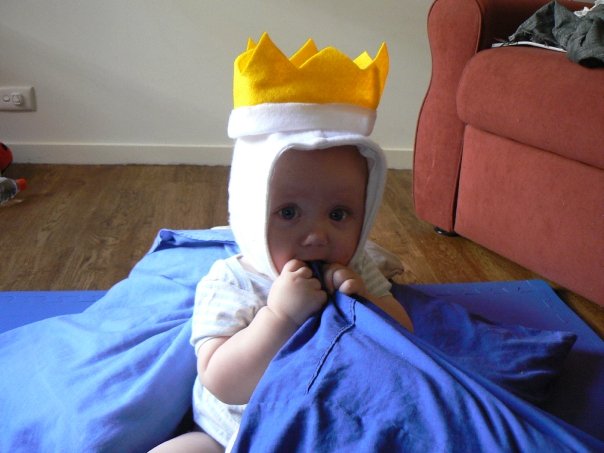 |
| Seriously how CUTE was he! |

I decided my little prince deserved a new crown, so I set about making him one.

You can click the jump below to read the tutorial or download it as a PDF here!
This tutorial is going to show you how to whip up one of these cute little crowns!
You will need:
• Usual sewing supplies [tape measure, pins, scissors, matching thread, sewing machine/needle + thread]
• Scrap of white stretchknit
• Scrap of yellow stretchknit [I used fleece]
Ready? Lessgo!

1. Measure around the Prince’s head. Or let him do it himself. This little dude has a 51cm head.

2. Cut out a strip of white stretch knit fabric a little longer than the circumference of your prince’s head. I only added one cm for the seam allowance because I know this would stretch. You don’t want it too small though or your little prince will get a headache! It’s width should be how wide you want the white section to be x by 2 [You’ll be folding it] + seam allowances! So say you want it 4cm wide, make it 8cm plus 1cm seam allowance on the top and 1 cm seam allowance on the bottom = 10cm wide. Cut two strips of yellow fabric, the same length but the width should be as tall as you want the crown points to be.

3. Cut out triangles from the strips, making them identical!

4. Sew the edges of one strip together, and do the same with the second strip. You will have two loops of spikes

5. Turn one of the loops the right way out and slide it inside the other loop

6. Pin the dips and points together, matching up the centre back seams

7. Stitch along the points

8. It will look like this!

9. When you are done it should look like this!


11. Using the Force, a lightsaber chopstick or something pointy, turn the points of the crown

12. Iron it

13. Fold the white strip in half and stitch the short sides together so you have a loop

14. Fold the loop in half

15. Slide the crown section inside the white loop so all the raw edges are facing up. Pin the centre back seam together and then pin along the loop

16. Zig zag together

17. Flip the white section down and VOILA! Your majesty has acceptable headwear!
 |
| It's a lightsaber chopstick, not a wand! |
If you make this crown, feel free to add it to my BRAND NEW flickr pool to show it off! I'd LOVE to see your results.
I linked this up to some of the Linky Parties here.


 • www.max-california.com")

5 comments
This is perfect! Just the start I need to my son's dress-up trunk (so far he has nothing but regular hats).
ReplyDeleteThis is so cute! All your kiddy tutes make me wish I was having babies already. :(
ReplyDeleteAdorable idea! So much more practical than the plastic one that break easily.
ReplyDeleteGoing to put this on my project to make someday.
Thanks for sharing this with us:)
I have a feeling I'm going to be making one of these for myself one of these days!
ReplyDeletePrecioso
ReplyDeleteI love comments!