With all the Valentine's Day things popping up on Pinterest, I was in a bit of a love heart mood. This shape, according to my son who is the authority on shapes now, is called a Heart Beat.
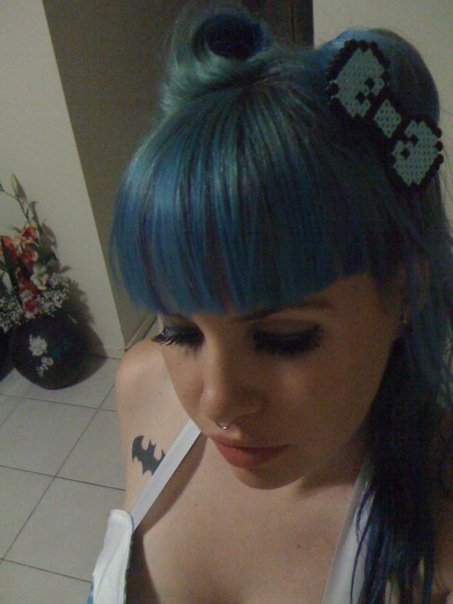
I never knew what the heck Hama beads {also know as Perler beads} were until December of 2009 when I entered into a Pin-Up competition {yeh I used to be cute!} and I met the very talented Fanny Barlow of Drop Dead, Gorgeous... Couture to Die For. I bought this cute little pixel bow hair clip from her, and I still have it to this day. I LOVED it. It was like a game, but real life! In my hair!
Want to know how to make your own hama bead jewellery? It's not even restricted to jewellery. You can make them into anything. Coasters, wallart. Um. Anything!
I made this Peashooter magnet for my sister from the game Plants vs Zombies
Pin It
You're going to need:
Perler or Hama beads. Check eBay!
Peg board. Check eBay!
Baking Paper
Iron
Jewellery fittings or magnets or hairclips or whatever you're going to use your design for.
Choose a design. I just eyeballed the first heart I did, but if you're following a design start with the first few rows at a time. You can google search "pixel blah blah" whatever you feel like making and chances are there's something like that. Look at the pixels as if they are beads. Each bead equals one pixel on the design!
Set the beads down on the pegboard, slowly filling up your rows.
Easy! This is the heart so far!
Cover it in a sheet of baking paper
With a medium-hot iron, iron gently over the design for a few seconds. I do it for about 20 seconds slowly moving it over and over, you get the hang of how much it will need by peeling back the paper and seeing how much it's melted.
Voila. This is the heart all melted! Let it cool for a few minutes
Is there a Doctor in the house? {haw haw haw I'm not even a Doctor Who nerd}
Here's some other designs I did a little while ago:
Space Invaders
Mario mushroom!
Stormtrooper!
Attach a jump ring through the holes and add a chain for a rad necklace! {the bead I wanted to use had the hole melted over, so I just repierced it with a quick unpick}
Told you it was easy!


8 comments
I remember I used to make stuff like that when I was younger!!! Man, this brought back some good memories. I love the designs you created!
ReplyDeleteThese look like a lot of fun, might have to see if I can hunt some down and give it a go:)
ReplyDeleteWe just pulled a massive bog of crafts that has been in storage!! Guess what's inside!?! UHH HUH!! Might have to try a storm trooper funnily enough we were looking at the photos from the Star Wars expedition at the power house museum in 2008. FUN TIMES!!
ReplyDeleteSo cute! I love it!
ReplyDeleteSo fun! Thanks for inviting me to come see! I love the stormtrooper! Now someone hurry up and make an R2D2!
ReplyDeleteHi, ur creations are really cute :), I was wondering what glue will you recommend to use lets say to glue the beads to a headband or a magnet. I feel that if i use like regular glue it will fall or something. Thanx!
ReplyDeleteE-6000 Epoxy, that along with super glue for small plastic only instant repair, JB weld for heavy duty gluing and 3M super 77 aerosol adhesive, are only 4 adhesives I use and is really all anyone needs. high temp heavy duty (Black) hot glue is good too but may alter the lighting on the piece. I do not consider hot glue to be an adhesive. I personally Iron my Perler's on a full heat iron until the holes disappear on the REAR ONLY. more than strong enough for displaying purposes, this even worked for a 4 board Gyrados I made for a friend. I hope all this helps. Simply put othre than specialty purposes, Amazing E-6000 is a wonder glue for crafters due to its ease of use, prep, set, cleanup, flexibility, waterproof properties, and pvc and acid free. Have a Kawaii Day! ^_^ -KawaiiOtakuAudiophile
DeleteGEEZ GIRL, You have to warn a sista before you post some ridic gorgeous pictures of yourself... that last one totally made me swoon!
ReplyDeleteI love comments!