

Little Monster has never been a crazy energetic kid. I mean, he is energetic and he has my stubbornness so that is kind of crazy, but he's never been the kid that climbs everything, runs everywhere, falls off stuff. I know. I'm really lucky.
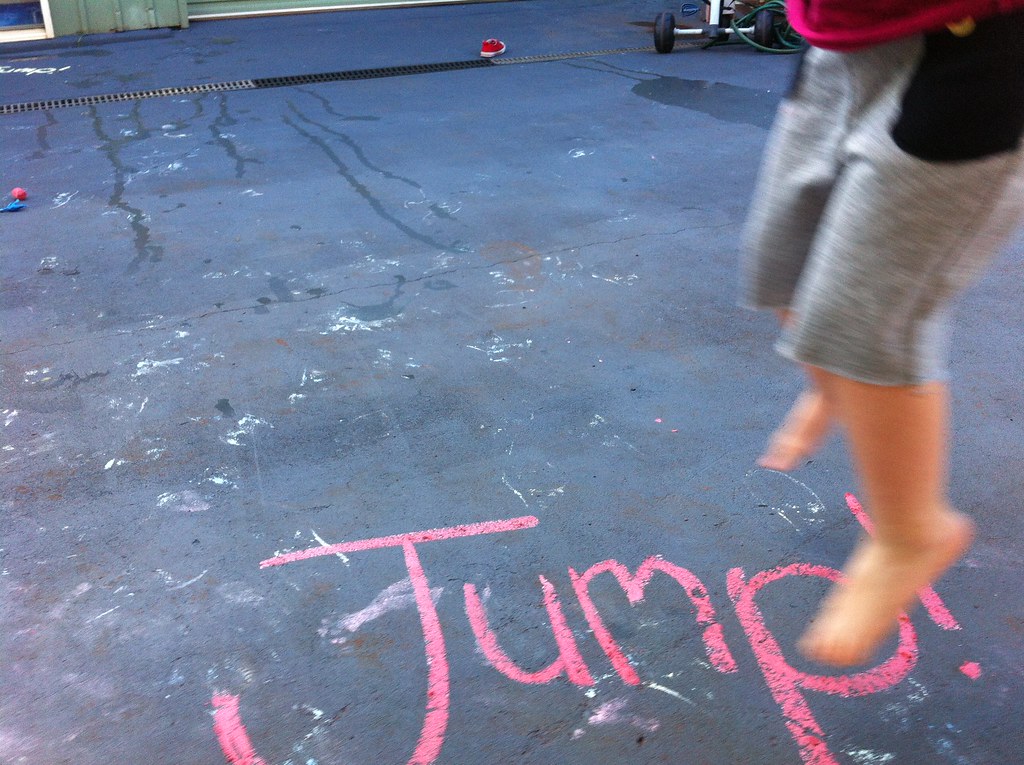
He can jump though. He loves to jump. Monster jumps over cracks in the sidewalk, he jumps in puddles, he jumps down the hallway. He's pretty good at it too!
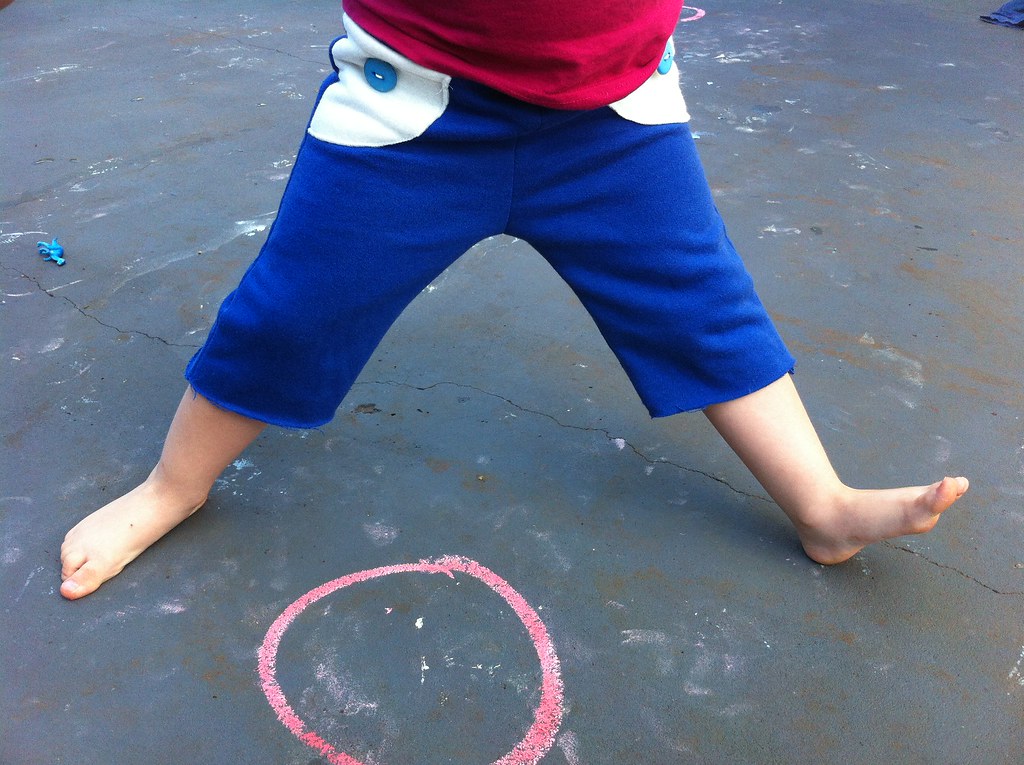
Inspired by a pair of shorts I saw at Big W, I whipped these cute comfy shorts up for him so he can jump to his little heart's content and look awesome doing it.
I know. I know. It's interesting when I can't even bring myself to spend money on something at Big W! But seriously. These cost me totally nothing and I made them my own.
Here's the covert shot I took of the shorts so I wouldn't forget them. Do you ever do that? I usually make sure the price tag is sticking out so that if anyone asks I'm like "Oh it's a visual shopping list." Heheh.
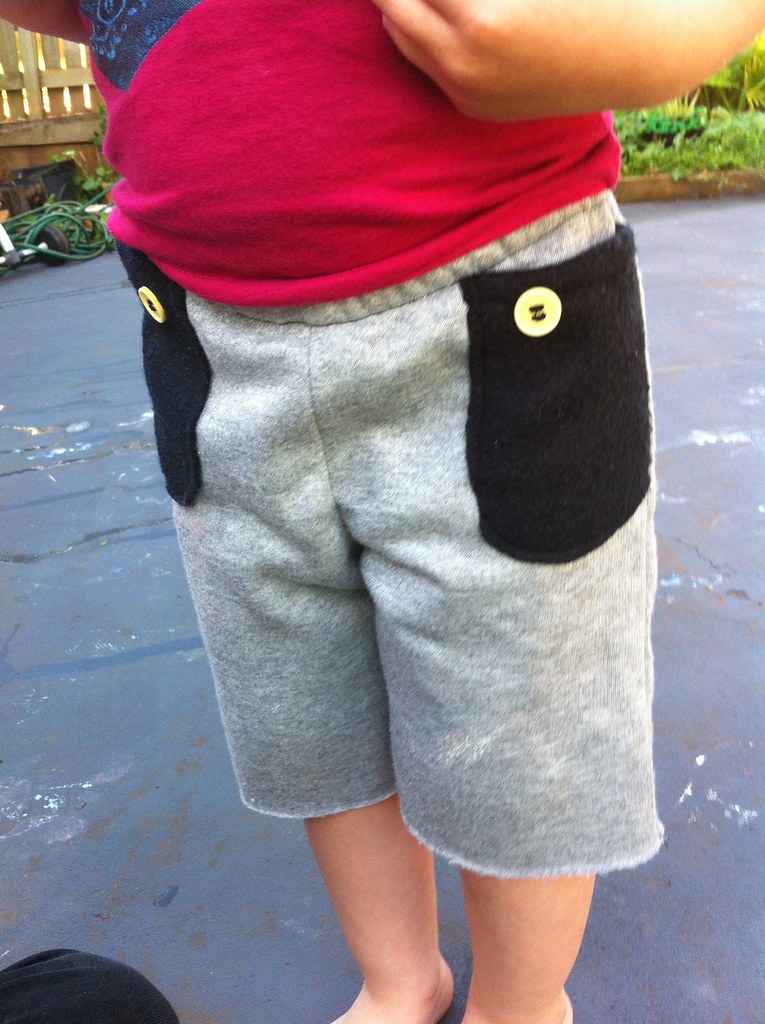
So basically I liked the knit waistband, but omitted it from my final pair of shorts {although I saw a similar pair today and am going to replicate them too!}. The design features I ended up working with was the fleece and the contrast patch pockets.
Click the link below to expand this post and view the full tutorial!
For this pair I used Dana's Kids Pants pattern. They really are a perfect fit for the Monster because he is tall and skinny. I've included links for other pants patterns {I do have one for little toddlers on this site} and tutorials on how to draft your own.
Here's some pants patterns I've found:
Free
My Basic Pants Pattern - for babies size 0-1
Dana's Kids Pants {with instructions on drafting your own} - the pattern is for kids sized 2-3
Drafting Kid's Pants from total scratch - I love drafting patterns like this!
To Buy
Rae's Big Butt Baby Pants - I have this pattern. They're awesome!
Tips
My super wordy tutorial on drafting a pants pattern - this is more for jeans style or pants with a fly
Sew Mama Sew has some handy tips for modifying pants for babies and kids
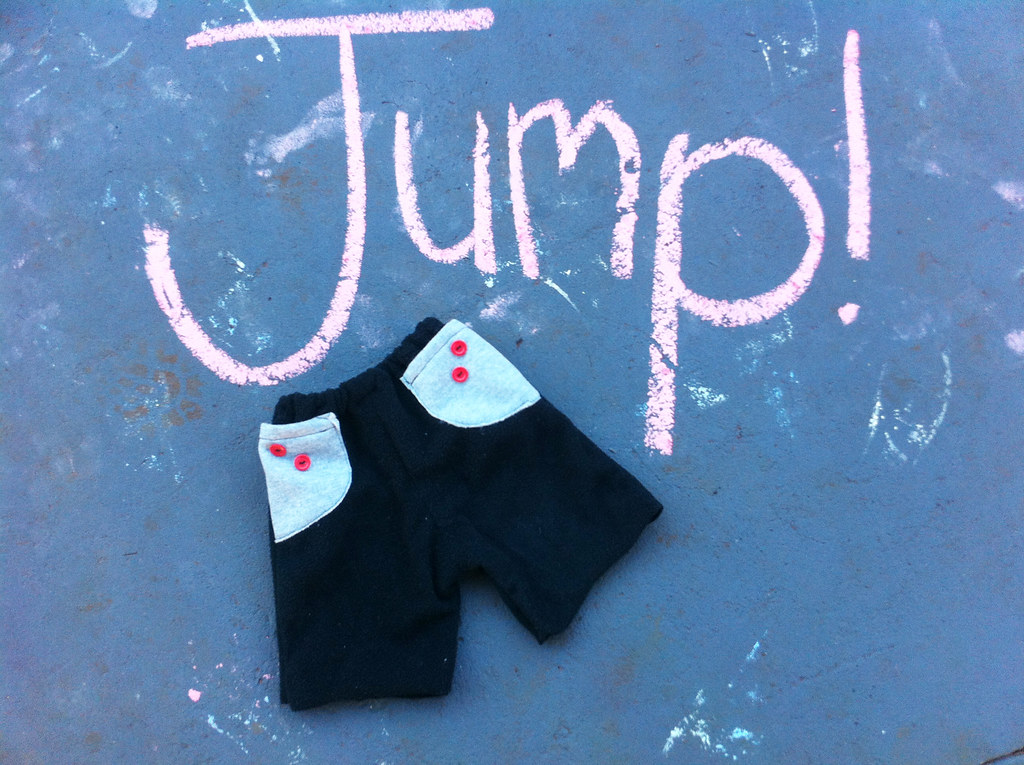
Disclaimer! I made the blue pair up and had all the photos awesome and it looked great. And then somehow I copied all the photos to my laptop, deleted them off my phone and then... no photos on my laptop -_-. So I had to make ANOTHER pair {Lucky Monster!} for the tutorial. I cut up an old black jacket for the fabric, and didn't realise until I looked at the photos how pilly it all was. Yuck! Sorry!
You will need
Fleece fabric
Scrap of contrast fleece fabric
Buttons
Elastic for the waistband
Cut out two fronts and two backs of your fabric!

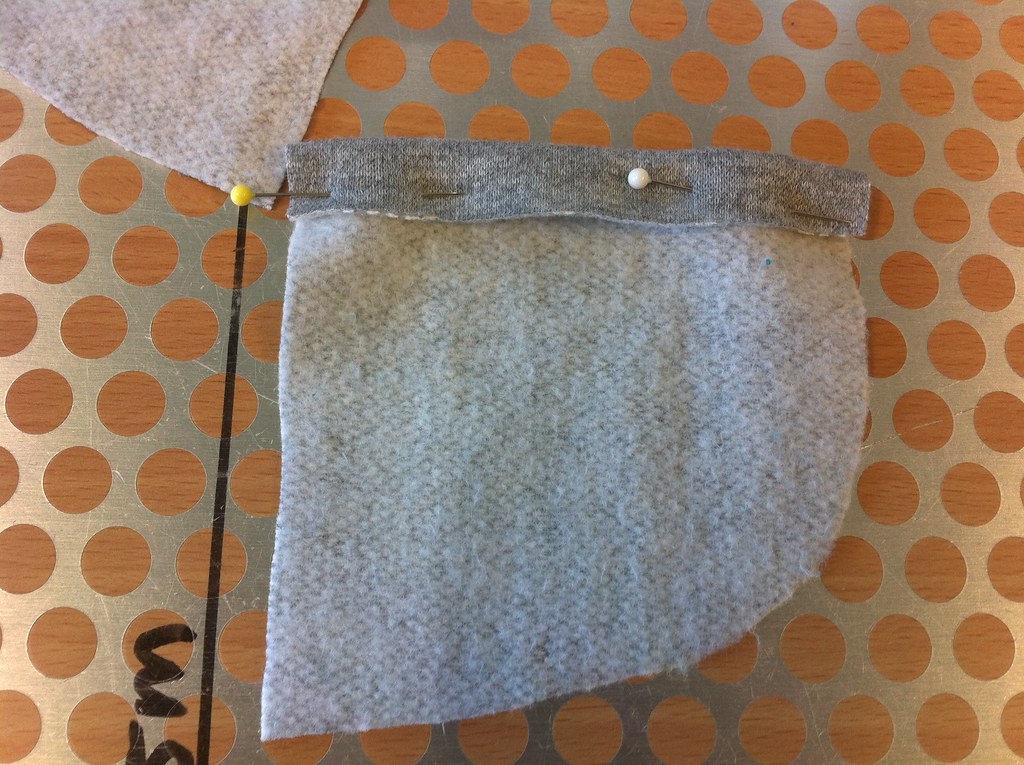
Cut out your pockets! I just winged the shape, making sure the edge matches up to where the sideseams of the shorts fronts are going to be. Make sure the tops are straight across so you can hem them. Cut two of these, one for each side of the front.

Fold over the top of each pocket 1cm and pin it. This will be the hem. Because we're using fleece you don't need to finish any edges really.
Stitch across the tops of the pockets.

Here's the fun part! Stitching on the buttons!
Lately I've been using my machine to stitch on buttons, it's really super fun! If you're lucky, you will have a presser foot for your sewing machine that will look similar to this.
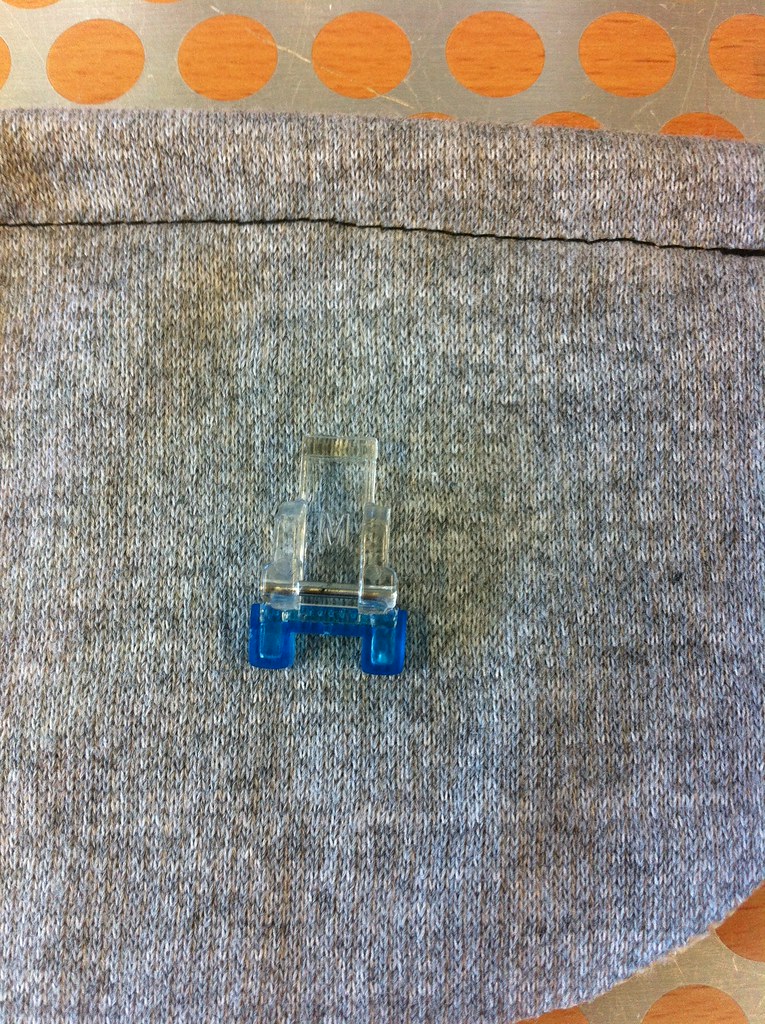
If you don't, do not stress! You're regular presser foot will do just fine! This special button foot holds the button in place.
Slip your button onto your pocket and switch your stitch to a zigzag stitch. Make the stitch length as small as you can get it. Mine can go to 0.1mm which is pretty awesome. This will make your machine do tiny zigzags on the spot!
Adjust the zigzag width so that the needle is over one of the holes of the button.
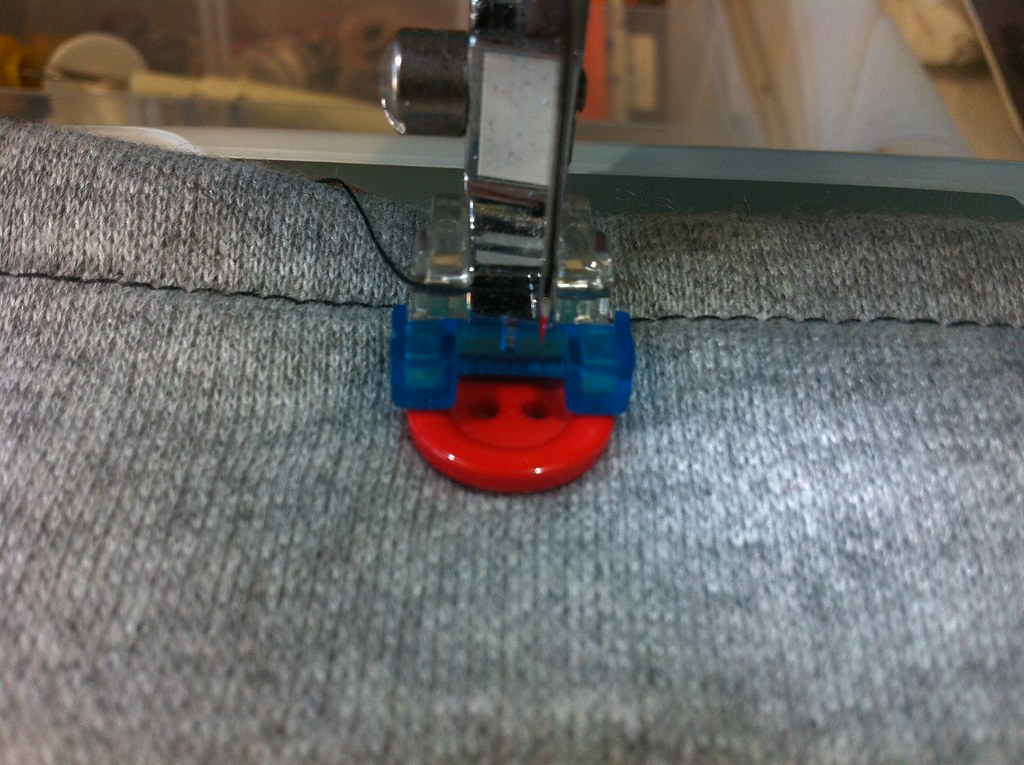
I usually do my first stitch using the handwheel on the side of my machine in case I have it wrong and it snaps my needle or something. Once you can see that your needle is going to zig into one hole and zag into the other, go nuts!
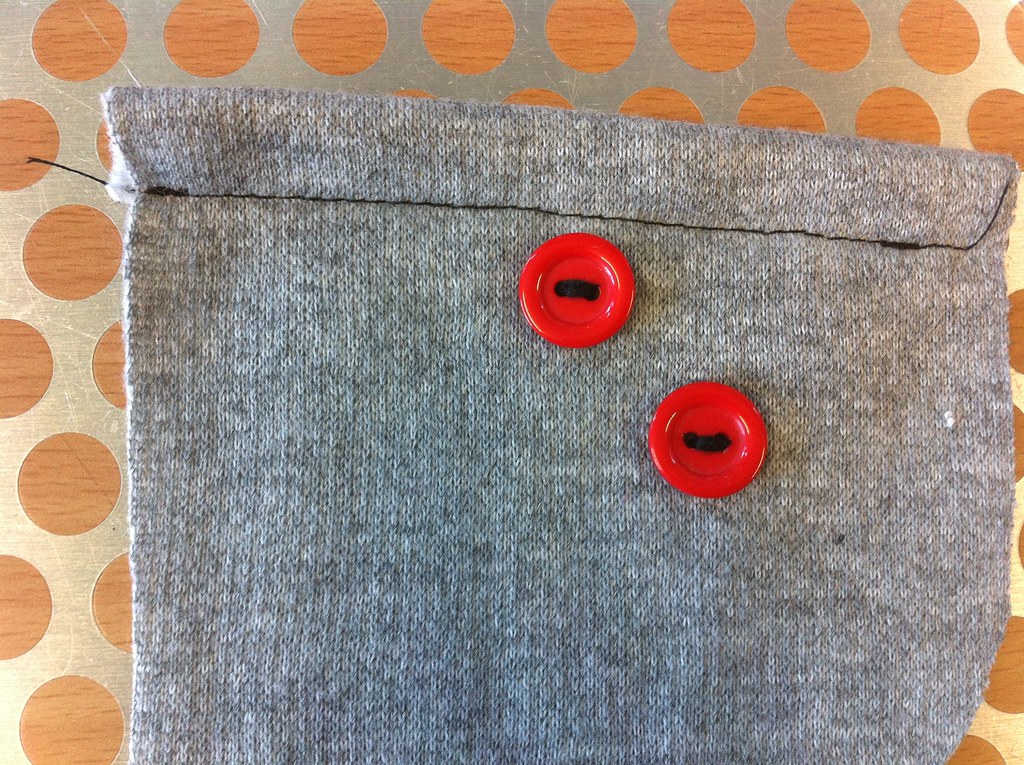
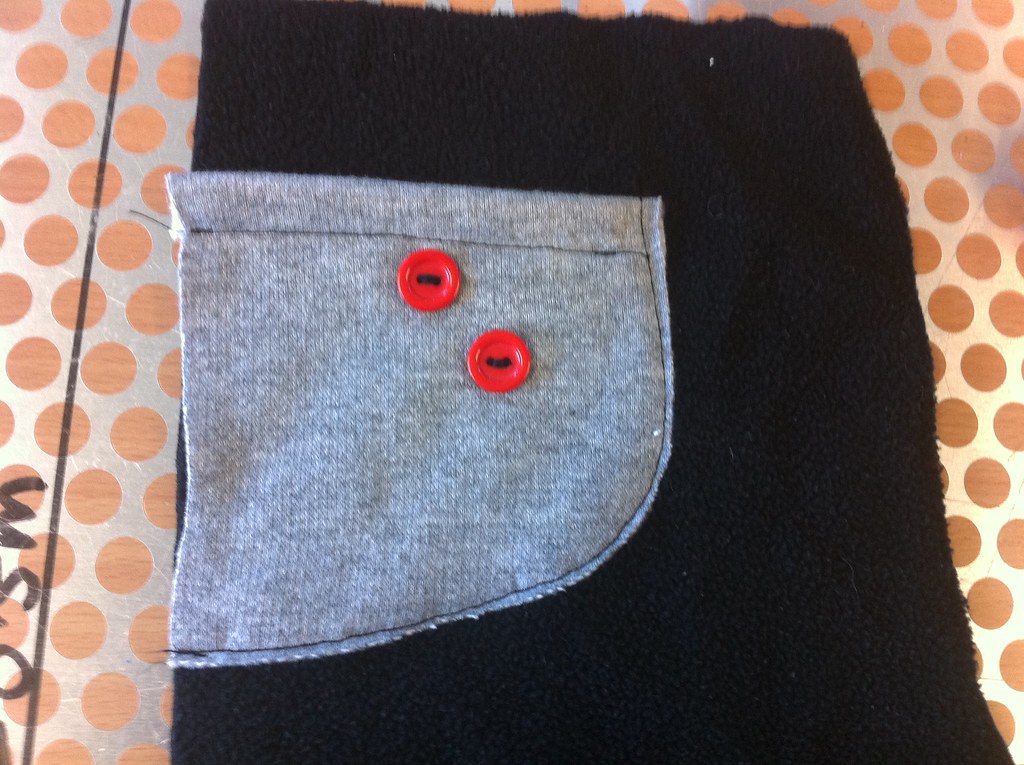
Pretty rad huh! Only takes a few seconds too!
Pin your pockets to the FRONTS of your shorts. See this here? This is me pinning them to the BACK of the shorts... That's because I'm a duffer. You're not a duffer. Don't do this. Pin them to the front!
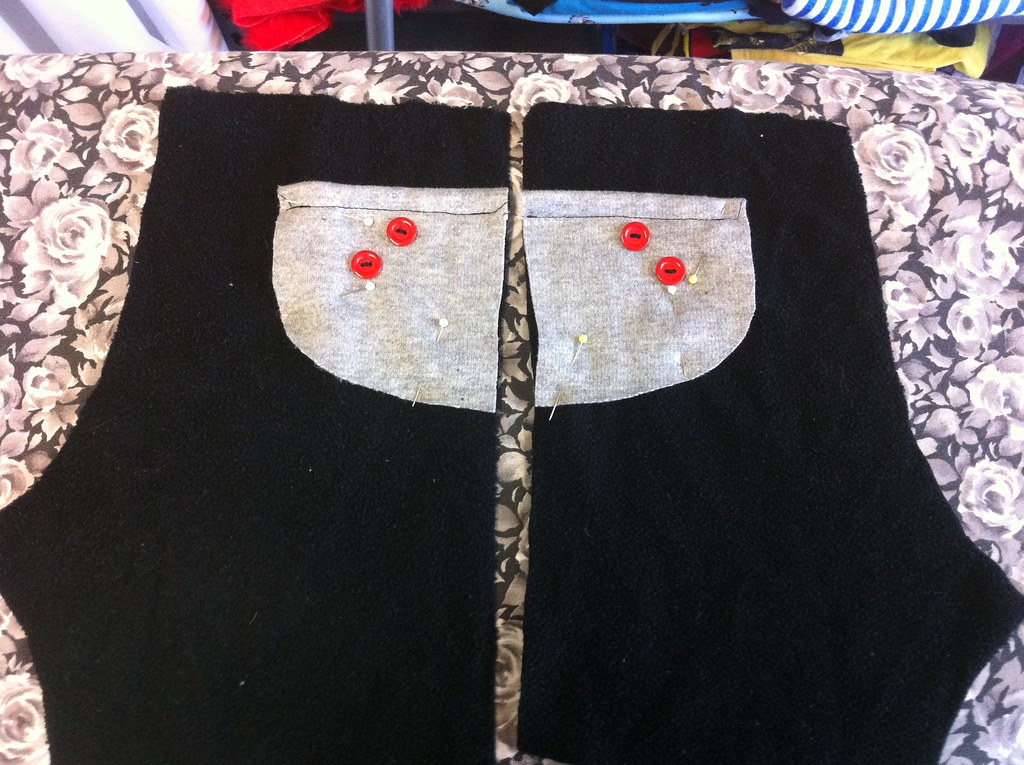
Unless of course you want back pockets then go for it lol. Stitch them down. I stitched right close to the edge of the fabric.
Now stitch your shorts up as usual -
Stitch the fronts together by the crotch seam. And the backs the same way.

Open up your back shorts, right side up

Stitch the front inside legs to the back inside legs -

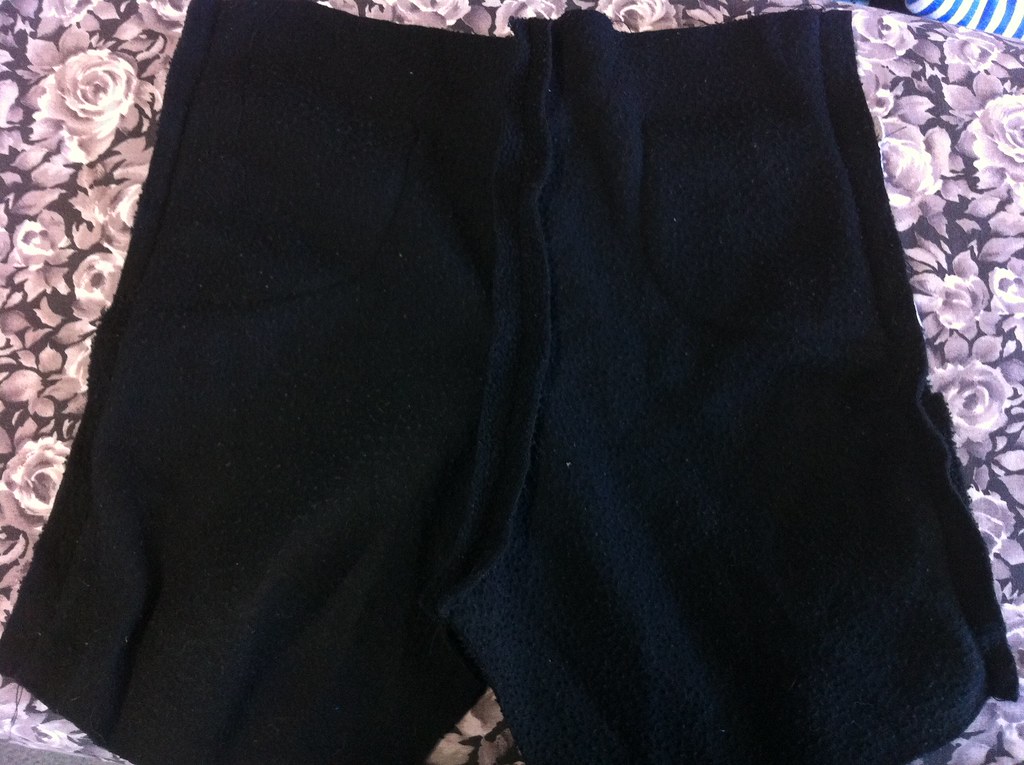
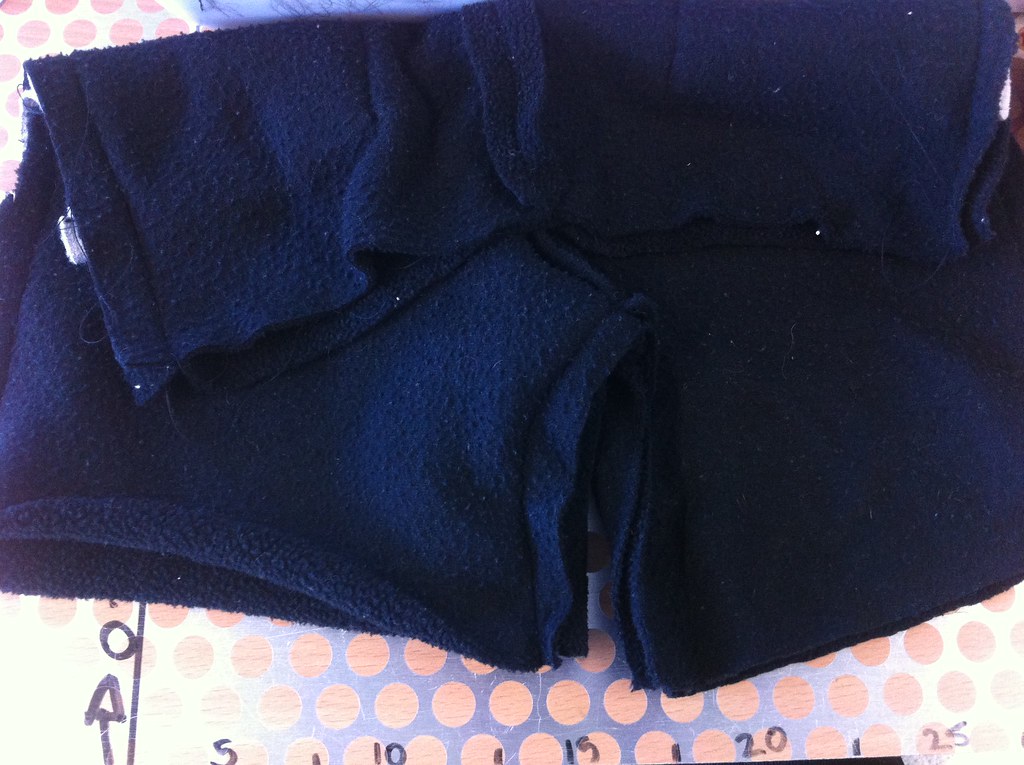
This is what I like about fleece or stretchknit fabrics. You don't need to hem them. As in if you want a raw edge you don't have to be scared of it fraying. I love the look of this on his shorts. So once your legs are sewn up, stretch the bottom of the legs out a little along the raw edge. You'll see it curl a little.
In the photo below, the leg on the left has been stretched a tad, the one on the right I haven't touched yet. It just gives the shorts a little cuteness. These black shorts are made from polar fleece, but the grey shorts in the photos are made from a thinner sweatshirt fleece which I really liked working with.
Measure around your kids low-waist and cut some elastic to fit. Stitch it in a loop, overlapping the edges.

Slip the front of your sewing machine off. Some machines have a bit that just hinges down, some slide out, some clip out. Take that sucker off! This will make sewing the waistband so much easier!

Put your elastic around the waist of your pants. It will be smaller than the pants but that is good! That means the shorts will stay up on little the little kid's hips. Fold over the top of the shorts over the elastic making a casing {This is when I stick in my tag too}. Stitch around the top, making sure that you are not sewing over the elastic.

DONE!
{Sorry any of my friends if this was yours! Nothing should be left unsupervised in my studio. And I only used the sleeves so you can have it back...sleeveless...}

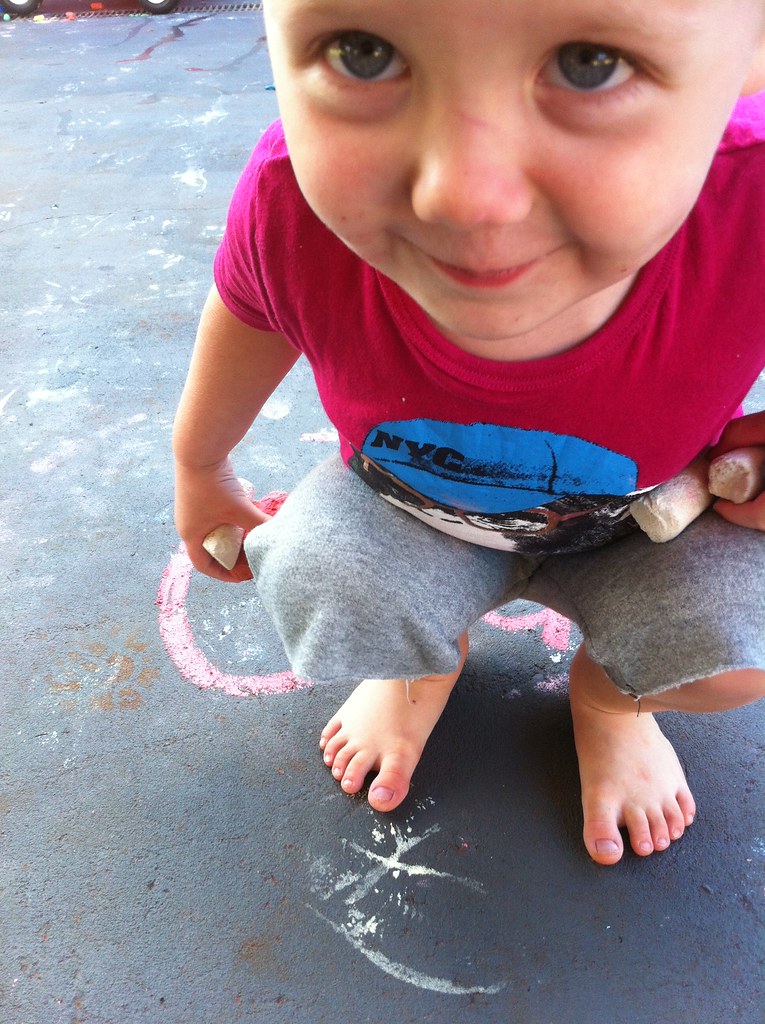
Seriously now... this kid is ridiculous!


 • www.max-california.com")

9 comments
Naww what a cutie! Great tute!
ReplyDeleteCool pants max! Love those little mock pockets.
ReplyDeleteEasy to follow tutorial and the shorts look fabulous!!! Isn't it great when you can reuse a preloved garment. Thanks for linking up!
ReplyDeleteHehe... Covert shots... I am not alone I see!! Great pants and fab tutorial... With winter coming up and a little man who really loves shorts I think fleece might be our saving grace!!
ReplyDeleteXo Steph
I love the covert shot!!! And the shorts are super cute...for way less! YAhoo!!
ReplyDeleteCute and comfy...perfect for a boy of any age! Thanks for the great tutorial!
ReplyDeleteI take pictures of clothes I see in stores too! hahaha I thought I was the only one! hahaha
ReplyDeleteAdorable! Pinned it!
ReplyDeleteCute! I will feature this on 9-8-12 for my readers!
ReplyDeleteseemesew.blogspot.com
I love comments!