
When I was in highschool, my mum taught me to applique. I appliqued ALOT of things, mostly faces of Angelica from the Rugrats onto shirts + pencil cases.
Well I hadn't appliqued in forever, until I decided Vincent needed some cute new clothes. Well I'm on an applique-ing bender! You can applique anything, and use any graphic you'd like as an applique. Some that are fun are images from children's colouring-in books. You can get some cute pictures here. Just print them out, cut along the lines and then choose what fabrics you'd like each piece. I'll do a more in-depth applique tutorial for multiple pieces another day.
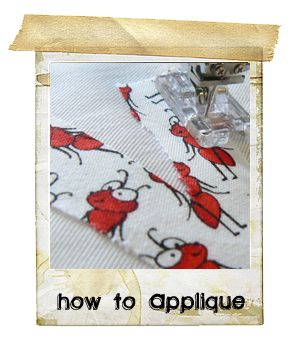
The following tutorial shows you how to applique. I use this product called Vliesofix, but if you don't have any, or can't afford it, regular interfacing will do. You'll just have to pin it to the item being appliqued instead of ironing it on.
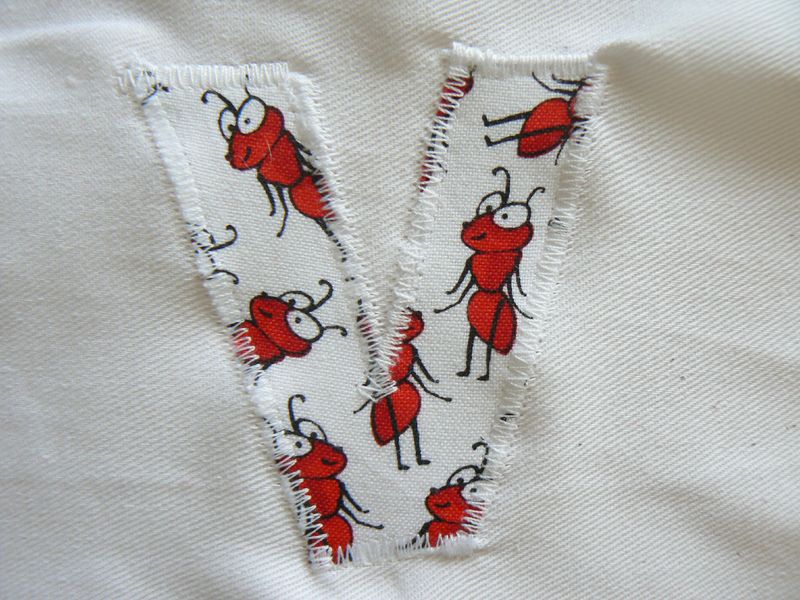
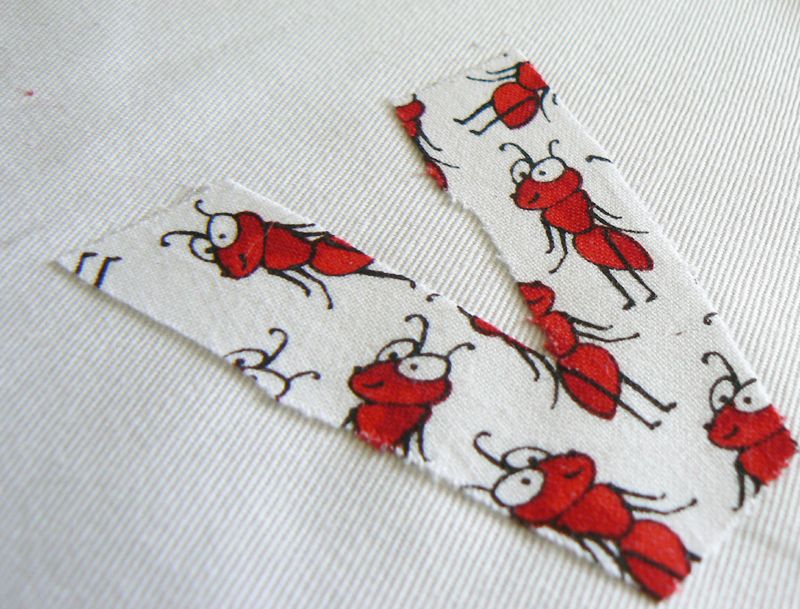
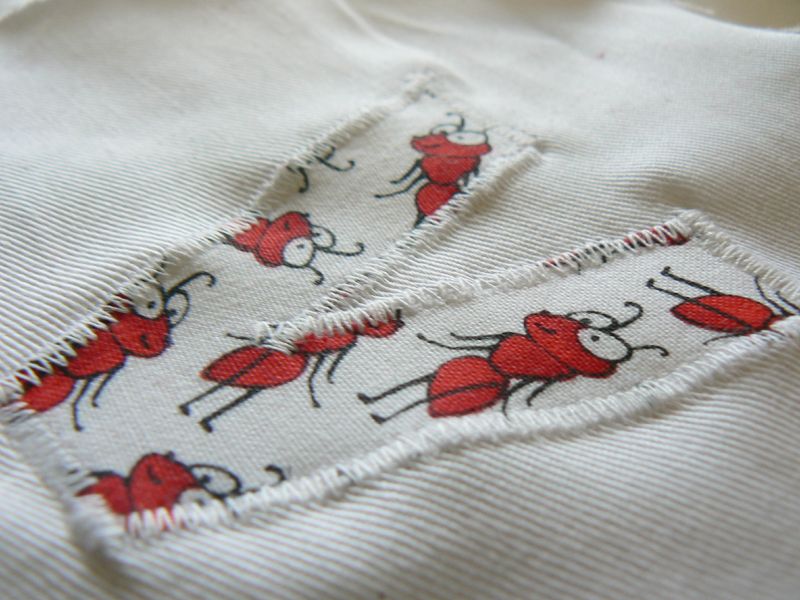
1. Gather your materials. You'll need Scissors, an iron, what you want to applique, and what you want to applique onto. You'll also need a little pattern of what you are appliqueing. I'm going to applique a V onto some white fabric I can later turn into a pocket for Vincent. The fabric that will be the V is the fabric with the small red ants all over it.
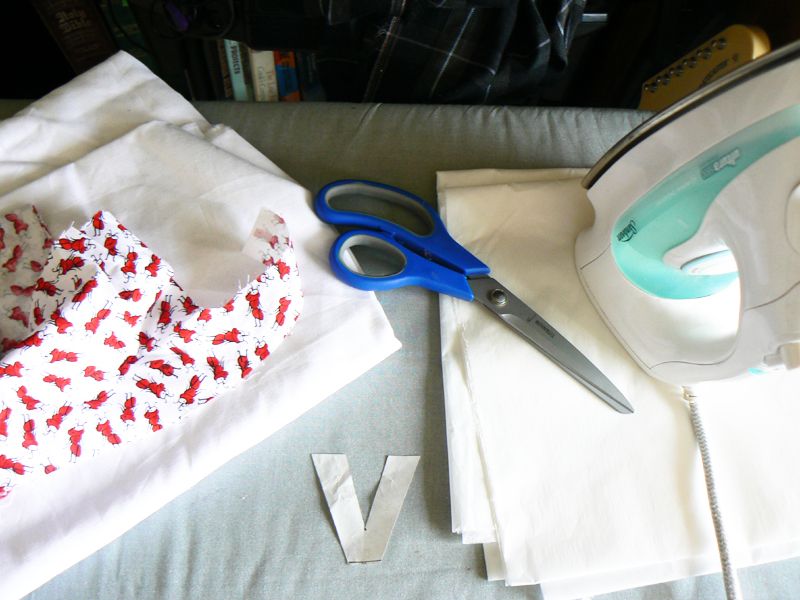
The paper under the iron there is Vliesofix.
Vliesofix is a double sided glue paper. It is gluey on one side, and the other side is covered in paper. You can iron the gluey side down to something, peel off the paper and then iron that side onto something else. It sticks things together really well, but for relaly neat appliqueing, I zigzag around the edge.
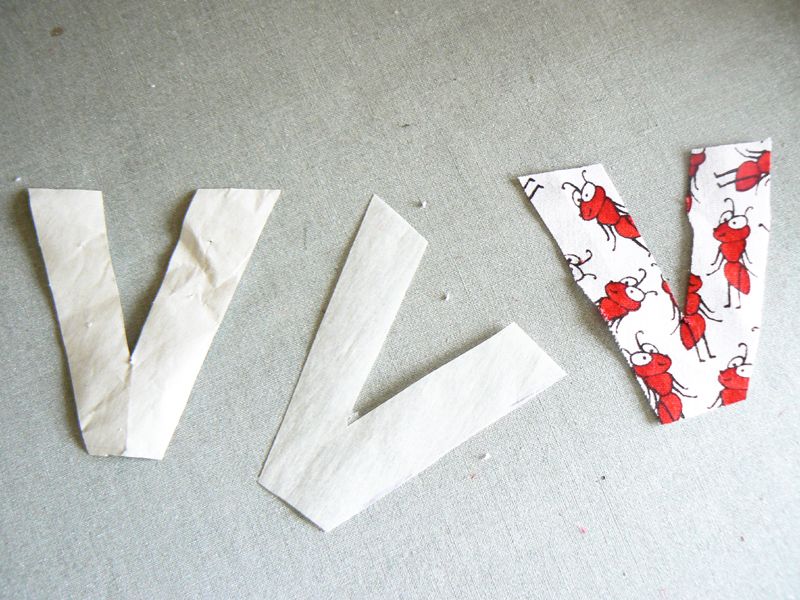
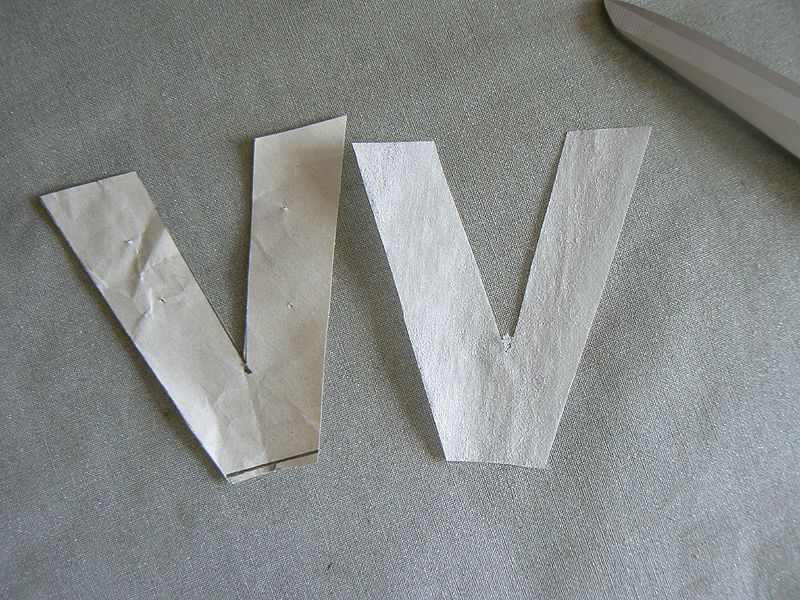
2. Cut out of the fabric and the vliesofix your desired pattern.
Click on this next photo for a close-up of the texture of Vliesofix ((right))
3. With the right side of the fabric facing the ironing board, place the Vliesofix gluey side down. Cover with an old teatowel and iron. This melts the glue and bonds it to the fabric.
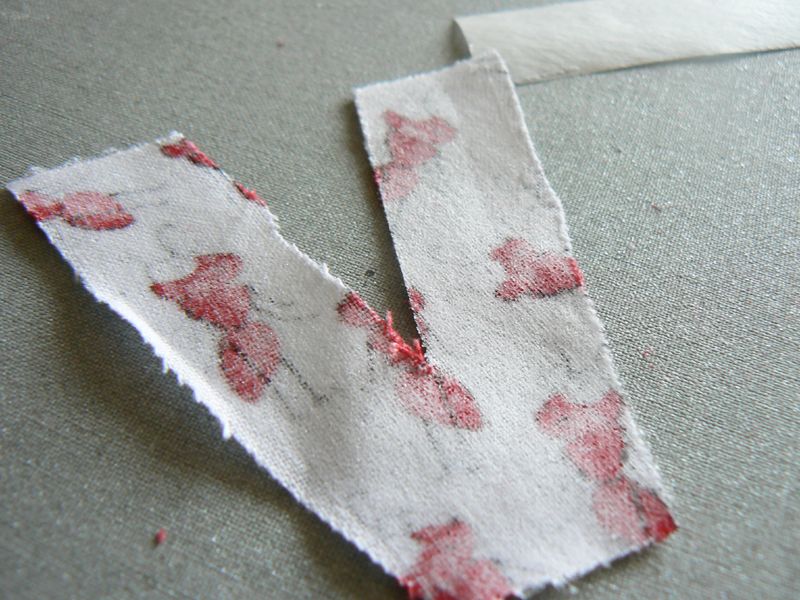
4. Flip the Applique over and place onto the fabric you are appliqueing. Make sure you have it positioned right, then cover with a teatowel and iron.
5. Some sewing machines have a stitch guide inside the lid. My mum's does, and it has a stitch guide for sewing appliques.
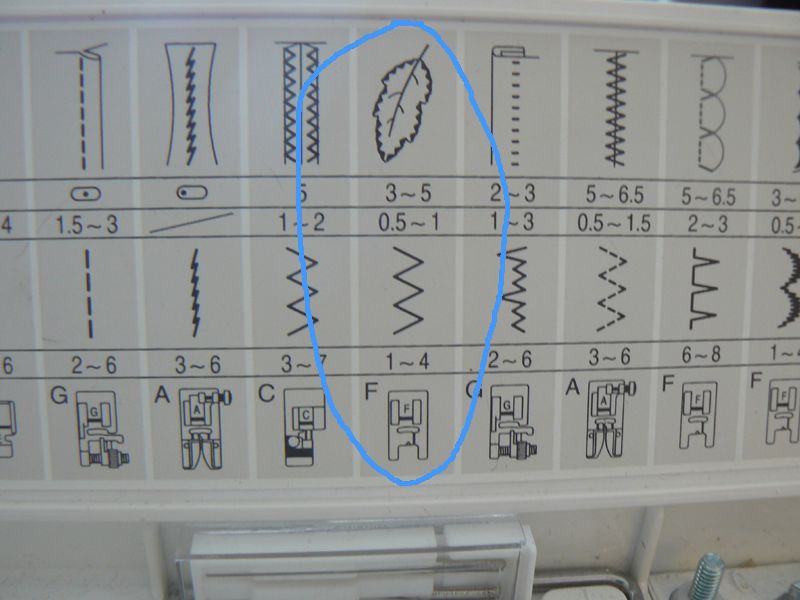
It recommends how wide the zig-zag should be ((3-5)), which stitch length I should choose ((0.5-1)), which stitch to set it to ((zigzag)) and which presser foot to use ((F - which on mum's machine is the regular foot))
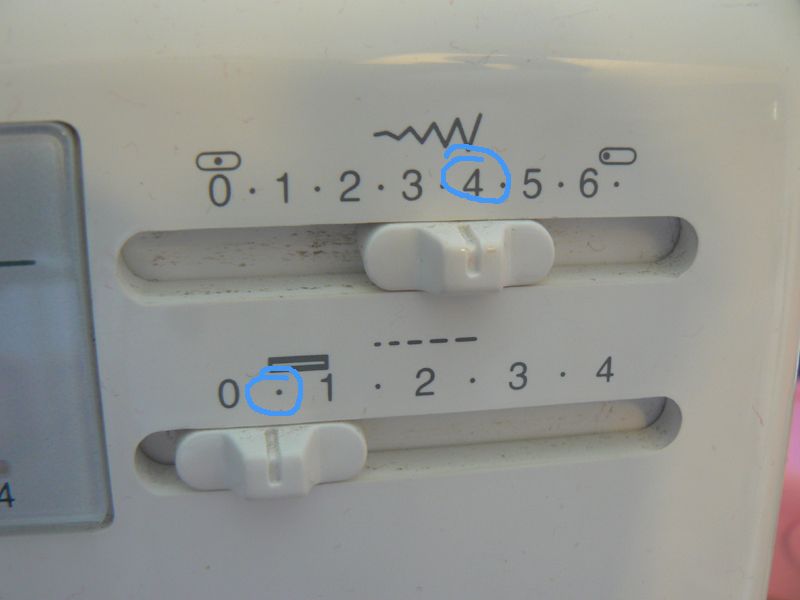
So I set the Zig-zag width to 4 and the stitch length to 0.5. This makes tiny close together zig-zags like satinstitch.
6. Stitch

The Vliesofix has pretyt much glued the applique to the fabric so you don't need to pin it :)
7. All Done!


 • www.max-california.com")

3 comments
That's so much easier than I thought it would be! Thank you for the tutorial.
ReplyDeleteGreat tutorial! I'm covering appliques in my dressmaking course right now, but their instructions were a bit hard to follow - this cleared it right up!
ReplyDeleteWhere do u get vliesofix
ReplyDeleteI love comments!