
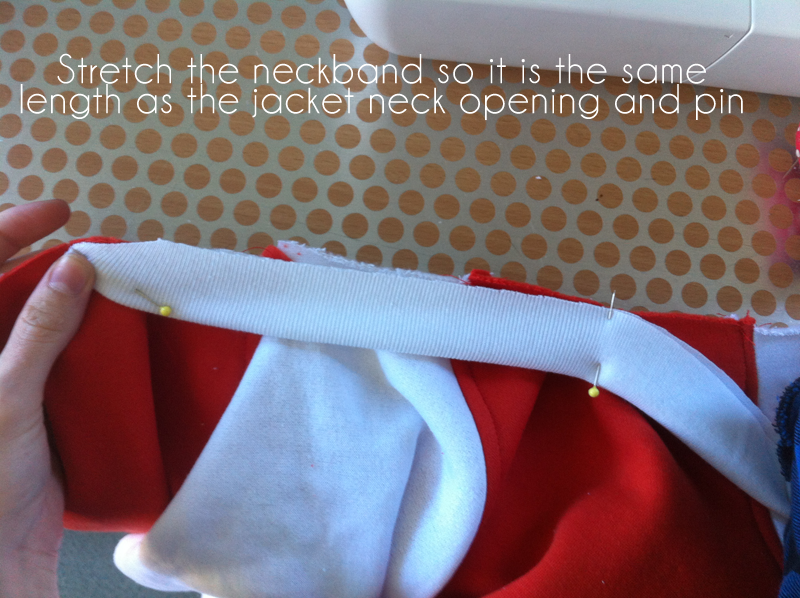
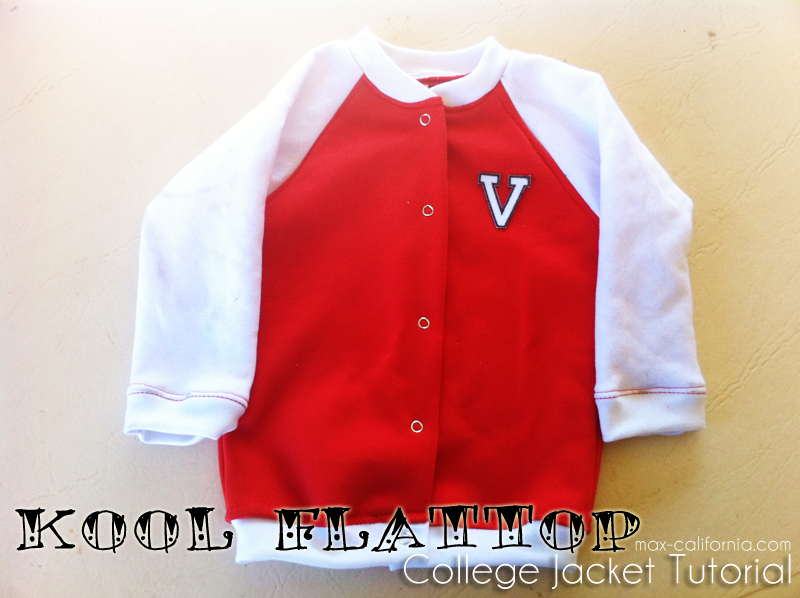
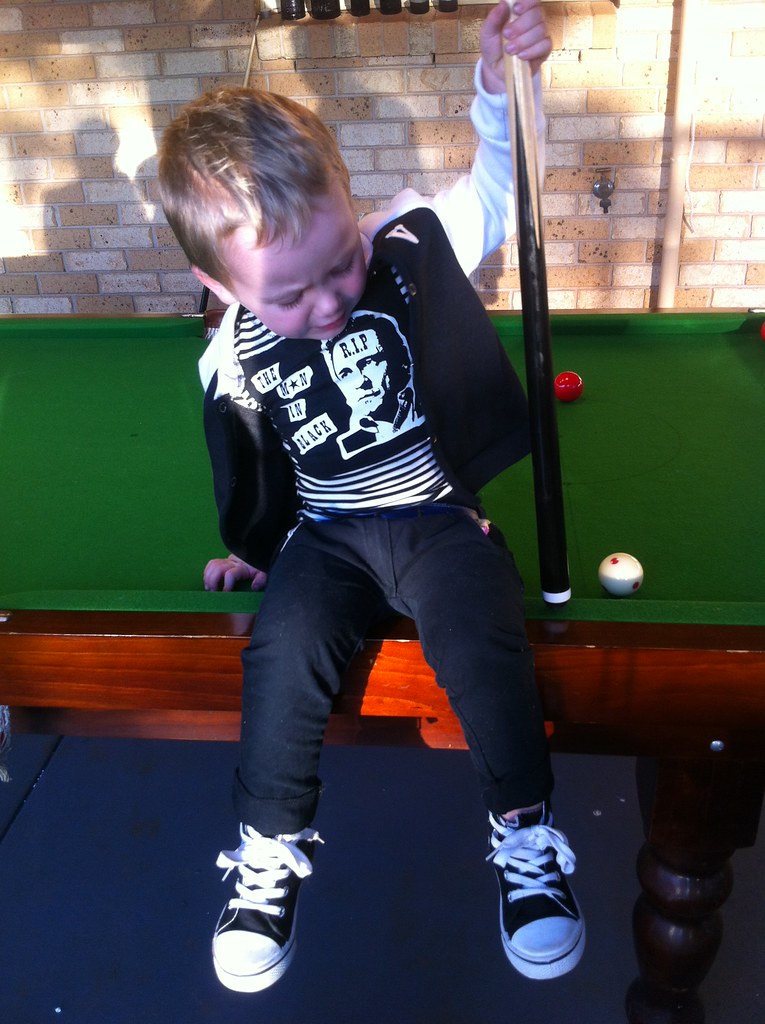
Bringing home my tutorial for the 'Kool Flattop' College Jacket I wrote for MellySews & Boy, Oh Boy, Oh Boy's Sew In Tune series!
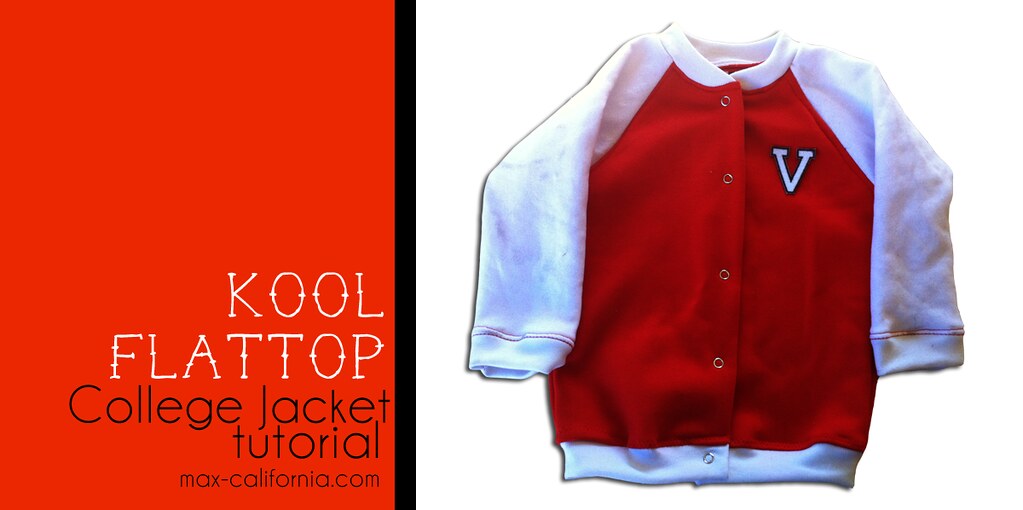
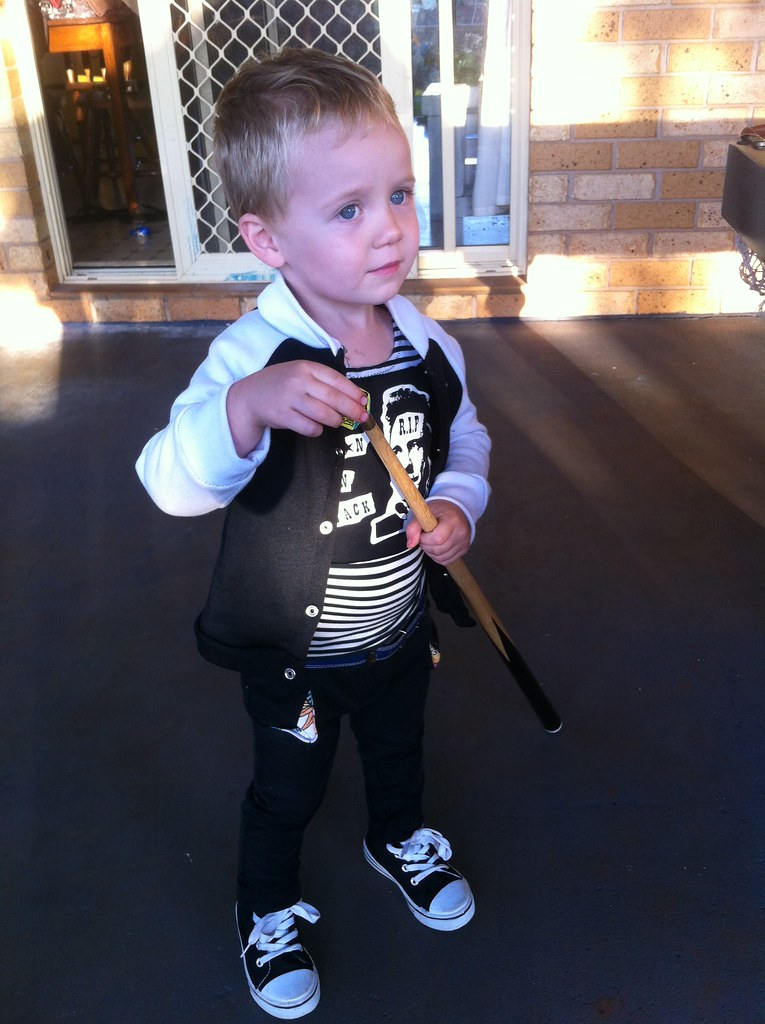
Before I had kids, my husband and I used to go to lots of rockabilly and punk gigs with our friends. Nearly all our friends were in bands and it was so fun to support them. Rockabilly and Psychobilly music became a massive part of my life, although I listen to Yo Gabba Gabba more now! Even though I don't listen to that music as much anymore, I still dress my son Vince like a little rocker. It's his style. I made this college jacket for him a little while ago, a miniature version of one I made my husband years and years ago, so here's the tutorial for it! The song I chose is Kool Flattop by the Horrorpops, a song about a cute Greaser boy {think Danny Zuko in Grease!}.
First you'll need a pattern for a raglan-sleeved tee. I used the one from this amazing book {I have the one for Babies too}. It's super dated, but has a lot of basic patterns in it for stretch-knit clothing {tees, hoodies, sweatpants etc}.
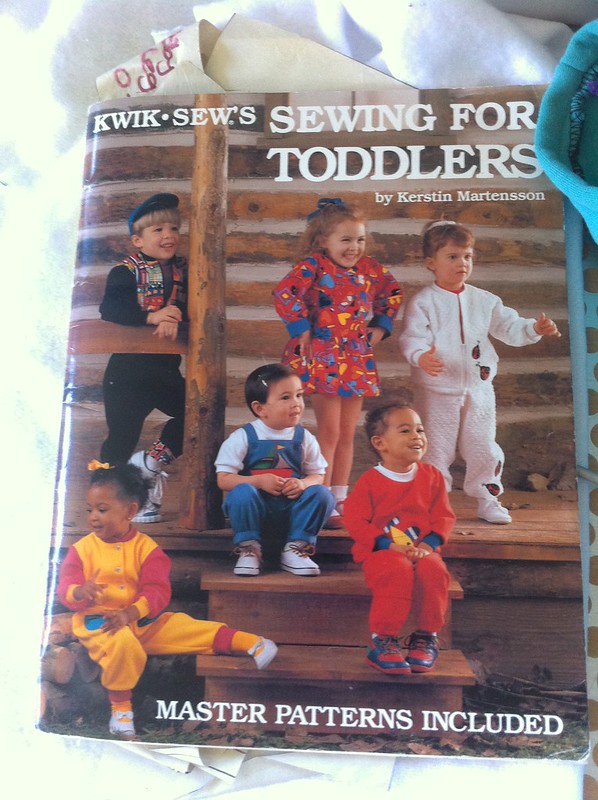
The pattern I used was this one:

Craftiness Is Not Optional has a great tutorial for Raglan tees right here, or if you're making this for a baby, check out the free pattern you can download here in sizes 0-12 months from The Alison Show.
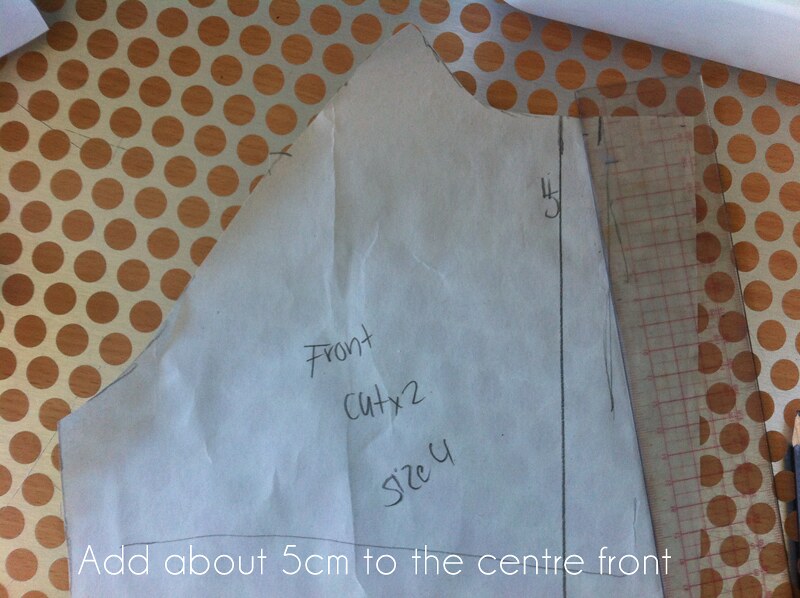
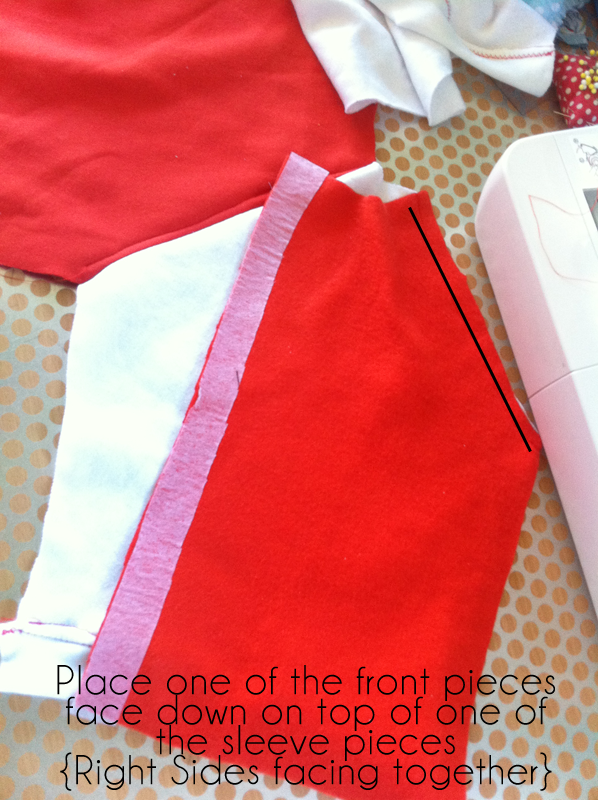
Fold the front of the pattern in half and add 5cm. We're making a jacket, so you'll need the centre front opening.
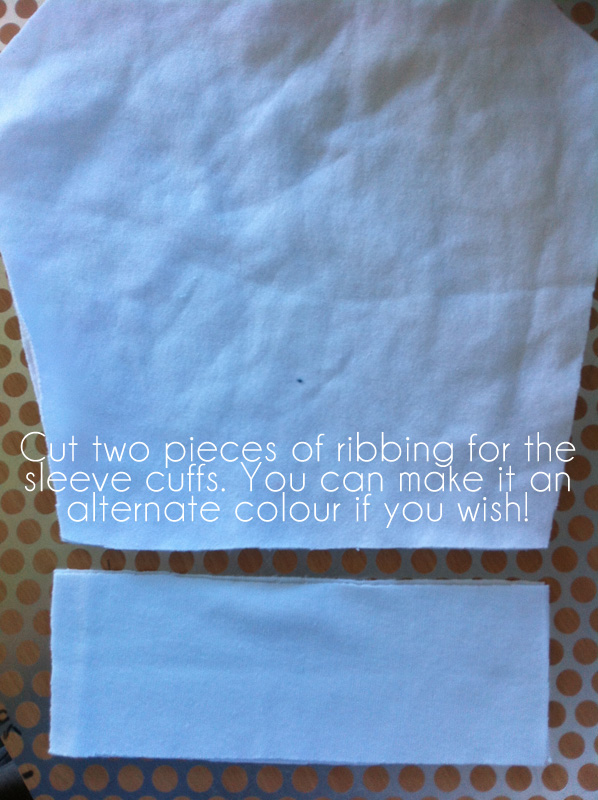
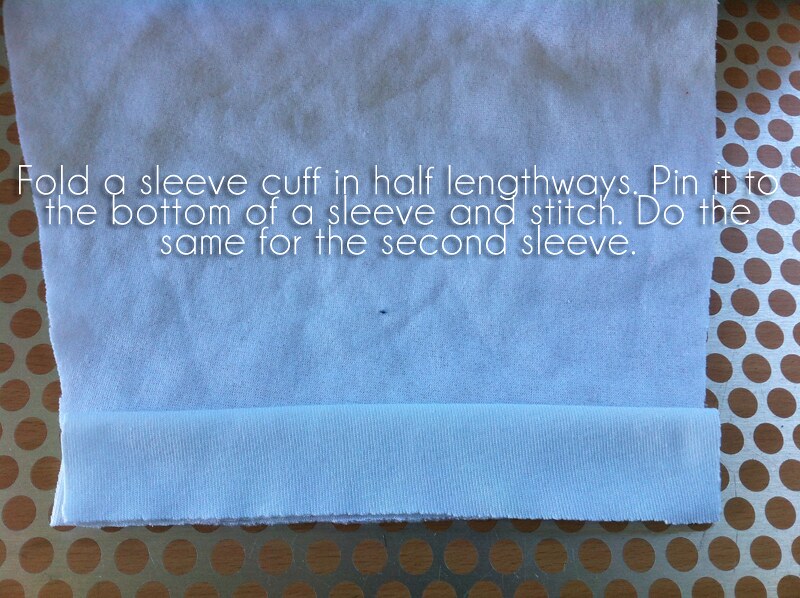
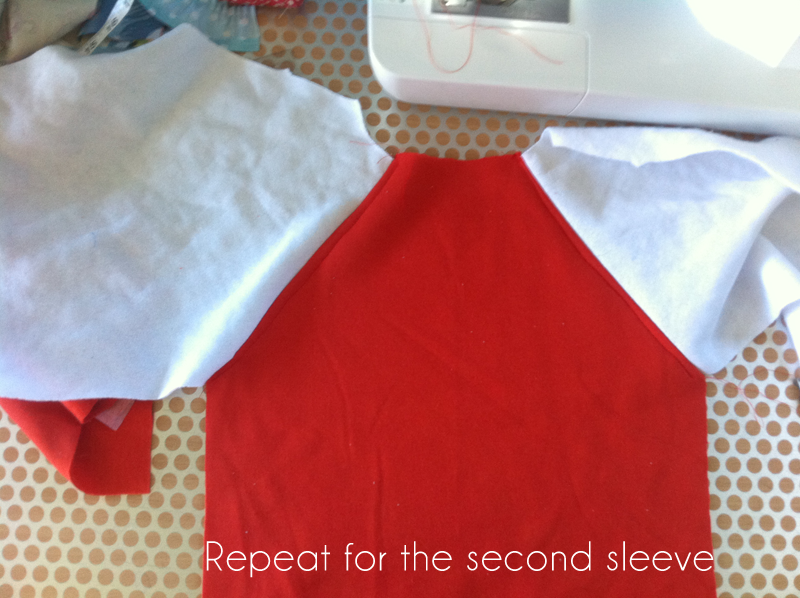
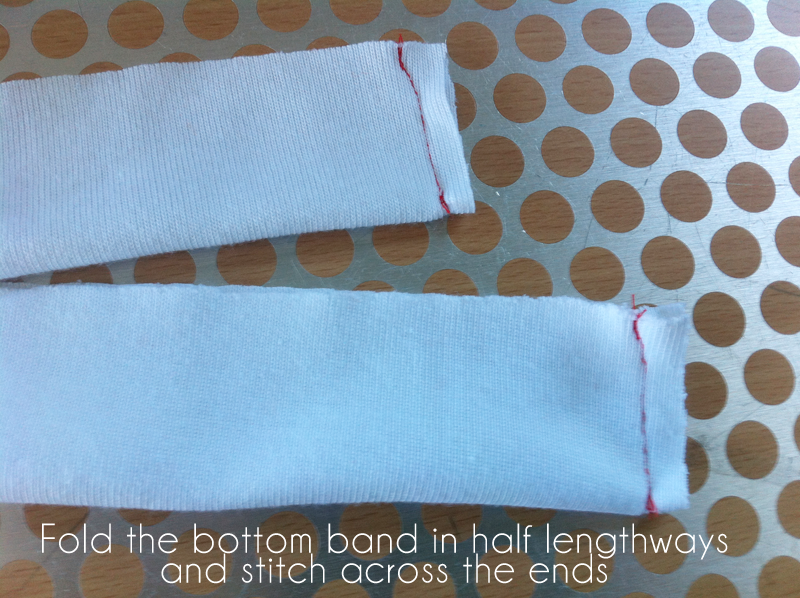
Stitch the cuffs to the sleeves.

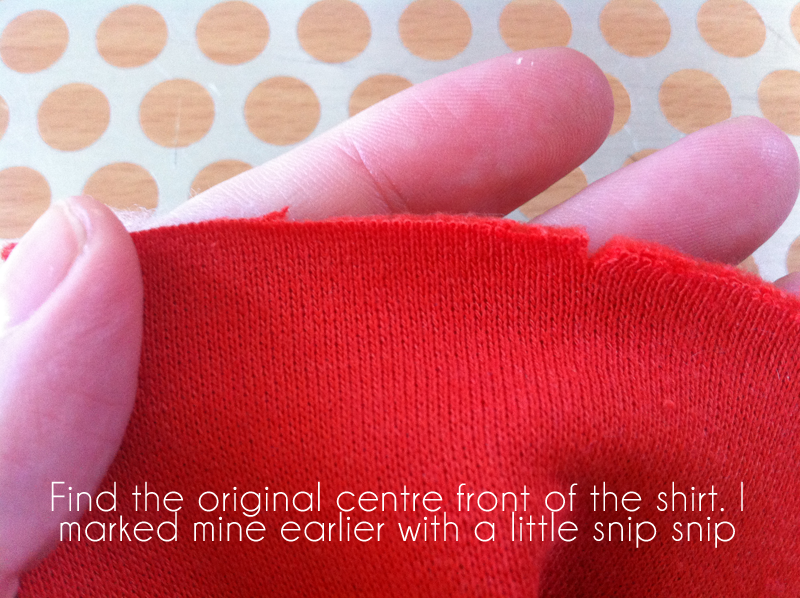
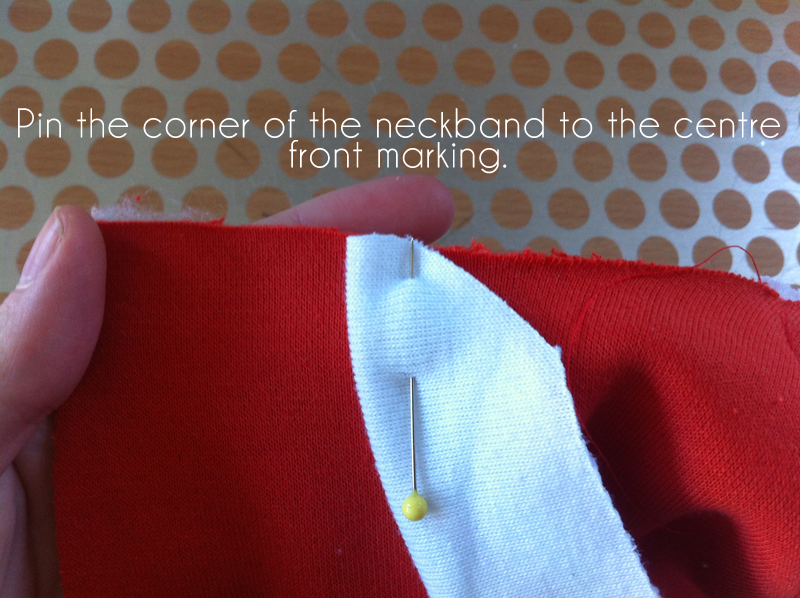
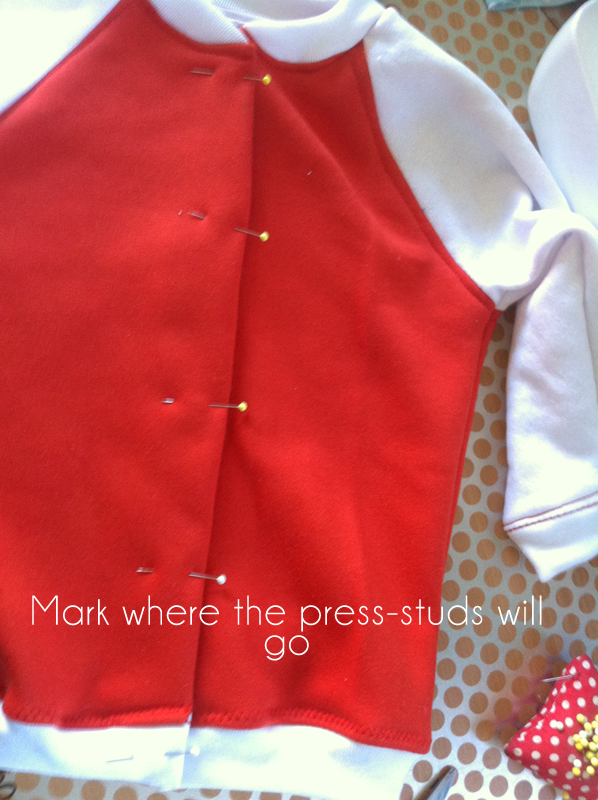
Mark on the jacket fronts where the original centre front was {5cm in from the edge}

What you don't see is where the kiddie couch she's asleep in is shoved under one of my desks!


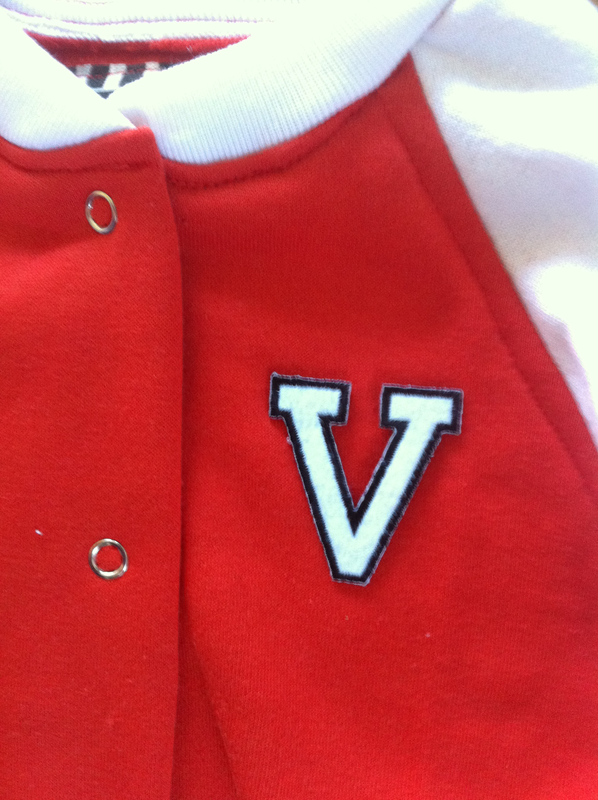
I bought this little iron on patch of Vincent's initial. If you're using these sorts of iron-ons, you're going to need to stitch it down as well. They're completely hopeless and will unstick after one wash if you don't anchor it.
And you're done!
Head over to my blog to see HEAPS more boy tutorials. I need to update the tutorial page, but I have a 4 week old baby so it's been difficult, so you should check the tutorial tag too.


 • www.max-california.com")

3 comments
Bravo! I was looking at your machine pictures and I'm amazed you sewed that without a walking foot. I'm taking the craftsy class to learn how to sew with knits because I tried and failed...also, I'm amazed you found that pattern in that book. I saw it but I was afraid the patterns/designs might be dated so I never ordered it, but I'm glad to now know that the designs are basic enough to be made modern.
ReplyDelete-Ash P
http://distractedashley.blogspot.com
p.s. - I love the check the baby picture...that is too friggin' cute!!!
So cute! I'm actually really hoping I'm having a boy so that I can make some of your epic boy stuff. :)
ReplyDeleteHello :)
ReplyDeleteI would like to thank you a lot for this tutorial. I just sew a girly version for my 5 years old, with purple, white and just a little bit of pink. I'm so fan of this jacket. thanks so much :)
I love comments!