

Here's the first in my Little Boy Basics series. You can read more about the series here!
When I first started toilet training the little Monster, I had visions of him wearing nothing but handmade jocks. Well. Little boys wee A LOT, and my first attempts at making my own patterns of jocks didn't really work well. I got him some cute as boxer briefs then made a pattern from them. Tweaking them to suit myself I came up with this!

The first in our Basics series, your little man needs some boxer briefs! Go nuts. Use t-shirts, mix and match patterned stretch fabrics or just go all one colour. I wouldn't use Lycra, even though its stretchy skills are amazing, it's just not very healthy for a little boy's bits.

Tutorial and link to the pattern under the cut! This pattern is for boy's wearing size 2. I added 1cm all around the pattern to make a size 3 for the Monster and it worked pretty well
{Edit: My son's thighs are chunky and have grown in the two weeks since I had made these! An updated pattern for a size 3 and 4 boxer briefs will be added soon!}
You'll be able to find all the free patterns and tutorials in the series by clicking the "Little Boy's Basics Series" tab at the top of the site.

Download and print the pattern. There are two pages, the Back and the Front & Crotch Pieces.
These boxer briefs are made from stretch knit fabric, make sure the fabric always stretched WIDTH WAYS, around the body. If it's not stretching that way there's no way your little dude is going to get his junk and butt into it!
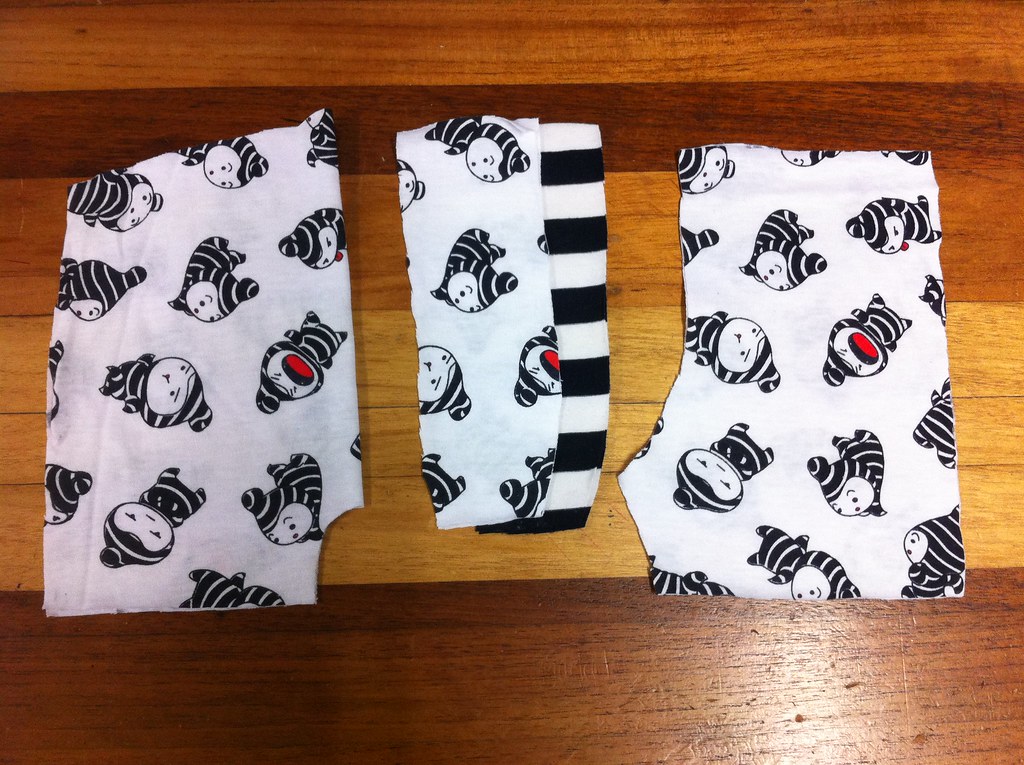
Cut out your pieces. You will have one back {on the fold}, four crotch pieces and two fronts. I like to cut one or two of the crotch pieces {or as I like to tactlessly call them - junk pieces} in a contrast fabric. You can play around with what you like.
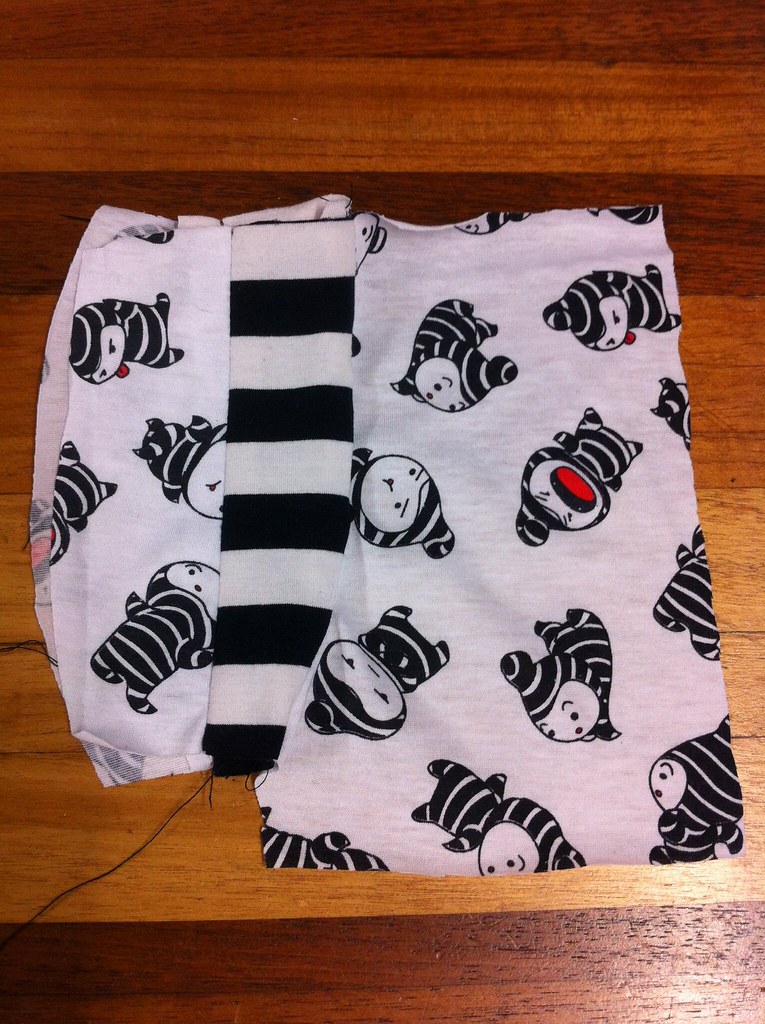
Stitch two of the crotch pieces, right sides together, down the straight edge. Do the same with the other two pieces. I use 1cm seam allowances for everything.
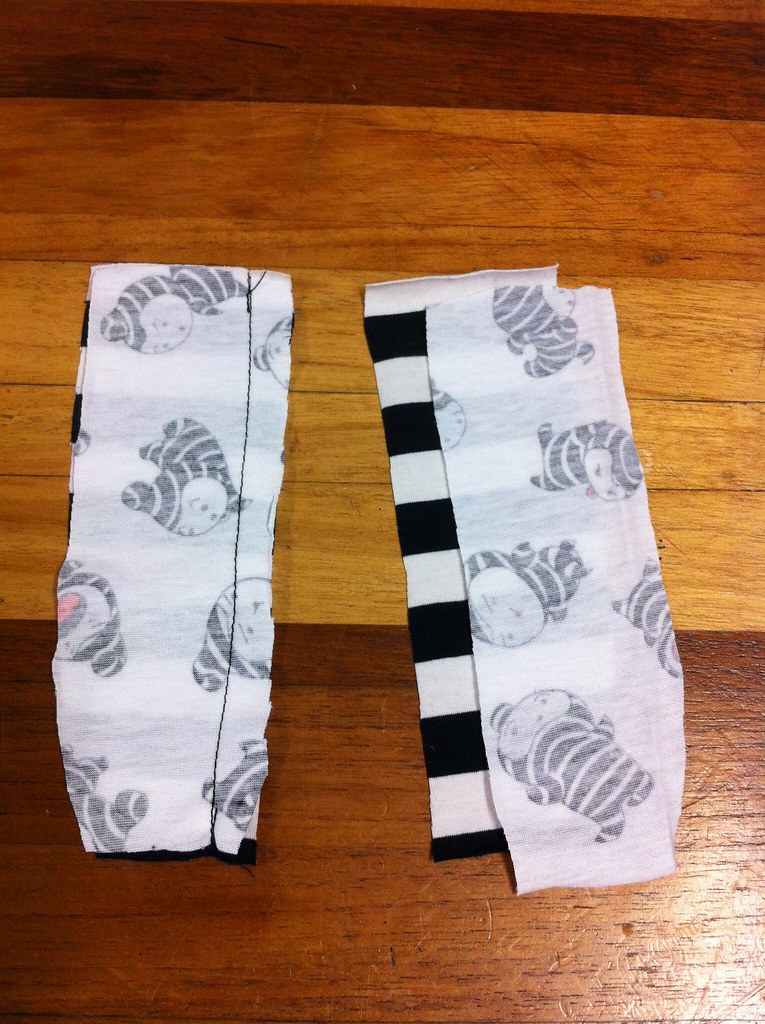
Opened up it will look like this
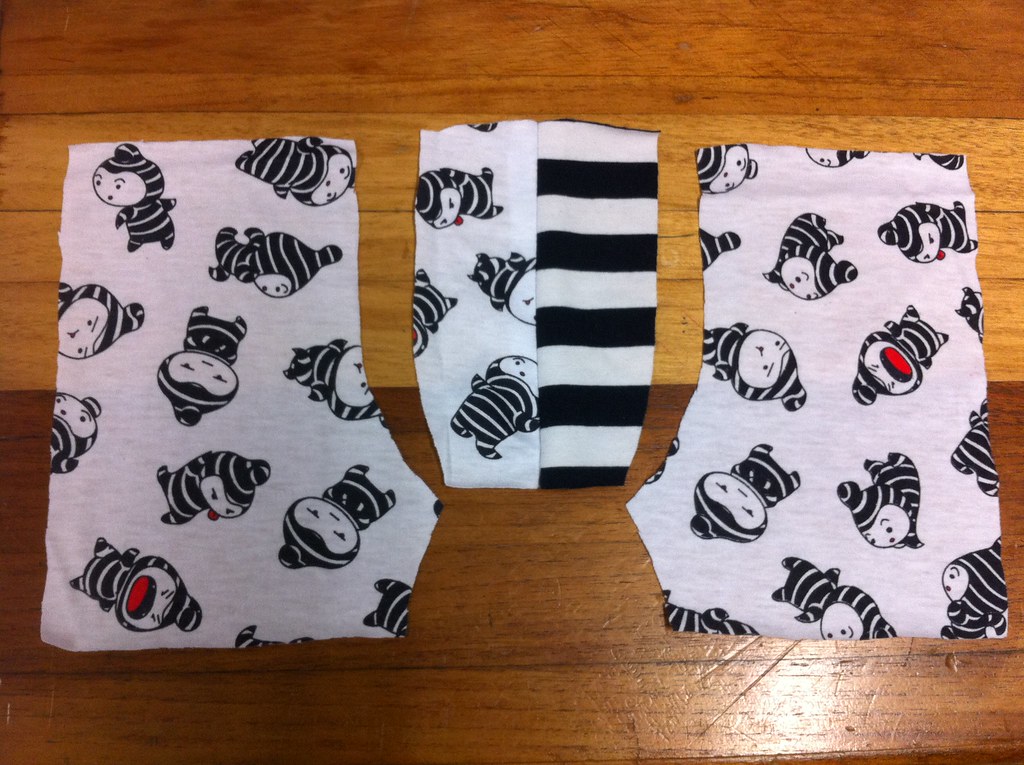
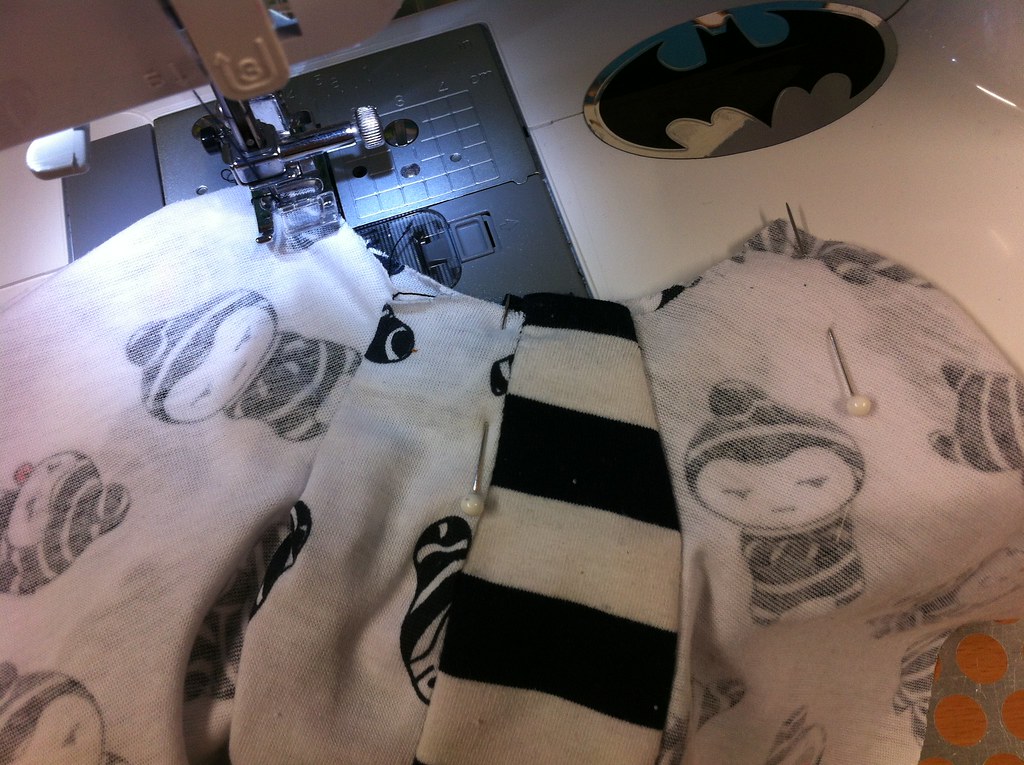
Take one of the crotch pieces and pin it right sides together to the crotch curve on one of the fronts. Take the other crotch piece and pin it to the back of that same curve. You're sandwiching the front piece inbetween the crotches. In the photo below is the way they are stacked. One crotch piece right side up, the front piece {also right side up} goes on top, the second crotch piece goes face down on the very top. You'll be pinning and sewing down the main curve. This gives your boy some room for his junk ^_^

Pin & then Stitch
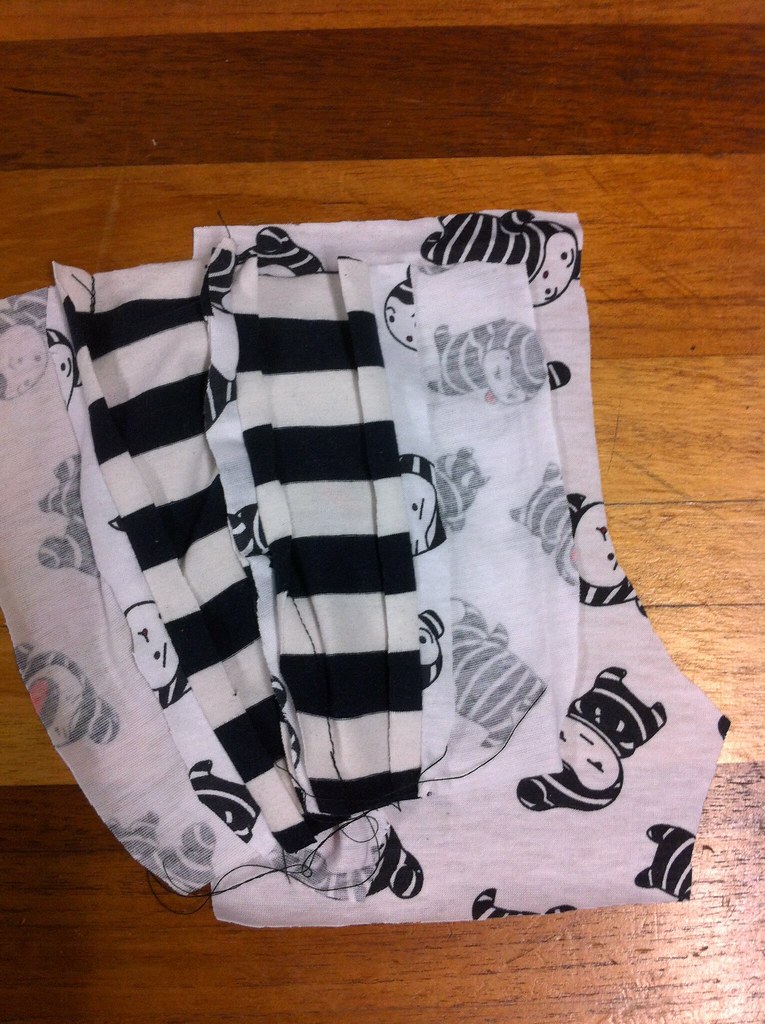
It will look like this
 |
| Crotch pieces either side of the front |
 |
| Flattened the way it will be worn, the front piece to one side, the crotch pieces to the other side |
This next bit is going to look weird but bear with me and it should work!
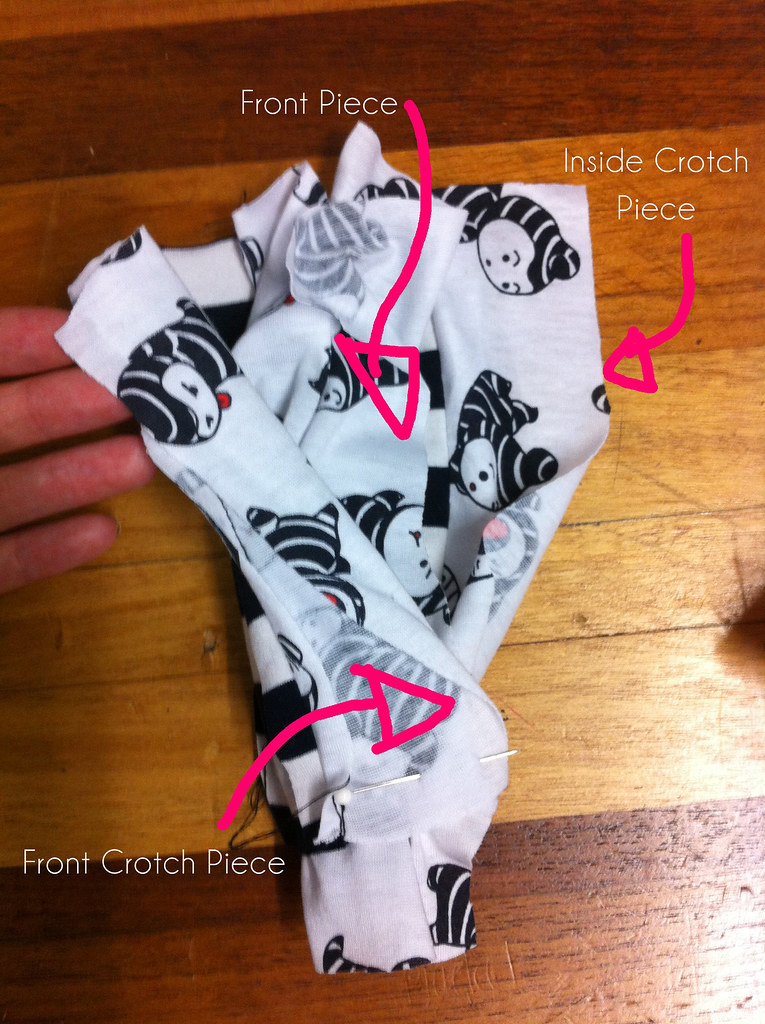
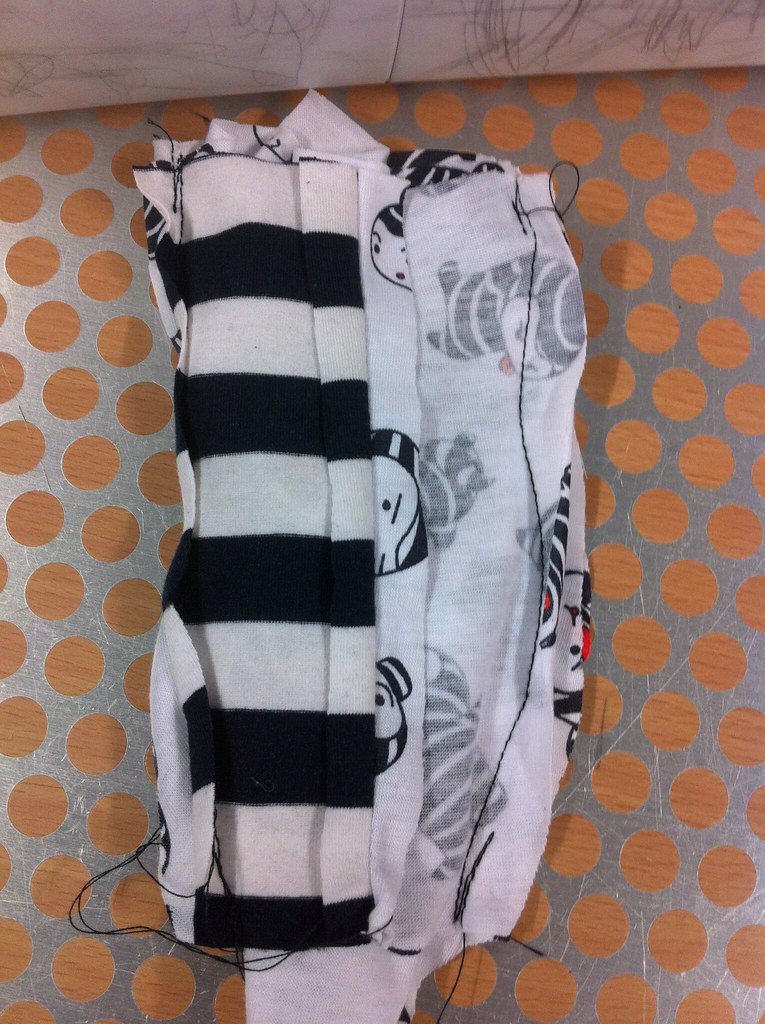
The other front piece is going to get sandwiched into it all. If you have your briefs so far spread out like in the photo above, flip it over and put that front crotch piece face down ontop of that lone front piece {which will be face up}, like so -
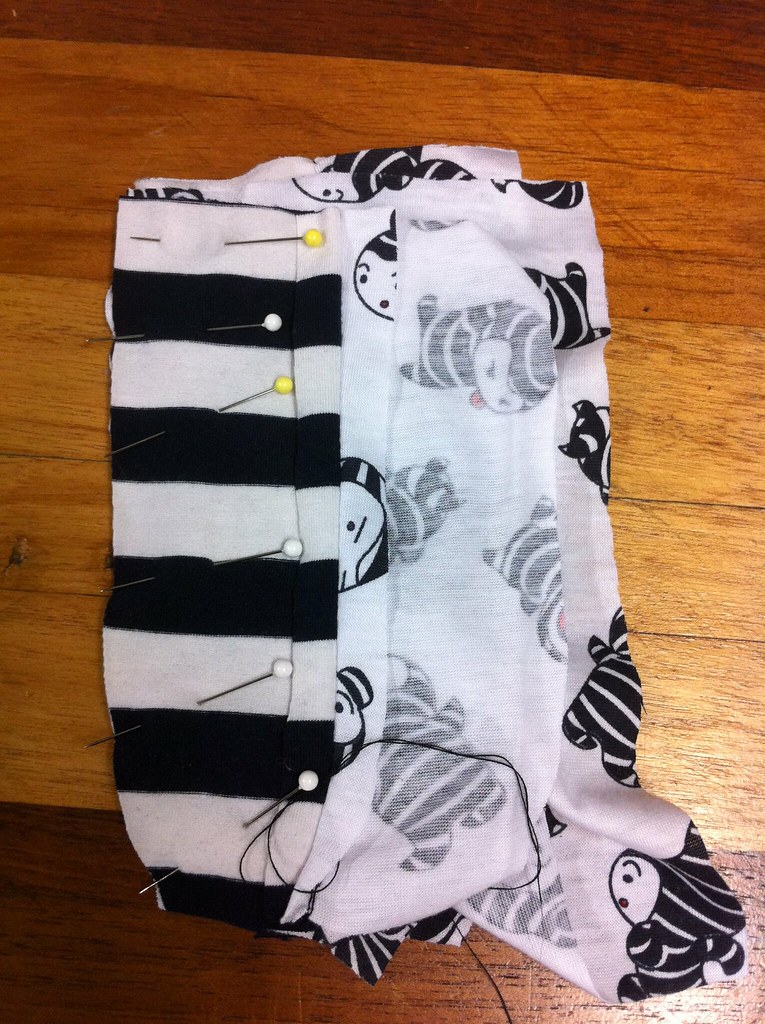
Now that other crotch piece that's on the 'inside' of your briefs, you'll bring that around the back of the front piece and pin it along that curve too. You're making a weird tube at the moment, but it will turn out I promise!
Pinned it will look like this -
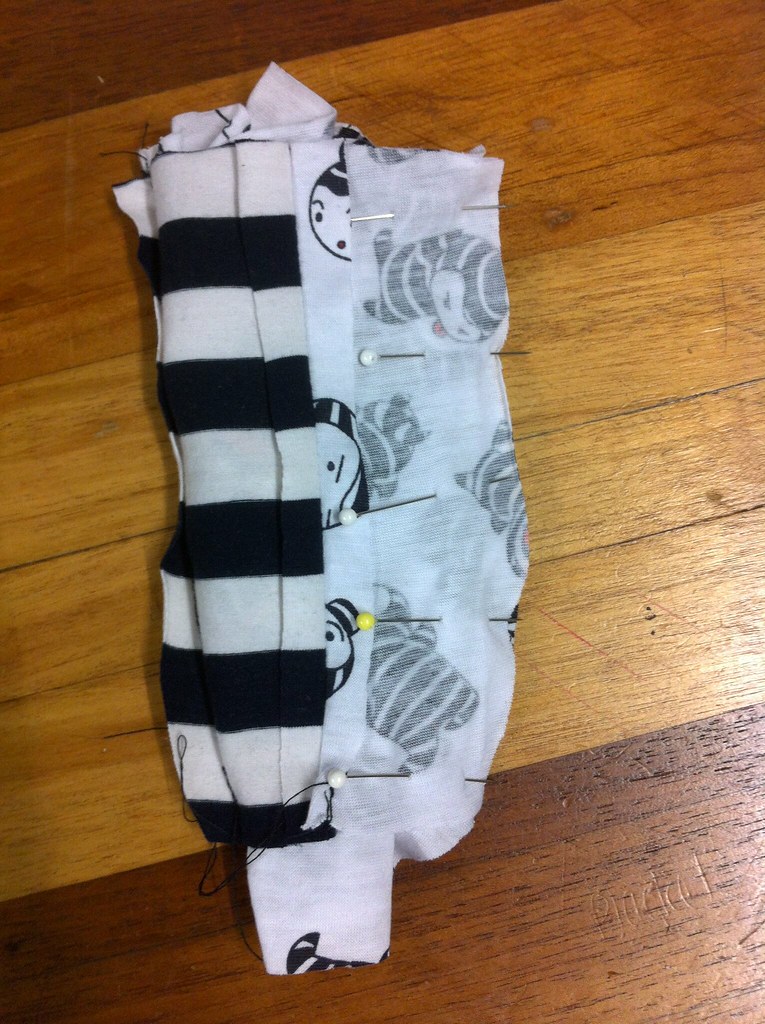
And then stitch that curve, making sure you're sewing through only three layers {crotch/front/crotch} and you're not catching anything else up.
Either through the top or the bottom, pull all that sandwiched fabric out. It will look like this!
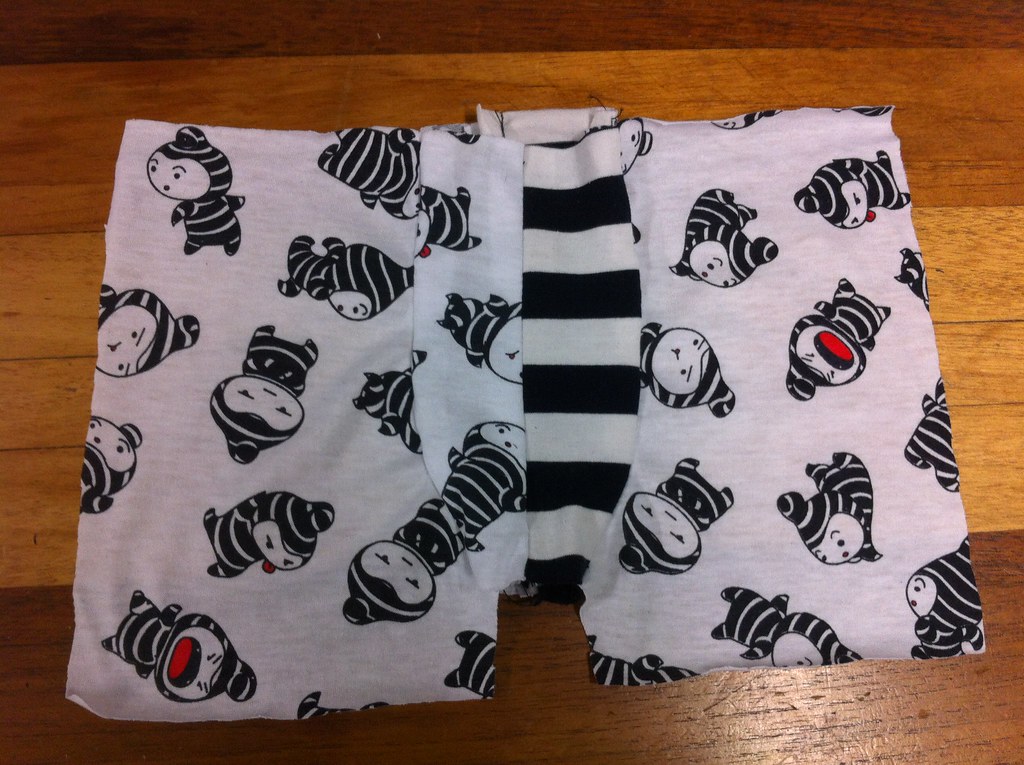
Yey! You now have the front of the boxer briefs with a lined junk section!
Place the back of the briefs on top, matching up the inside leg curve at the bottom.
Stitch along that curve.
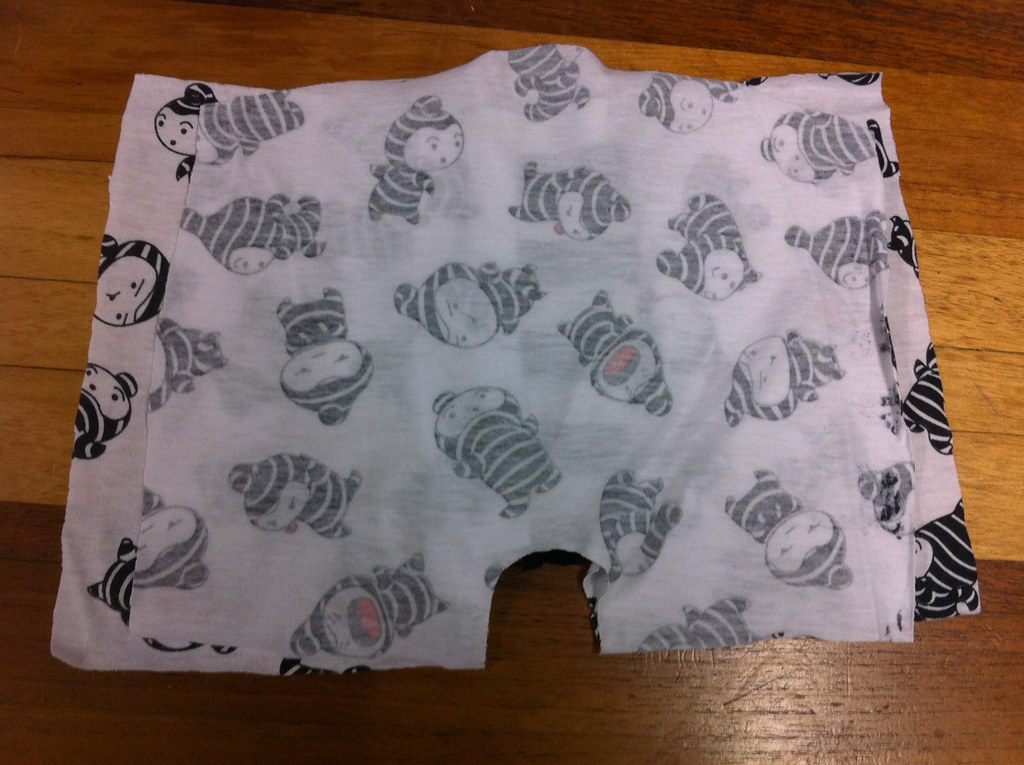
Stitched + Serged it will look like this {from the inside}

Now with the legs, I folded up a hem and stitched it using a zigzag stitch. You can do this, or you can do a fold-over band like we'll be doing for the waist. The choice is yours, but here's what the difference looks like!
Regular hemmed legs vs. fold-over band legs
If you're going to just hem it, it will look like this
If you are going to do a fold over band, check out the tutorial I wrote here or just scroll down and do the same as for the waistband.
Pin the side of the back to the side of the front. Stitch.

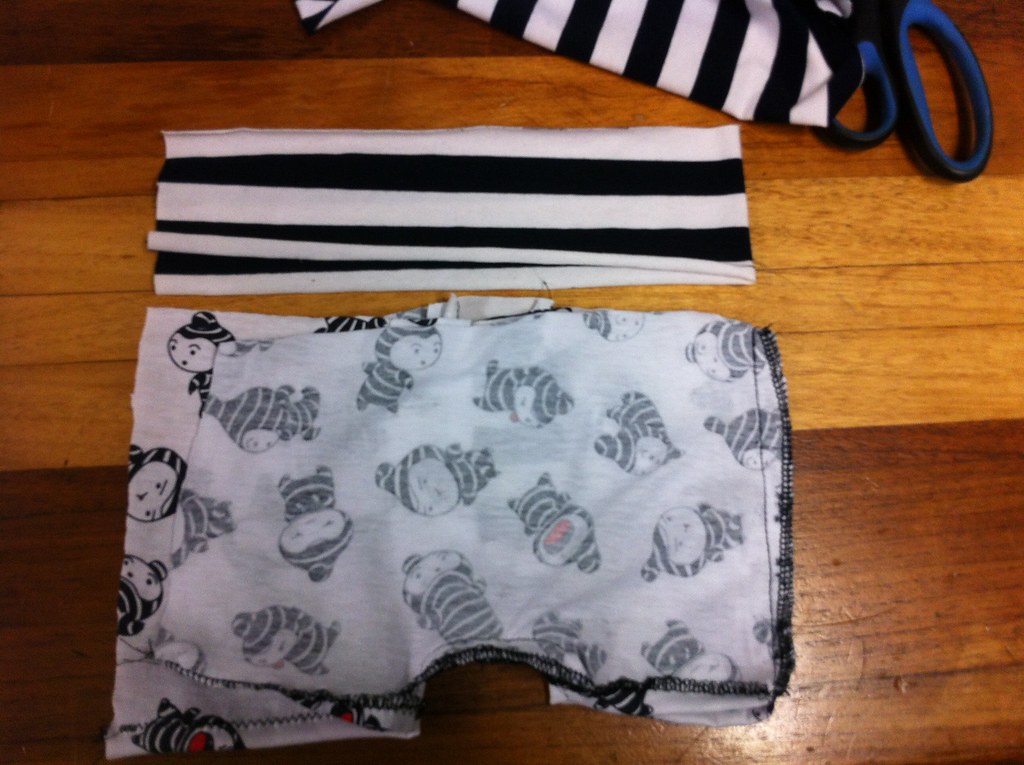
Cut a waistband. It should be twice as wide as you want the finished waistband to be {mine is about 12cm} and about 1cm shorter than the top of your boxers.
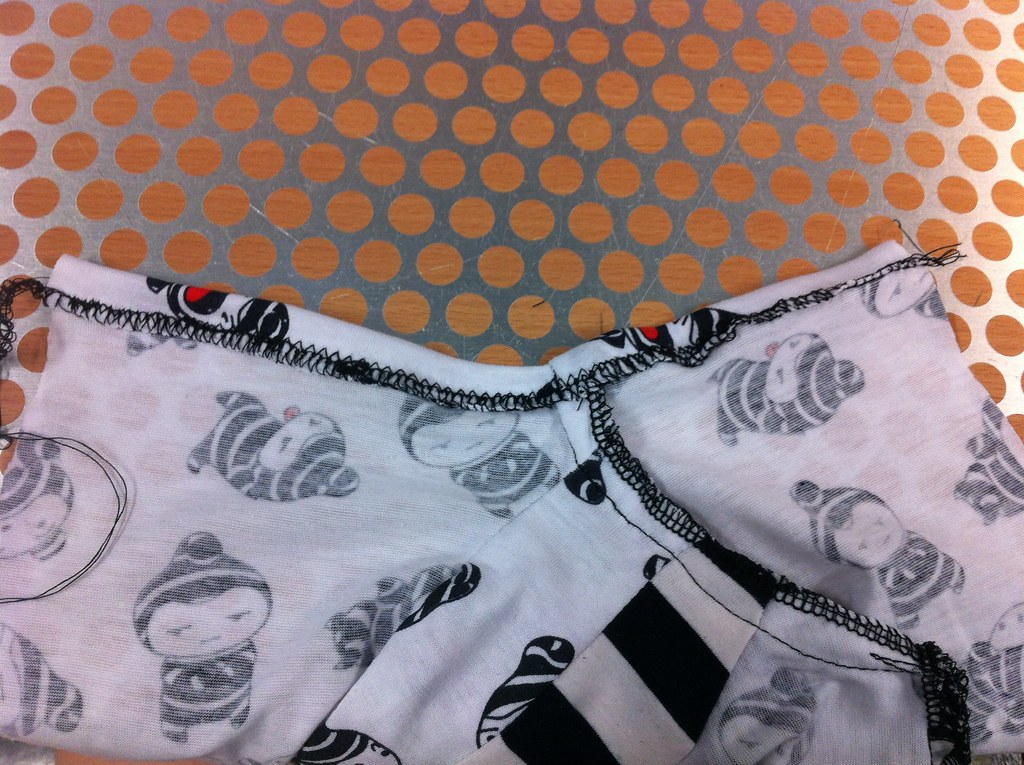
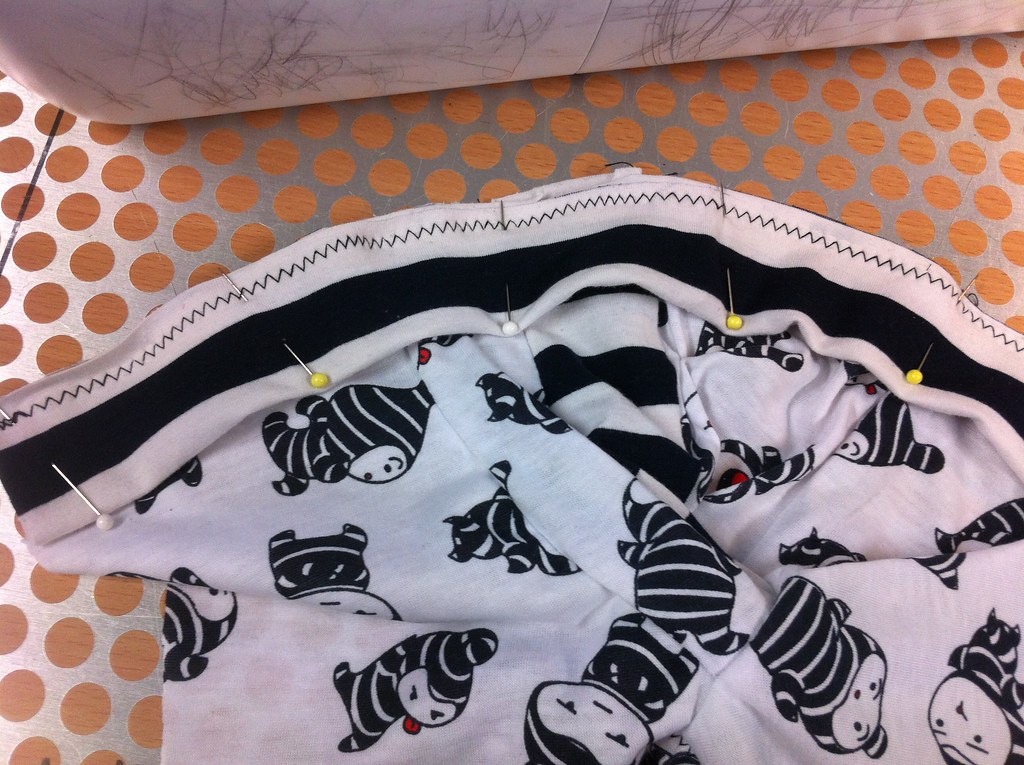
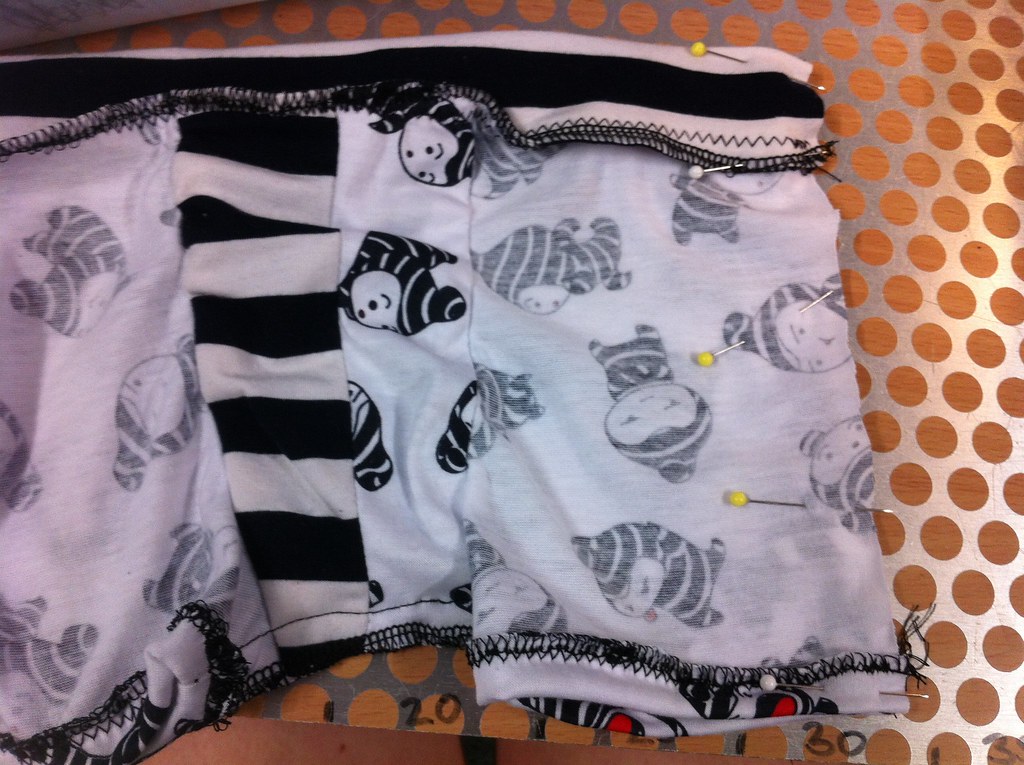
Fold the waistband in half and pin to the right side of the briefs

Zig Zag that yo!
Now you're going to stitch down that last side seam!
You're totally finished!


 • www.max-california.com")

12 comments
Yay, Little boy basics series ! Can't wait to see what's coming up ! Love the boxers. I made them too a few months ago: http://mamapluis.blogspot.com/2011/12/jongensondergoed.html
ReplyDeleteThat looks so complicated! wow-im super impressed. Good job on these
ReplyDeleteIt's totally easy!
Deleteluv it...thanks for more sizes!
ReplyDeleteIs there more sizes? I don't see a link for it. Thanks so much for the pattern!
ReplyDeleteHi! I don't have a printer, so I have to copy it from the monitor. Since there is no inch mark, I don't know, how big the pieces should be. Would you be able to tell me a length as a sample? Thanks a bunch for this awesome tutorial!
ReplyDeleteI've tried to print your back piece pattern but it keeps printing too small. Without an inch square for reference, I don't know how to adjust my printer to make it the correct size. It's only printing on 1/4 corner of the page, even if I check to "fill the page". Way too small for even my skinny boy who is in 18-24 mo. Am I doing something wrong when printing or is the pattern not downloading correctly?
ReplyDeleteI am trying to print the back piece, and it keeps coming out way too small, only filling a 1/4 corner of the page. Am I doing something wrong?
ReplyDeleteI am also wondering how to know what size to make these? Just a little confused! Help!
ReplyDeleteI am also wondering how I should know what size to print this. I'm a little confused! Help!
ReplyDeleteI love this! They were slightly snug on the legs for my little dude though. He is in a size 24 months/2T
ReplyDeletei like so much your tutorial. kisses from Spain.
ReplyDeleteI love comments!