

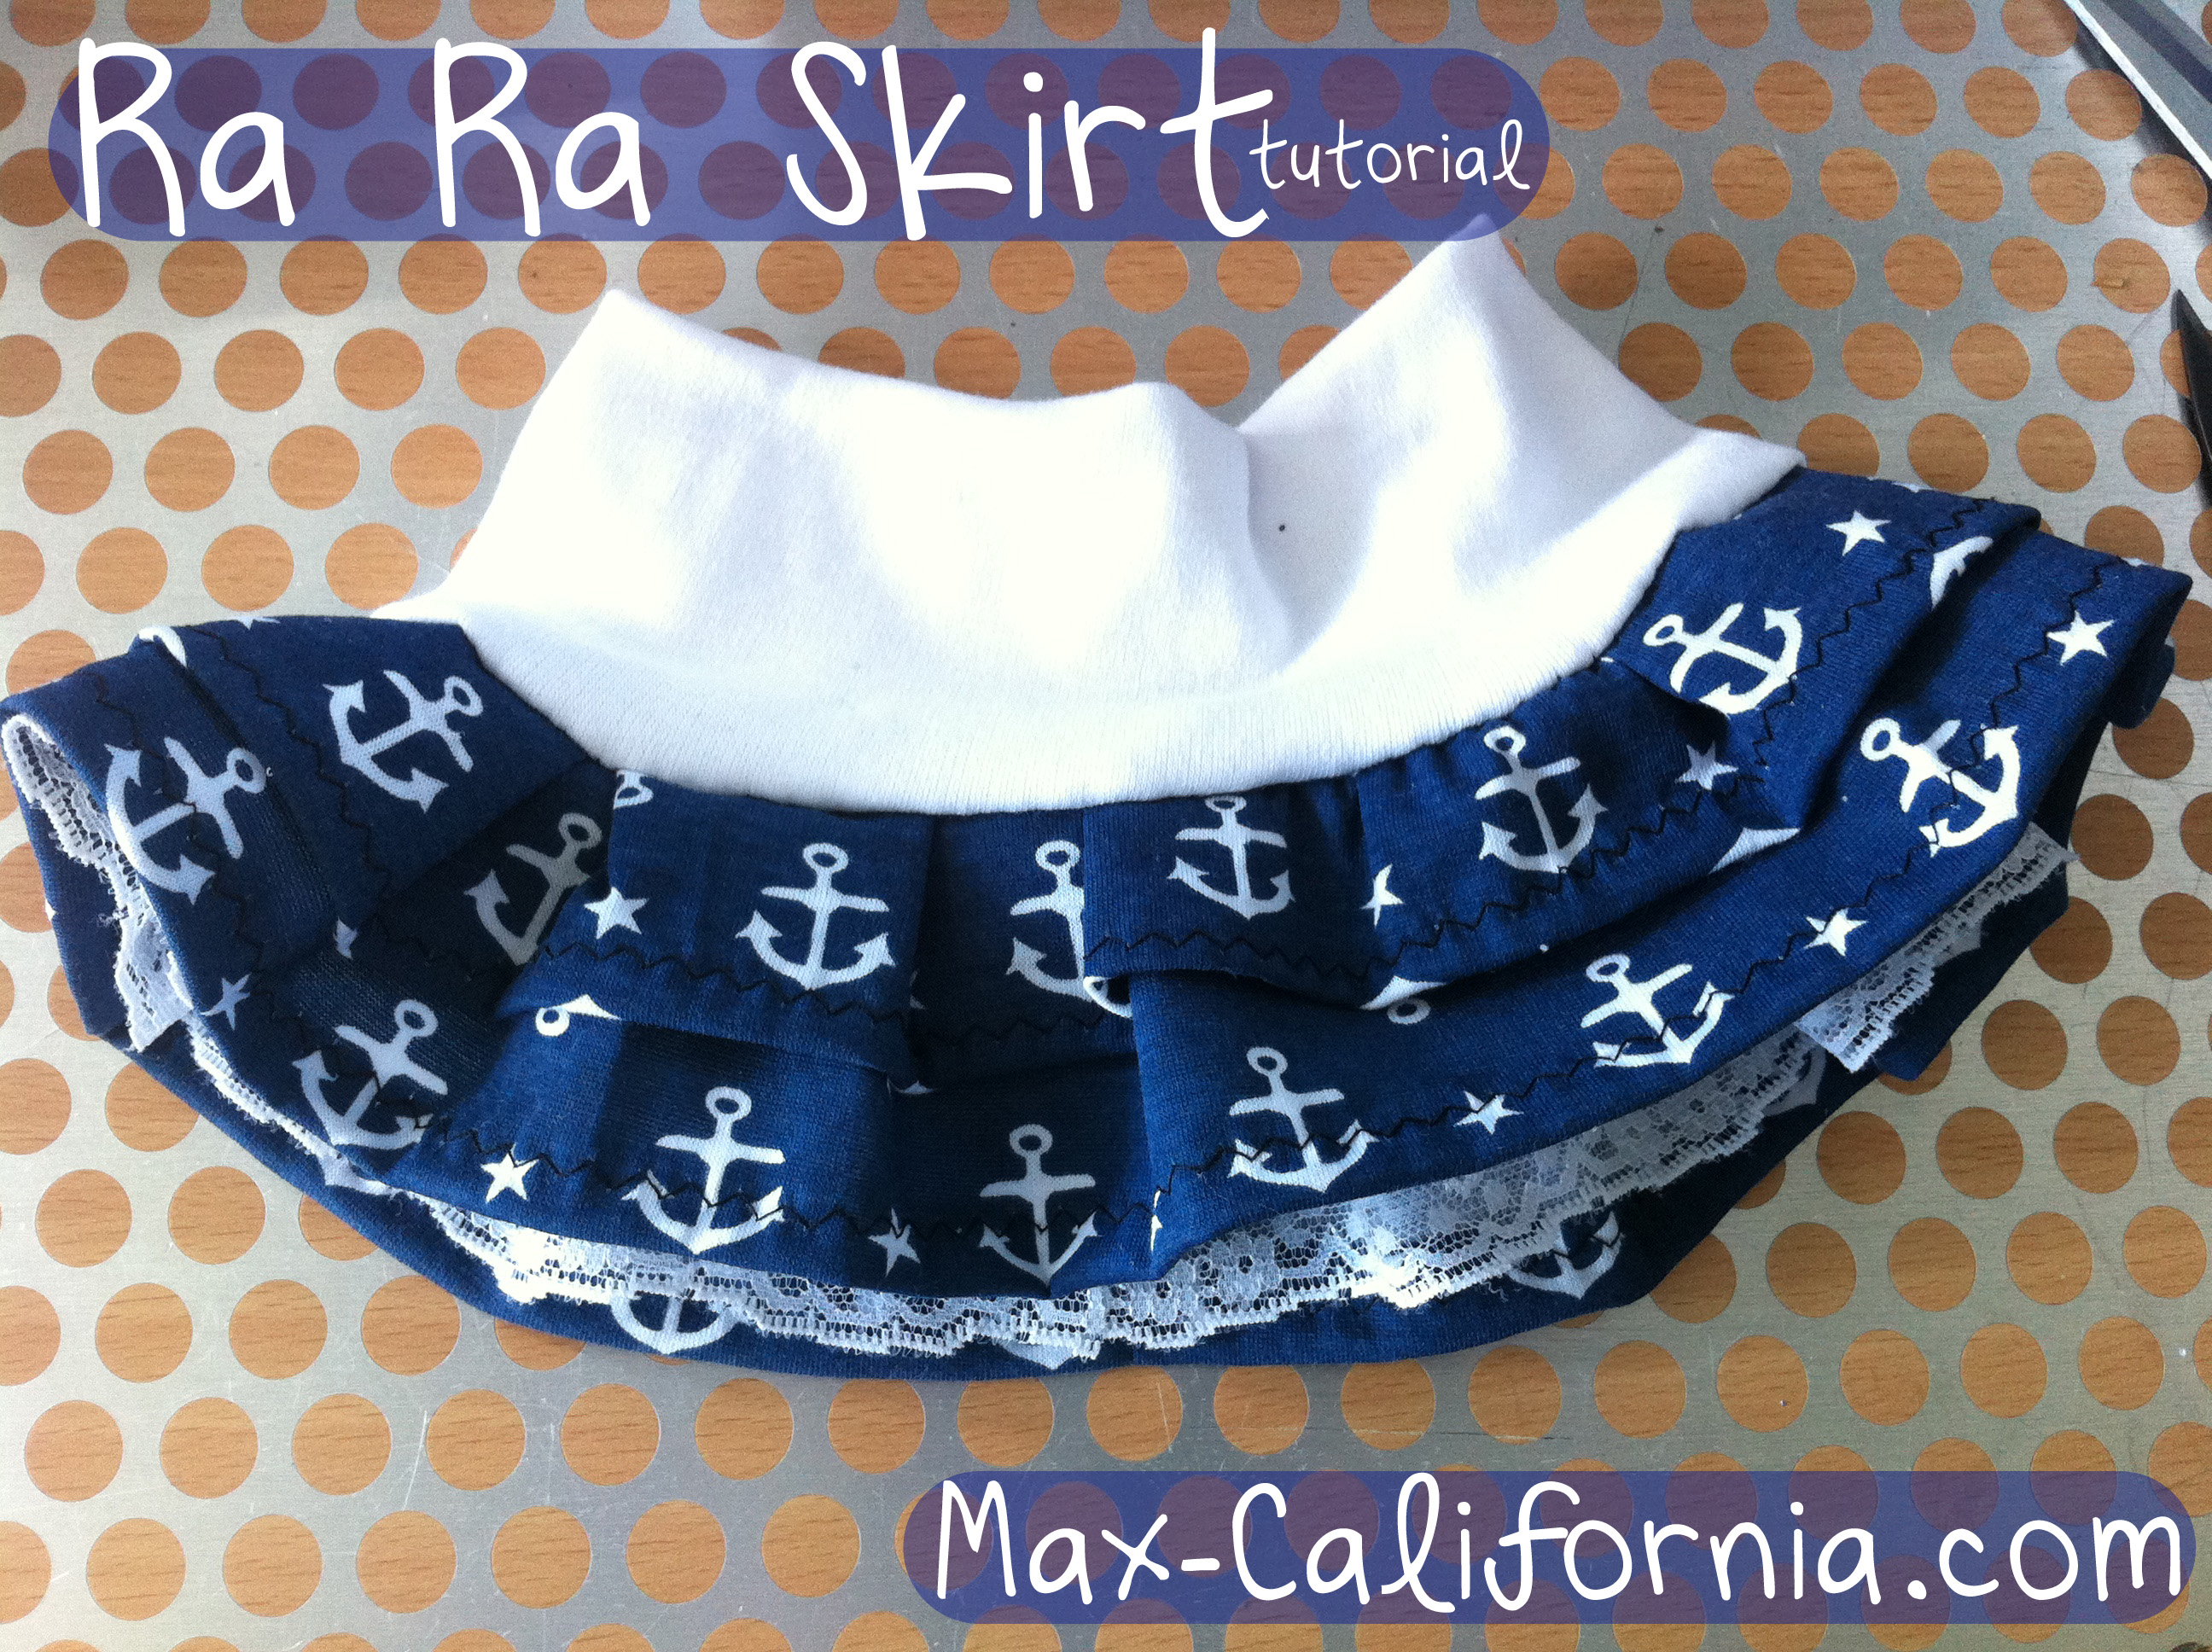
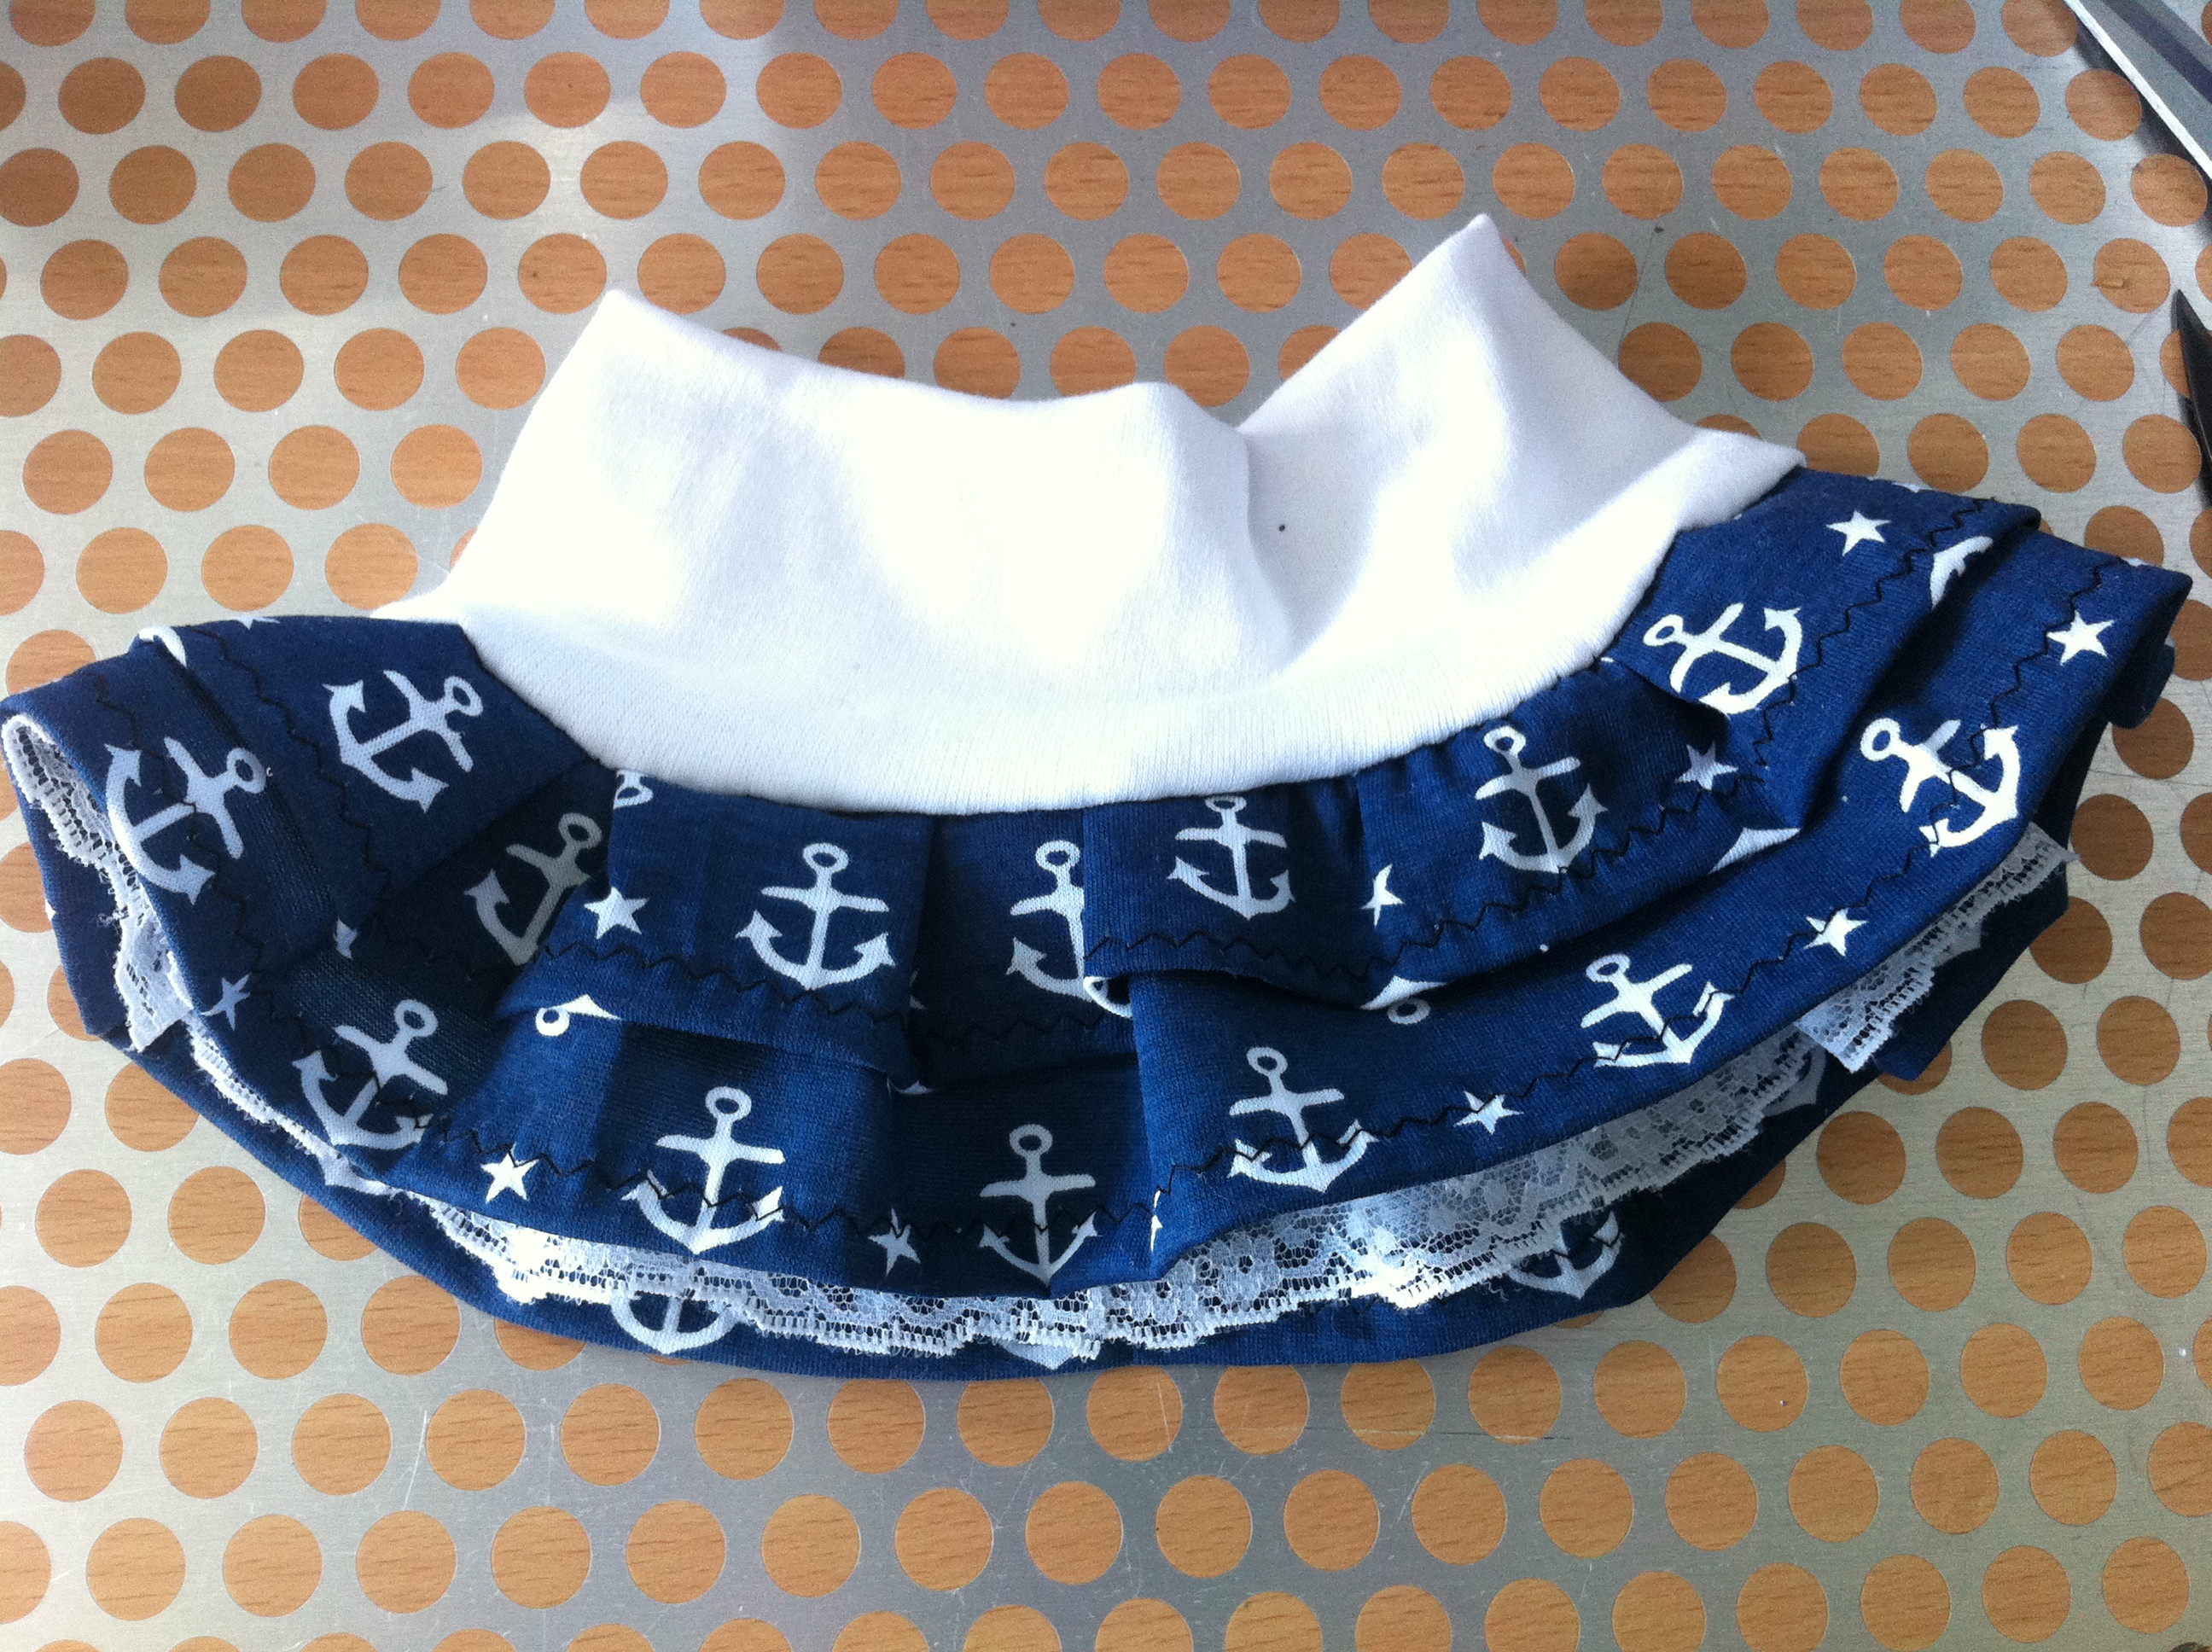
The other day I started to make a little sailor outfit for Eddie. I made this skirt, and planned on making a little shirt and a diaper cover to go with it {yet to get around to that!}.
As you can see this skirt is not just for teeny tiny babies! For years this was the only kind of skirt I would {ie could} make and wear.

Click the "Read More" link below to view the tutorial!
You're going to need fabric! The waistband has to be stretch fabric, but the rest of the skirt can be stretch or woven it doesn't matter! You can make the skirt all in one fabric like this little skirt {with only one ruffle}...

Or change it up with a contrast waistband like this sailor one we're working on.
The waistband is going to be your waist measurement + 2cm for seam allowance.
The height of this piece of fabric is however wide you want the waistband to be DOUBLED {we're folding it over} + 2cm for seam allowance.
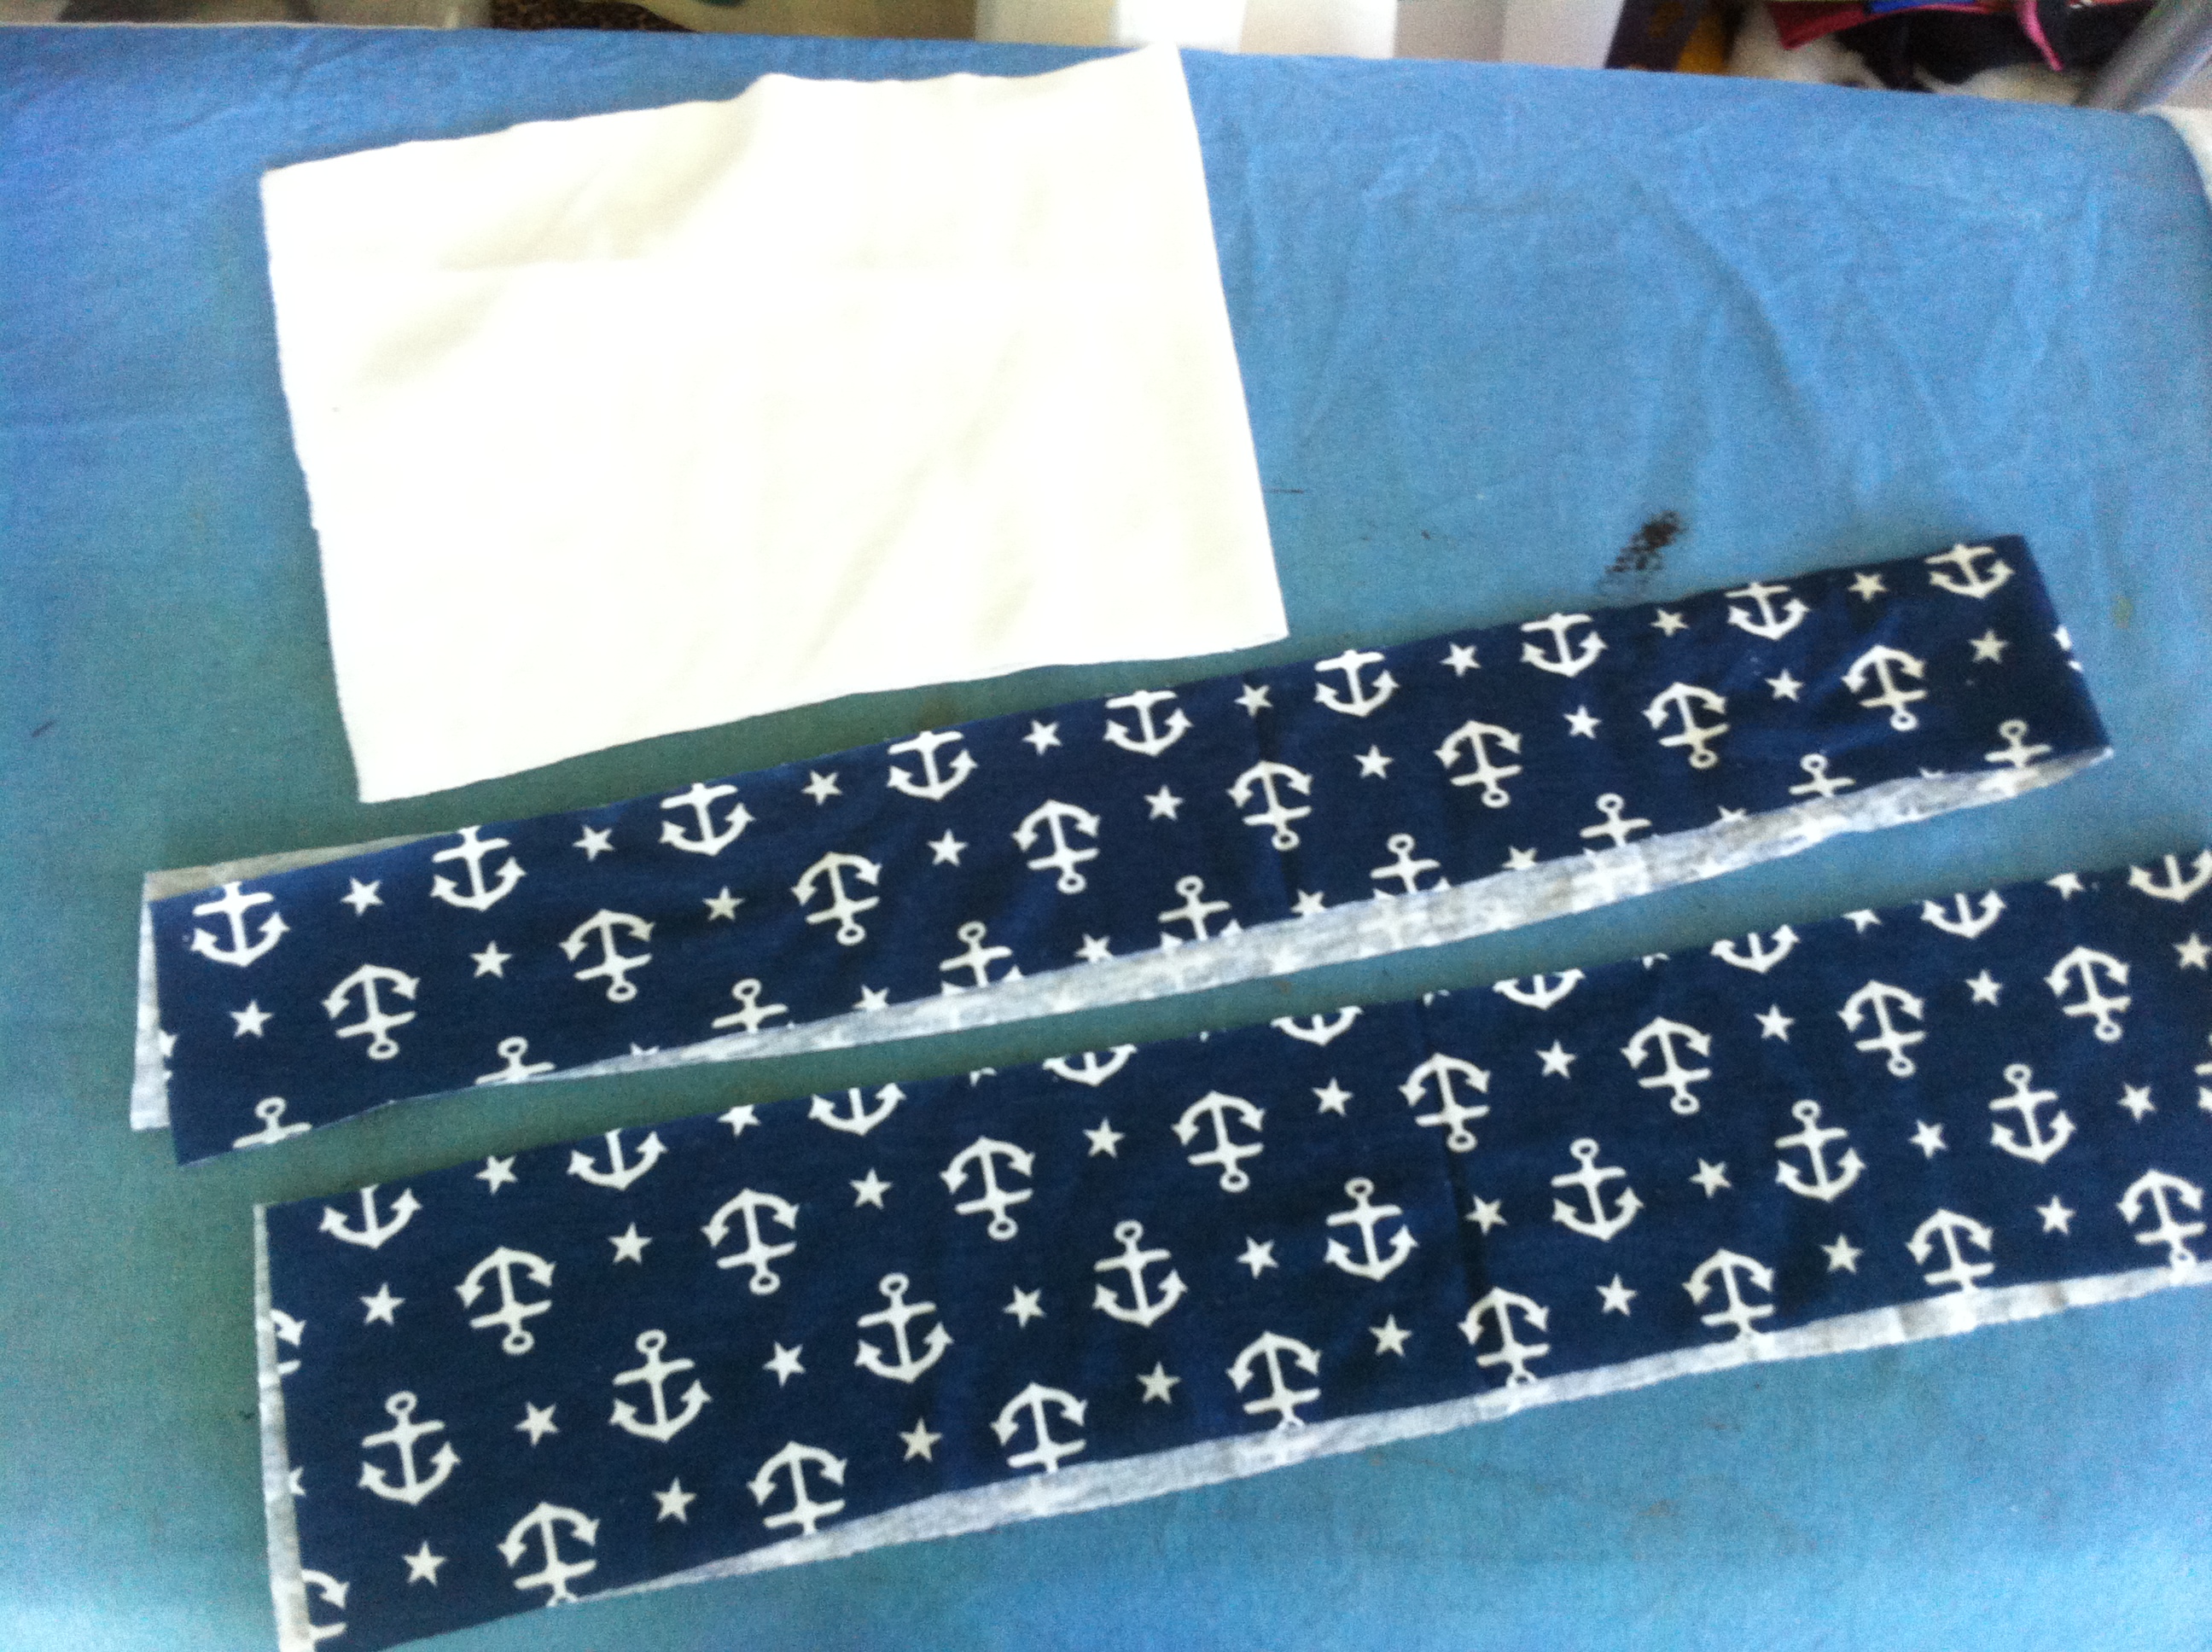
Now the ruffles! Depends how many tiers you want:
If you want just one ruffle, measure down how long you want your skirt to be from the waistband you're making + 2cm seam allowance.
If you want more than one ruffle, the BOTTOM ruffle will be the same measurement as if you were doing just one ruffle. Then the ruffles you'll be stacking on top will be shorter than that main ruffle {remembering to add 2cm seam allowance}.
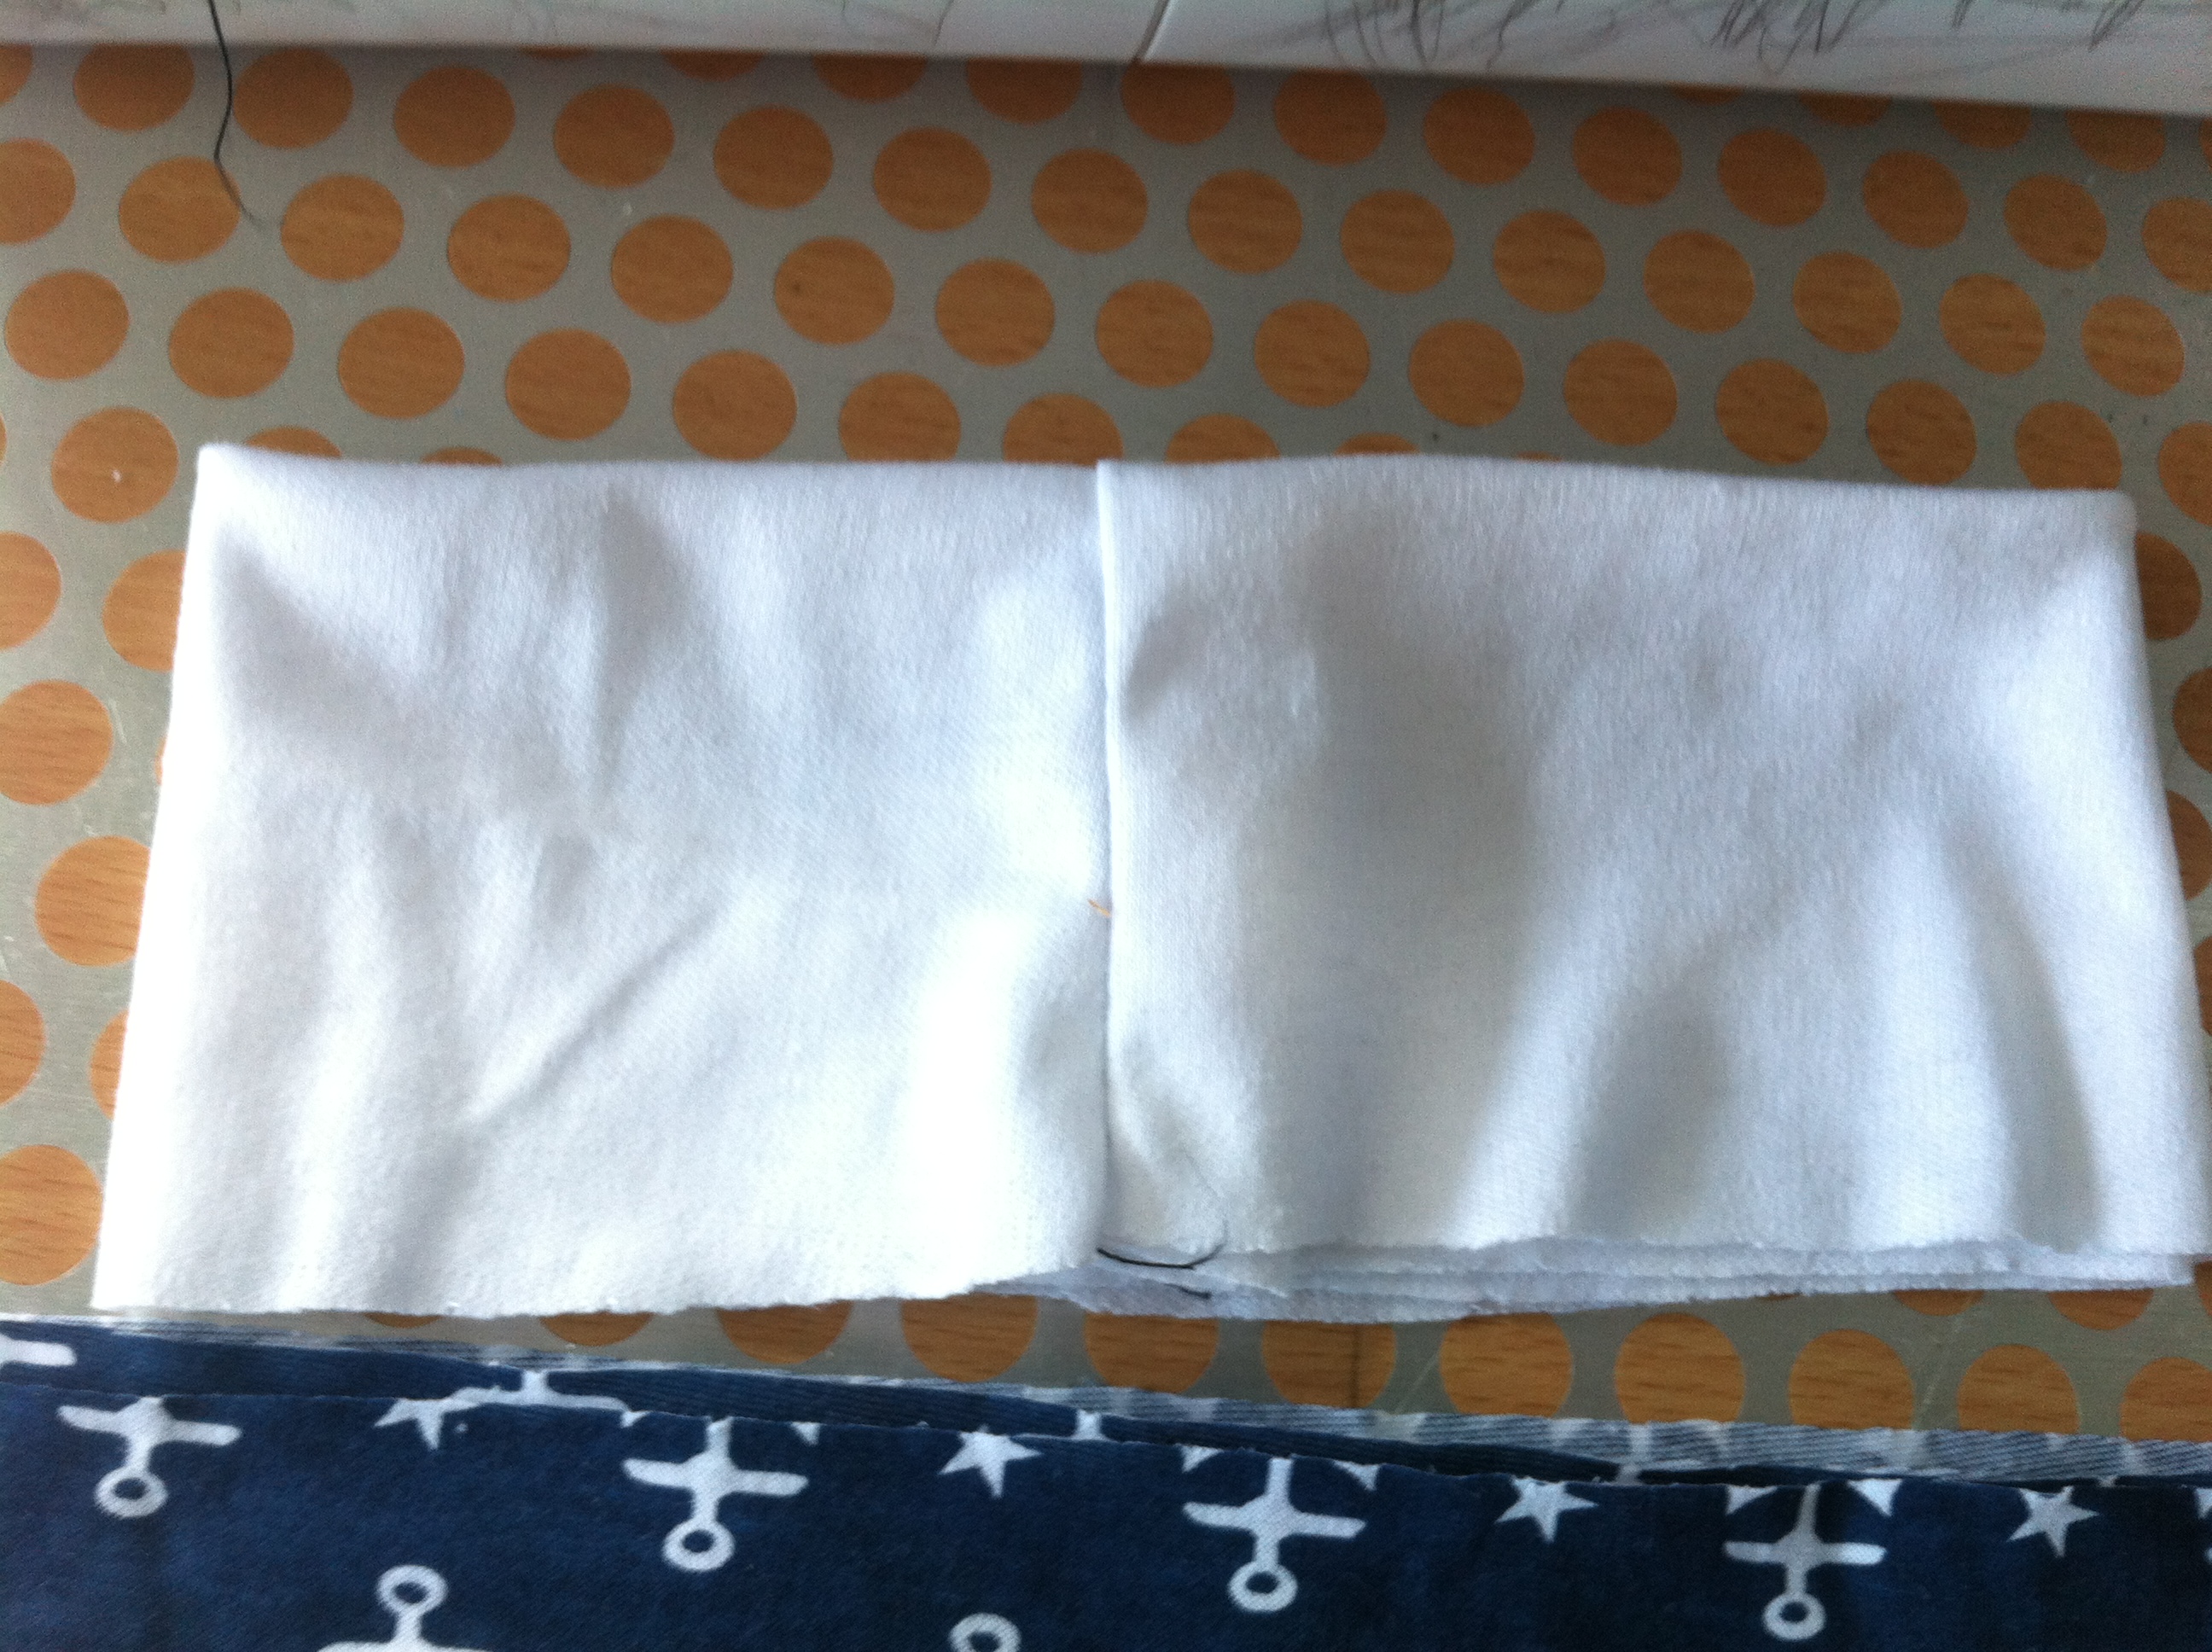
Fold all your strips in half and stitch the short sides so you have three loops of fabric.

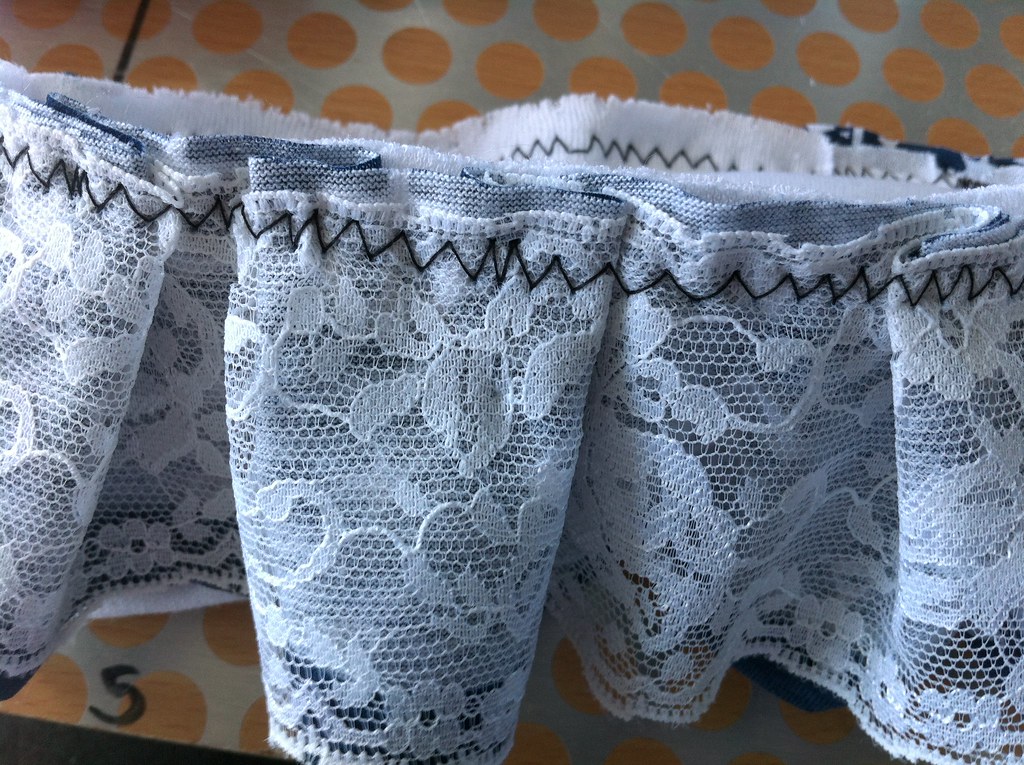
Fold up the bottom of the lower tier strip and hem. I used a zigzag stitch because it is stretch knit, but you can do straight if you want.
Do the same for the upper tier strip.
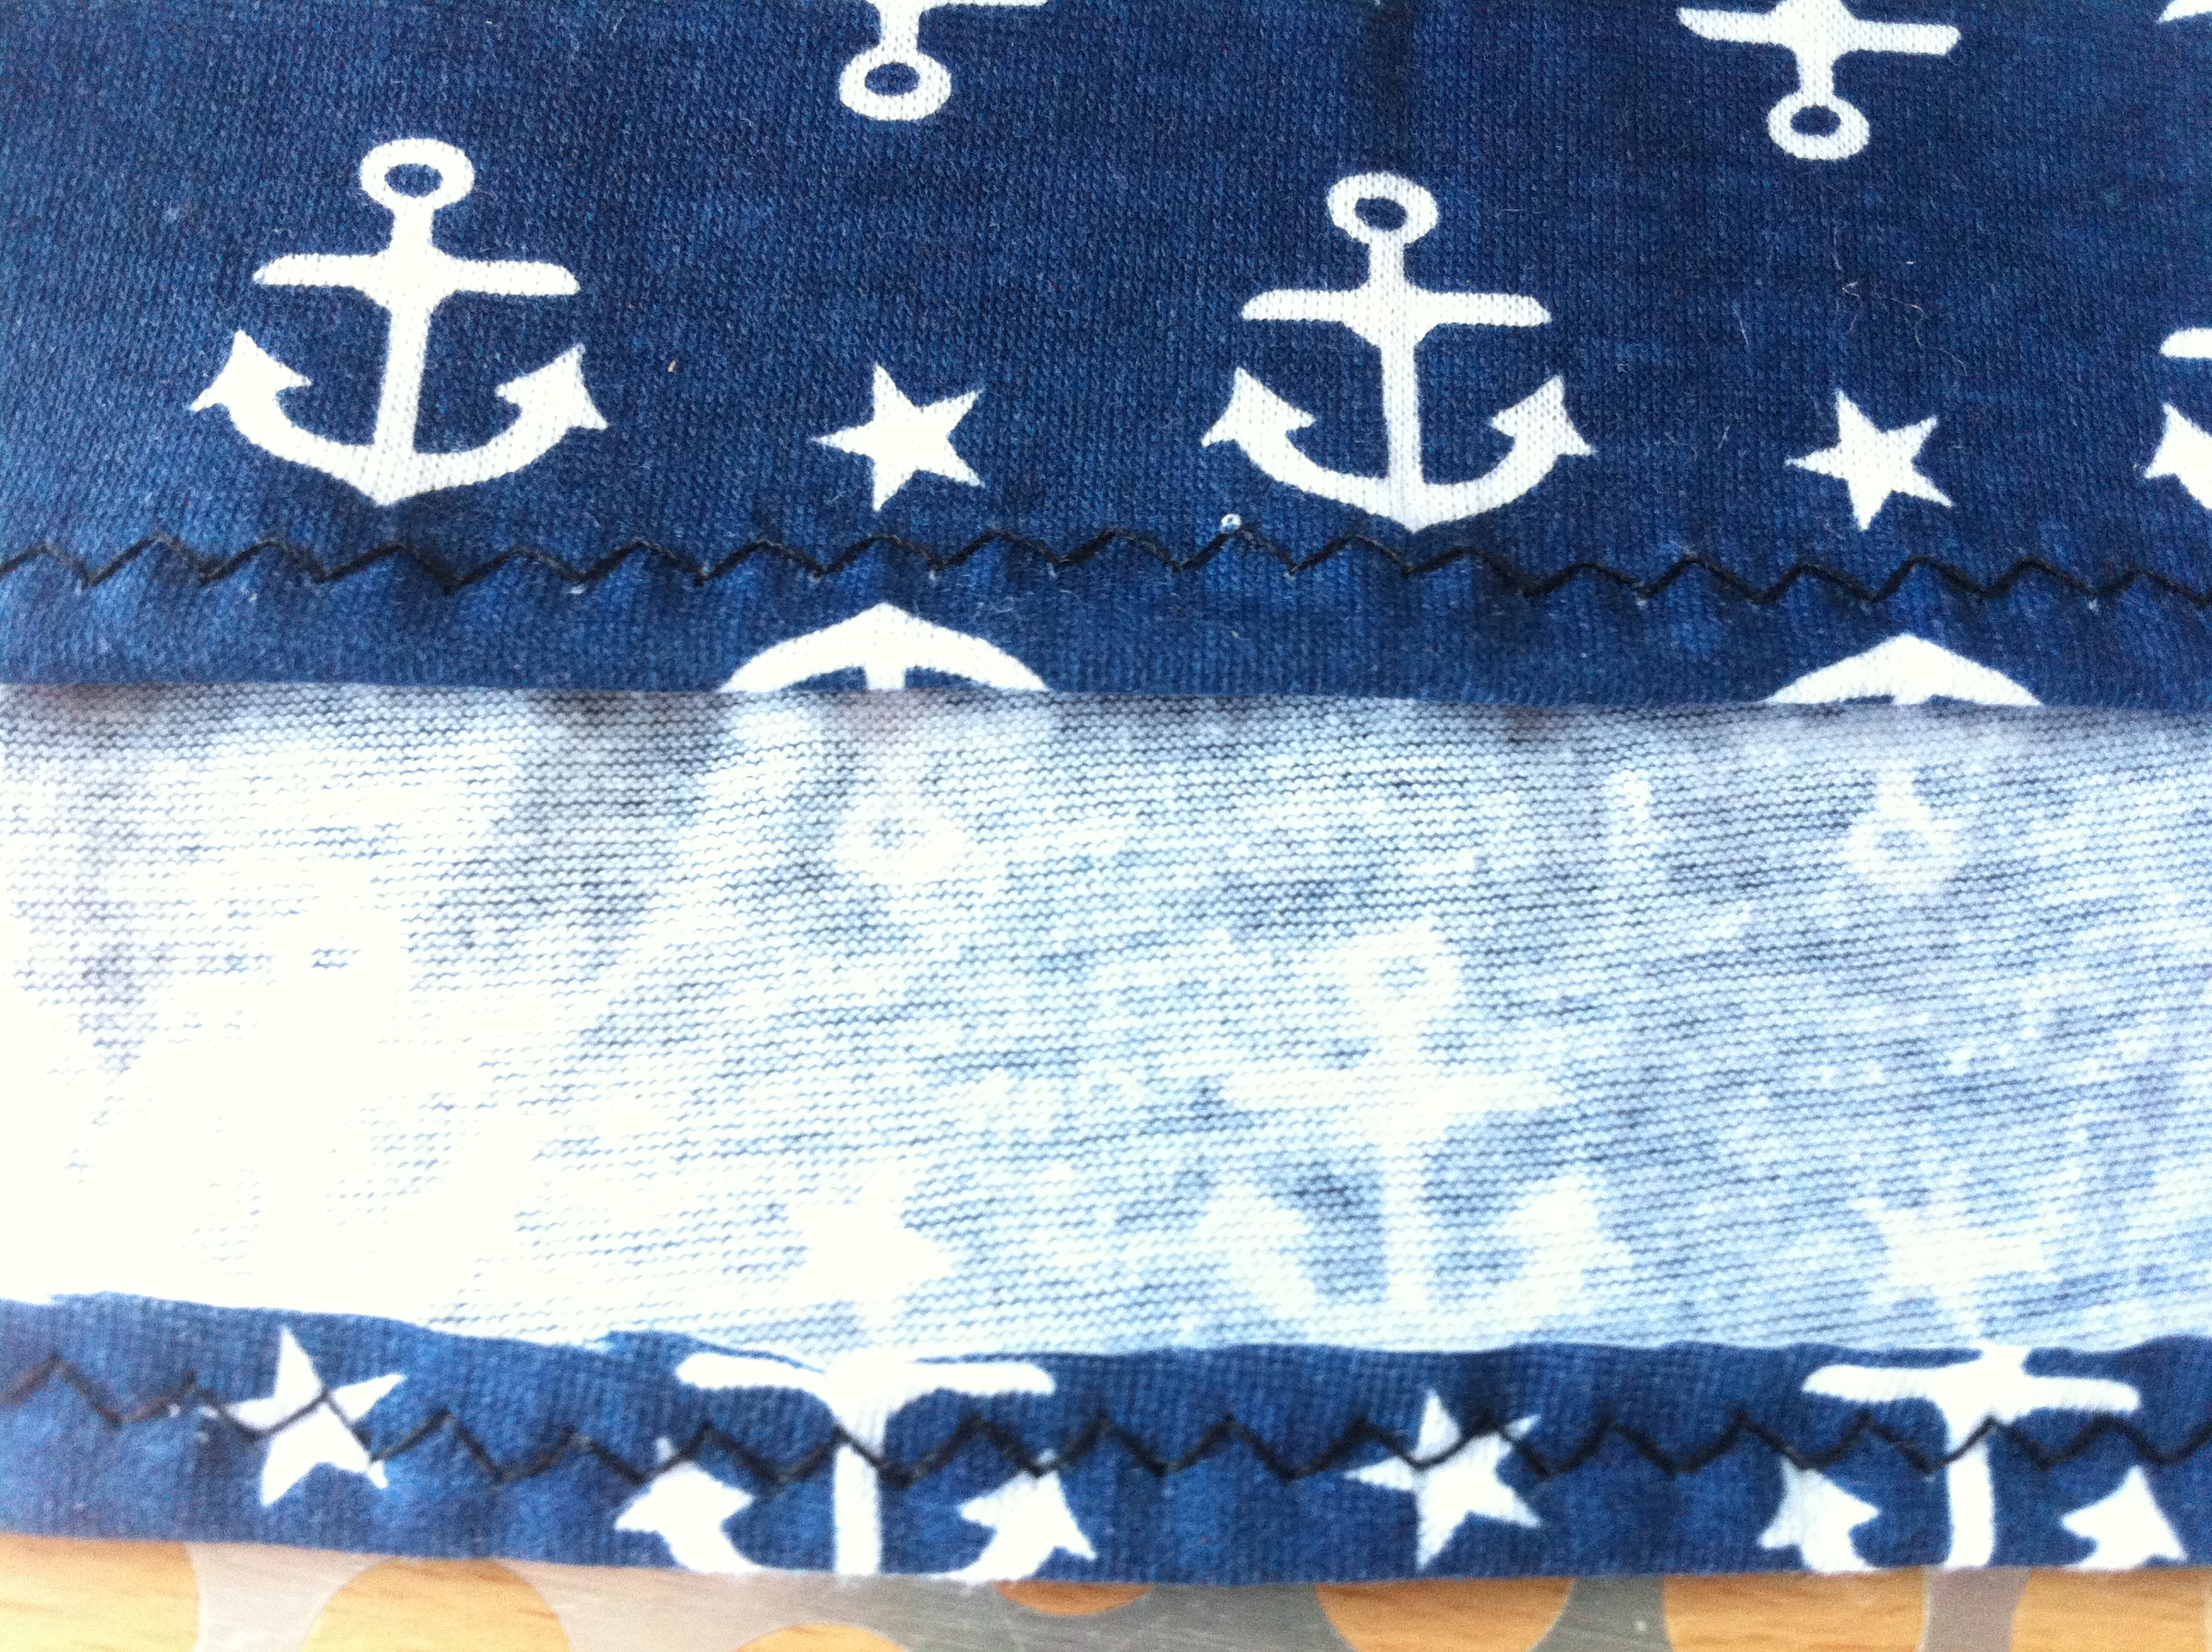
Layer your tiers, the upper tier around the top of the lower tier -

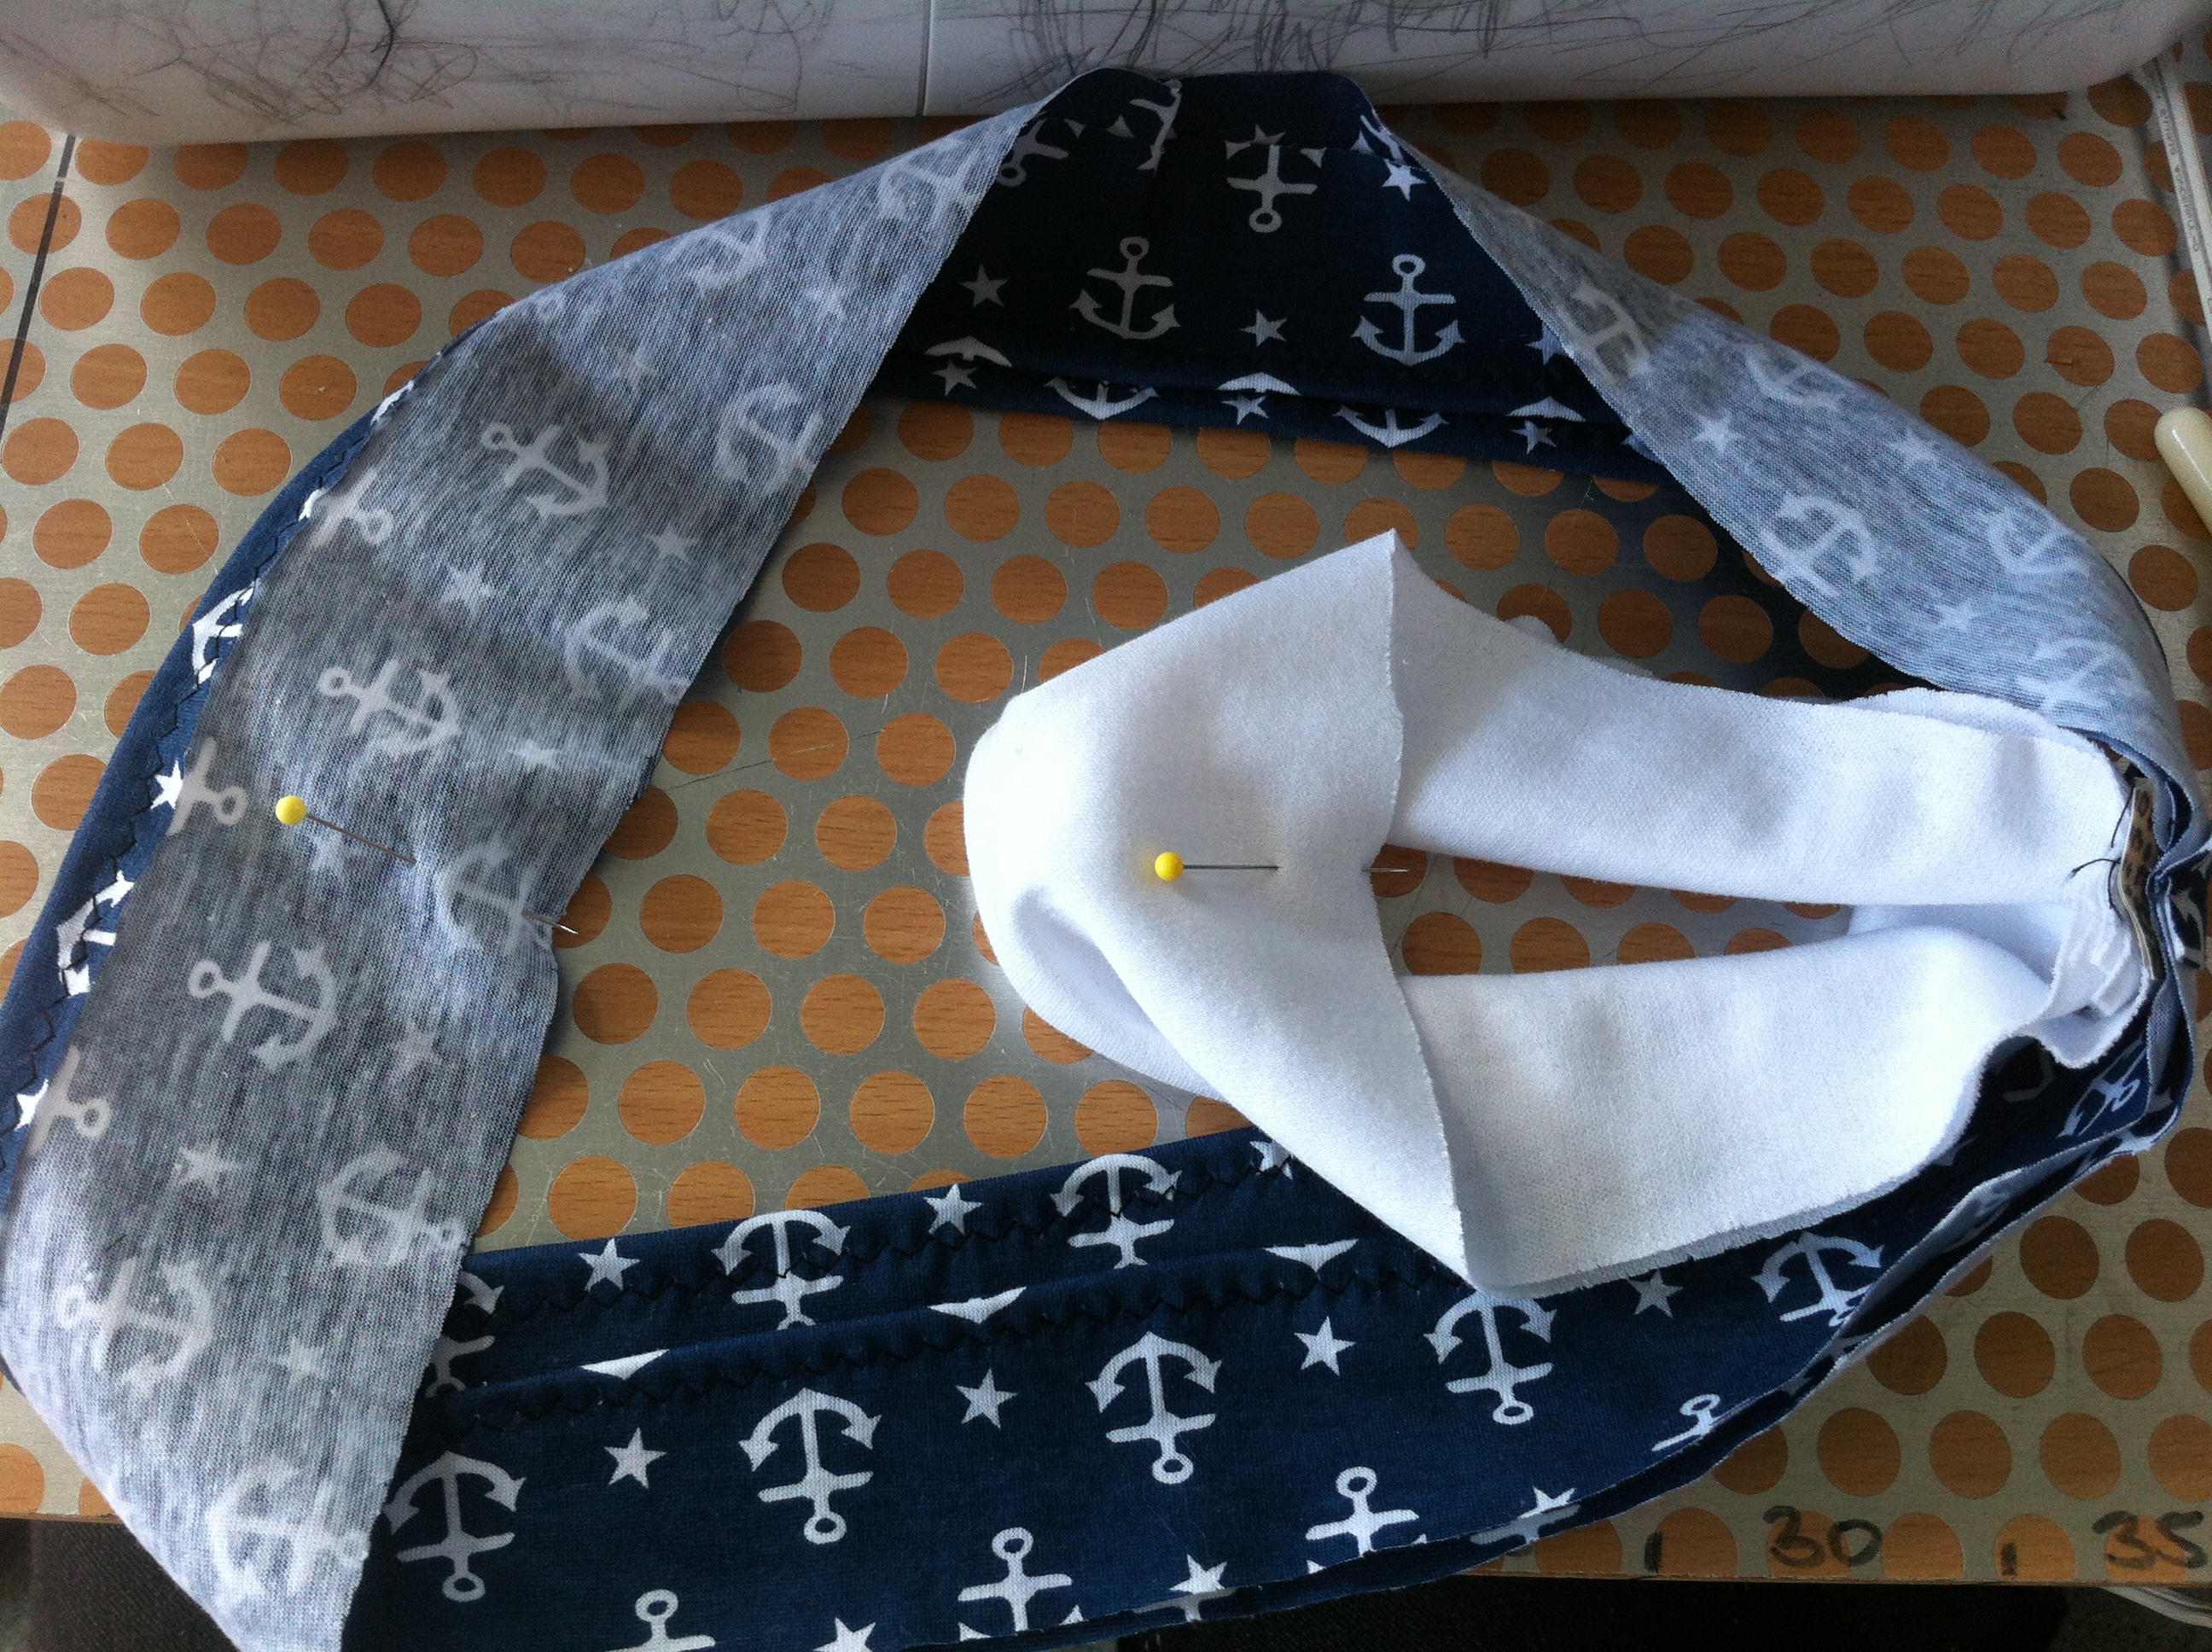
Fold the waistband in half so you have the folded section at the top and the raw edges at the bottom -
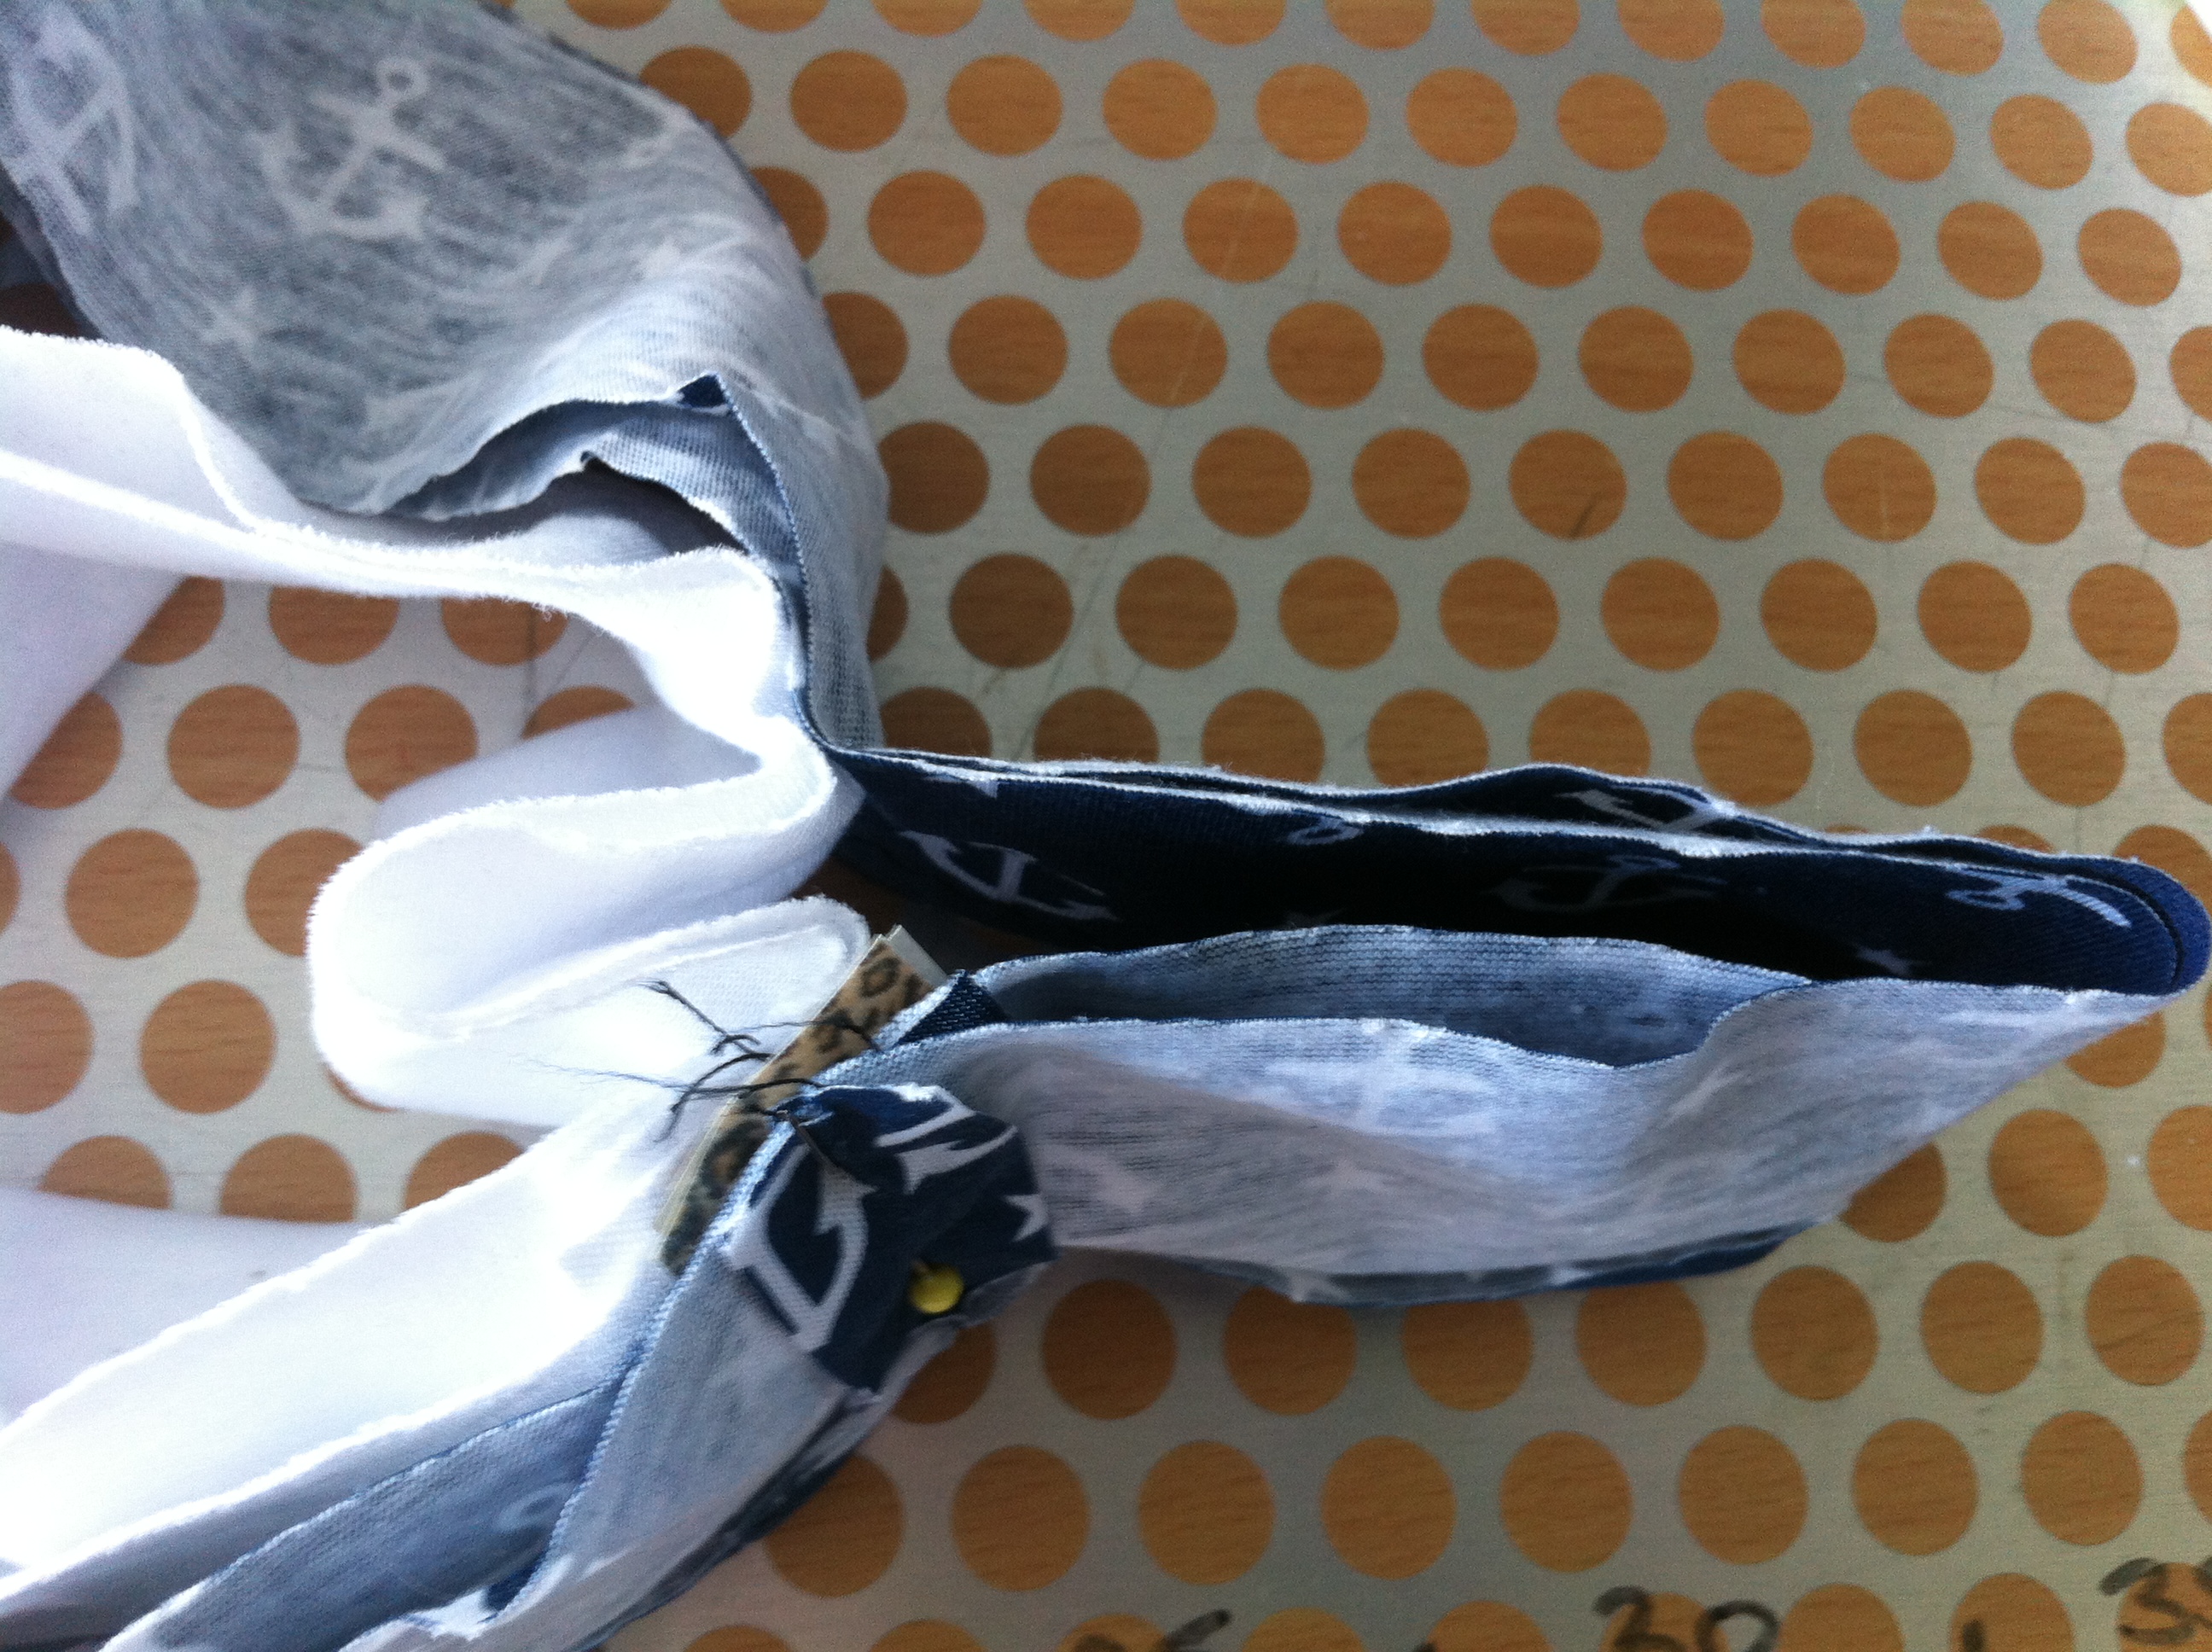
Turn the tiers so the printed side is on the inside of the loop and the wrong side of the fabric is on the outside. Slide your waistband inside the skirt tiers. All the raw edges should be together. Pin the seams together with a pin
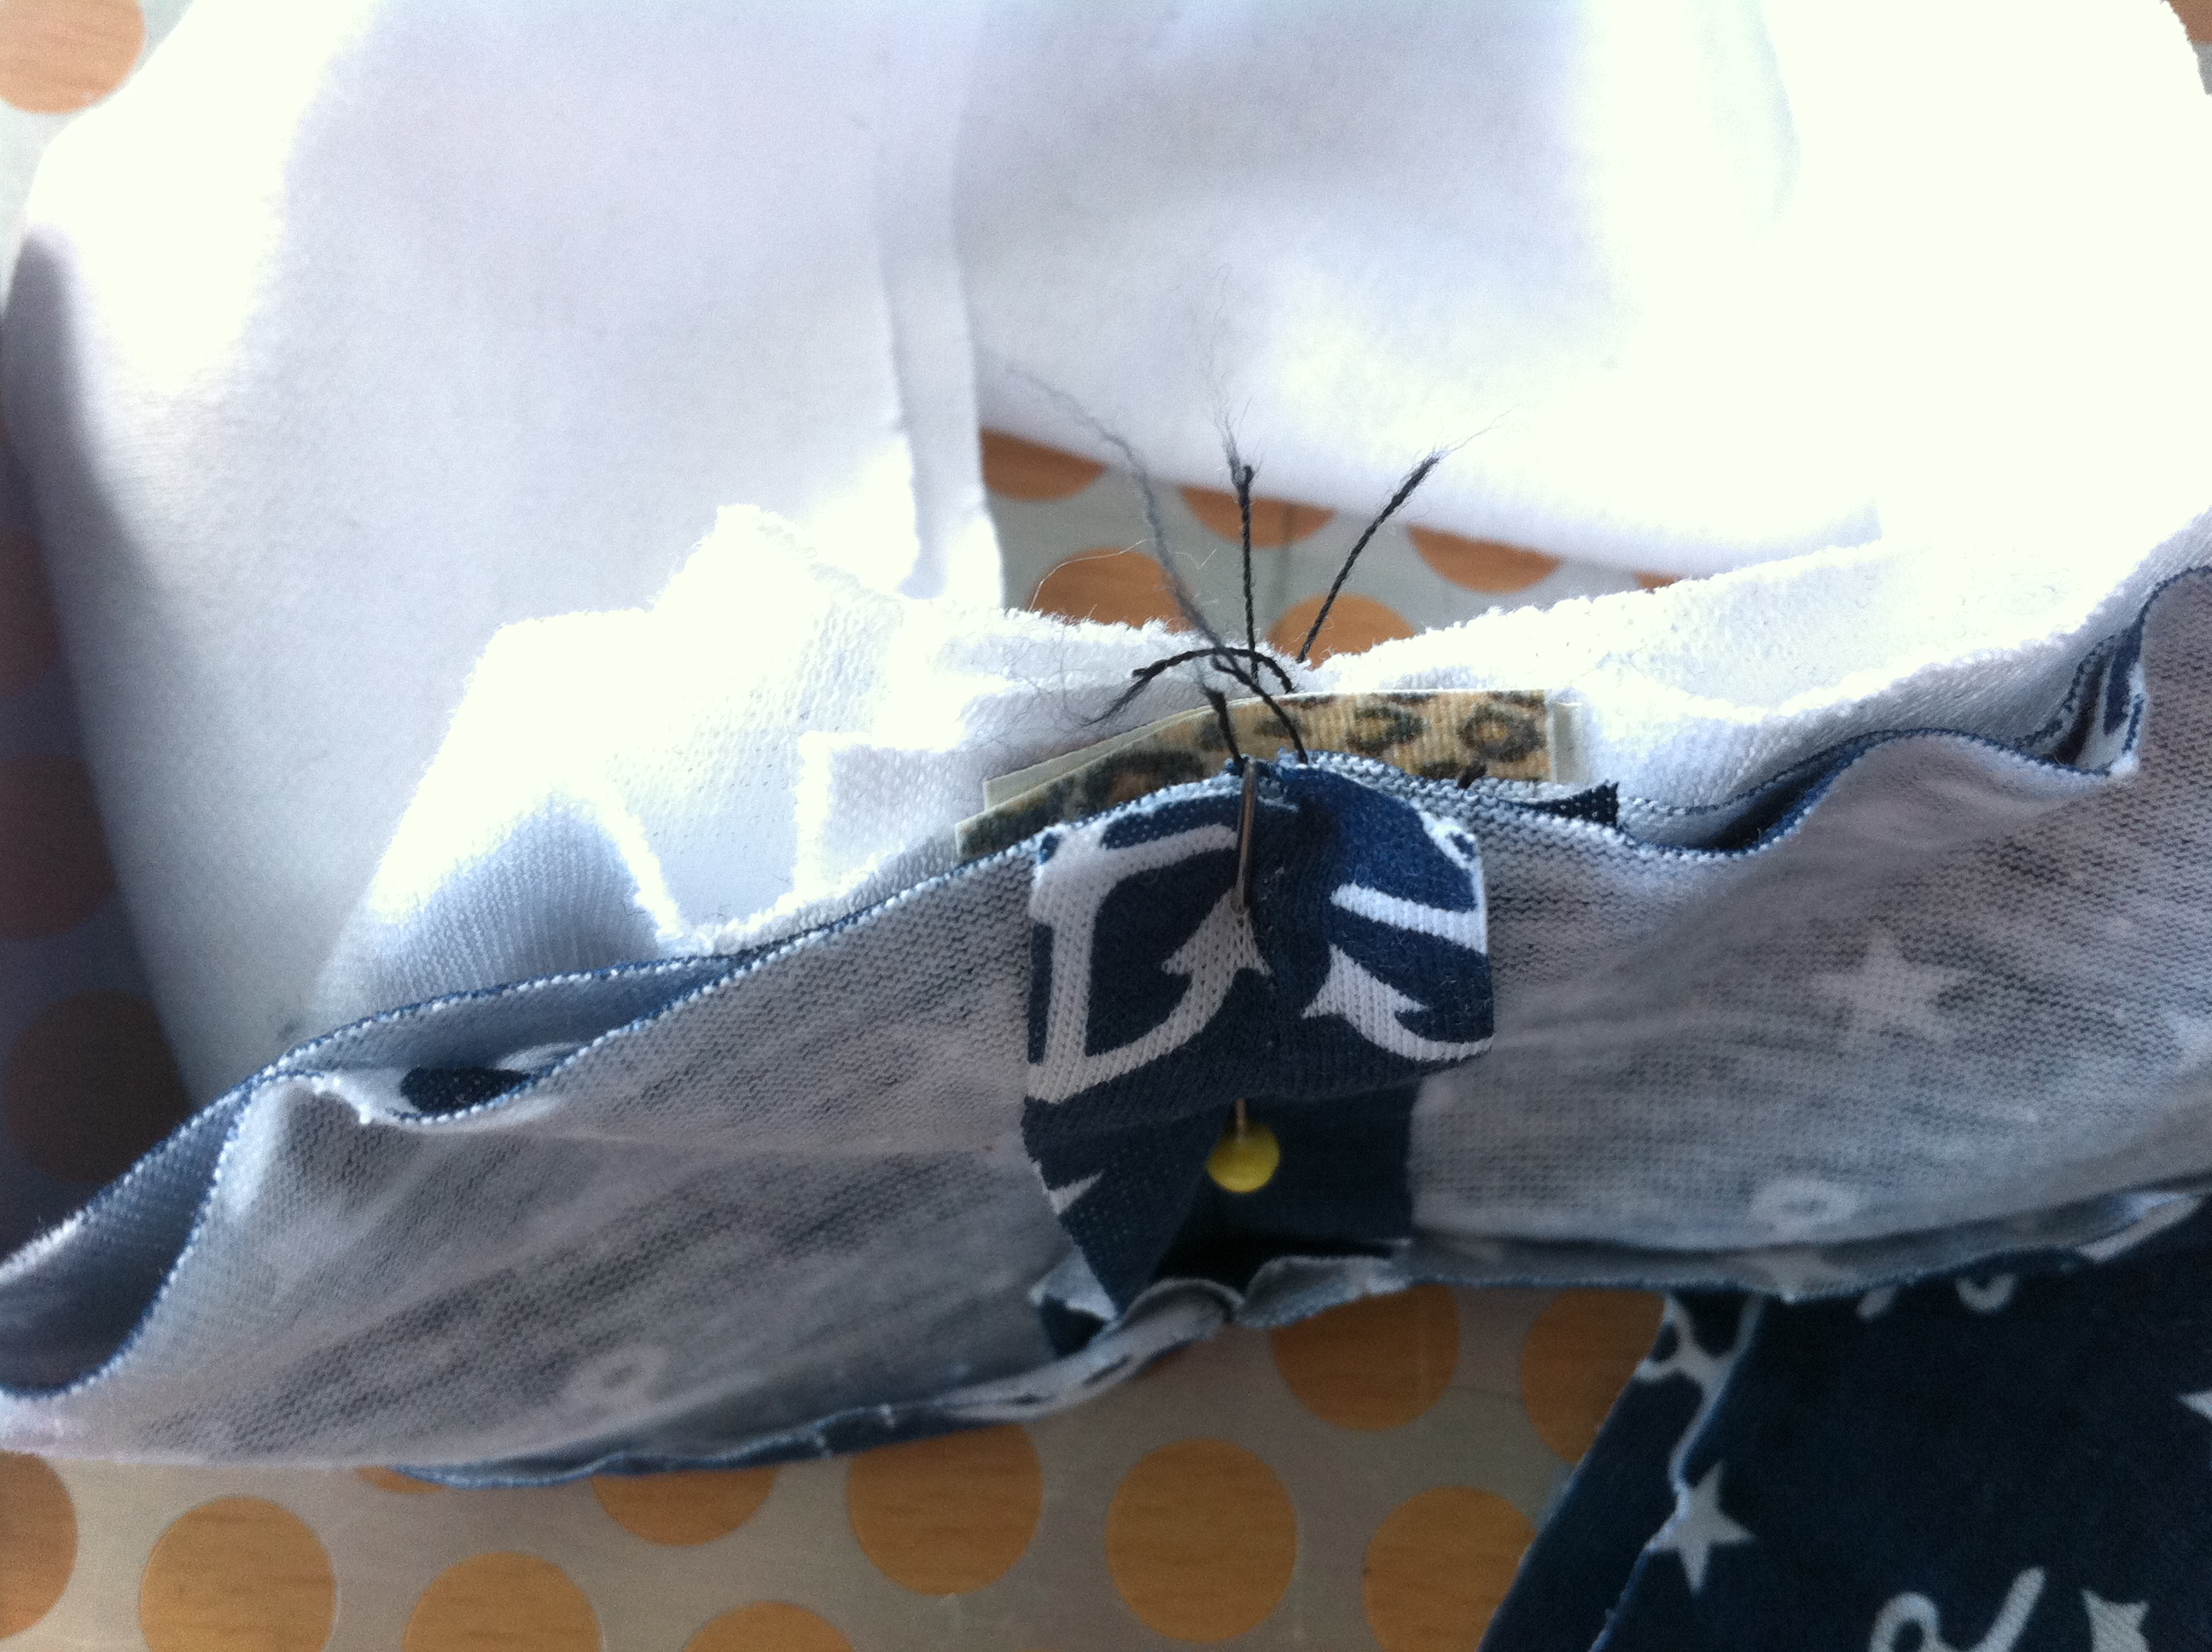
Find the middle of the other side of the waistband and put a pin to mark it. Do the same with the skirt tiers {We're treating the tiers as one piece of fabric now}. Now match the pins up and pin the waistband to the skirt.
Pin little pinches of fabric all around now so that the waistband and the skirt are fully pinned together.
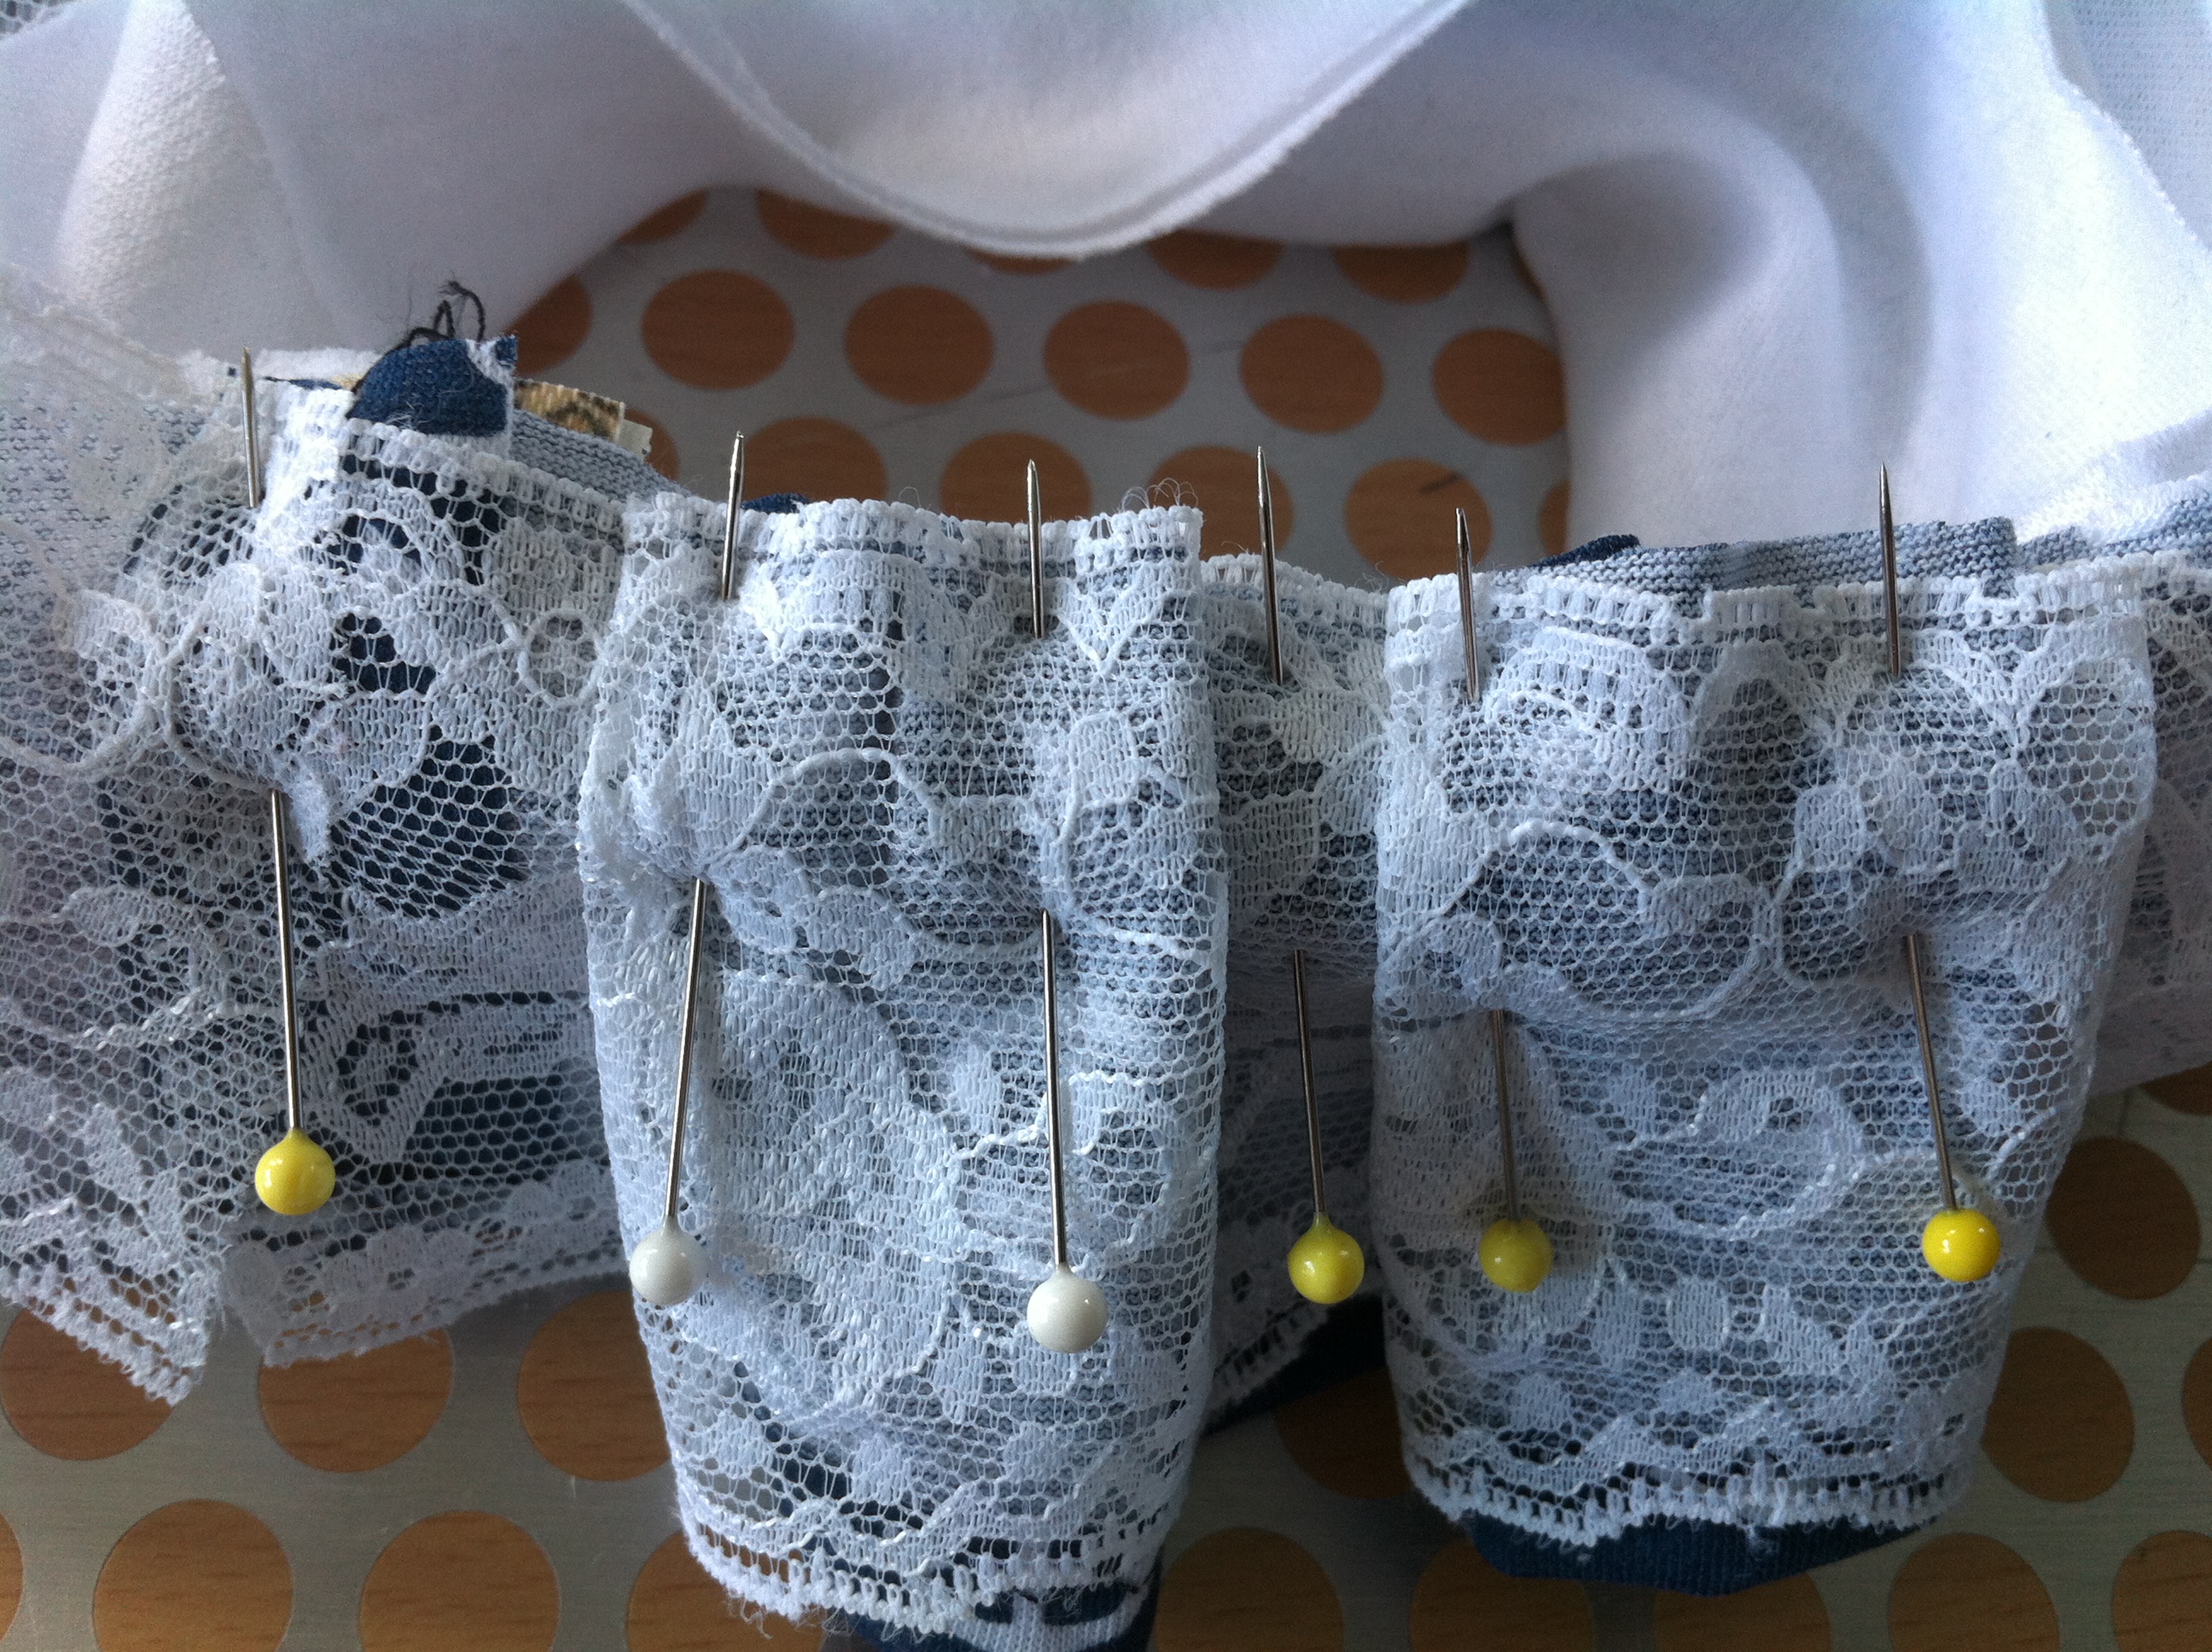
Now zigzag around where you have pinned, stretching slightly as you go. Make sure you zigzag, as it will help the waistband stretch. If you straight stitch you ain't going to be able to get into it!
Flip the waistband up and TADAAA


 • www.max-california.com")

4 comments
This is the cutest skirt!! I love the way the anchors line up on the tiers. =)
ReplyDeleteTwo adorable skirts and a fabulous tutorial!!! Love how the lace peeks out from the bottom.
ReplyDeleteLove this!!! Right up my alley!
ReplyDeleteGood luck on the 9th! You baby will be born 5 days after Sephira's first birthday!! I hope all goes as close to plan with as little pain as possible!!!
very cute thanks for the great tutorial. Have 2 now great granddaughters to make one for...
ReplyDeleteI love comments!