

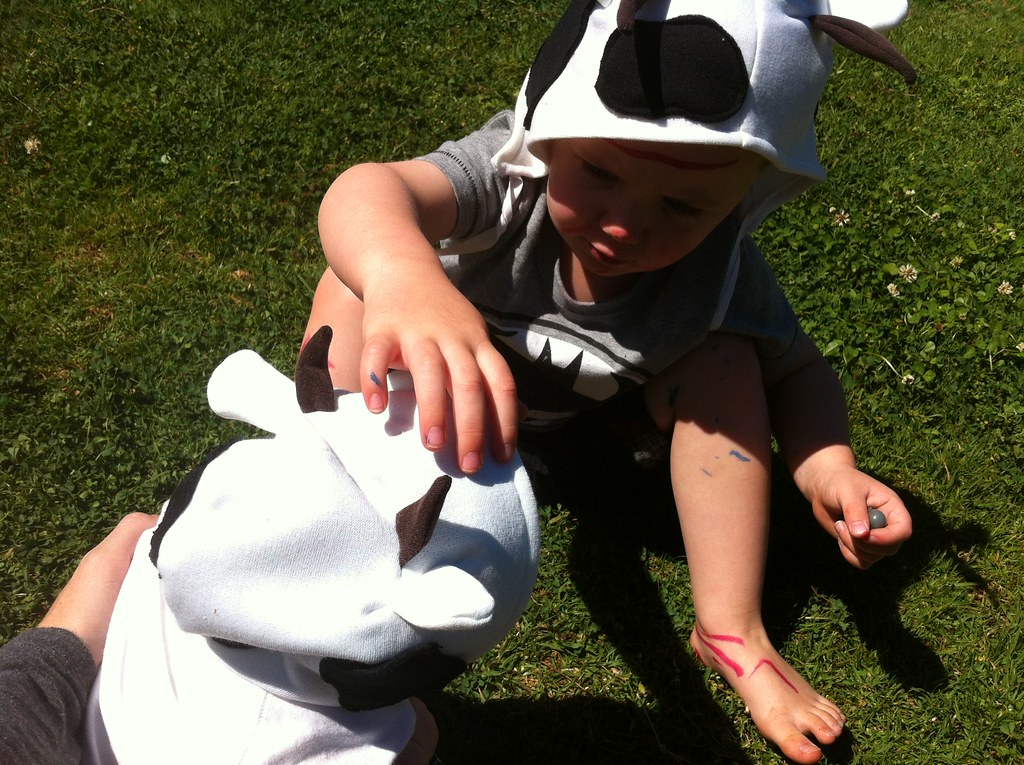
I made these hoods for Vincent's 'homeschooling' kindy I'm doing for him. The first unit has a cow theme so I thought it would be fun for him to play dress ups when we sing the songs and learn about cows.

We spent the afternoon pretending to eat clover and lowing at each other. Then we had to go to the doctor for Edison's 8 week immunisations and so Vincent wore his hood there too!

His vocabulary word is 'calf' and after a few days of seeing if he could remember, he now knows that a baby cow is called a calf! We decided Edison could be a calf.

Want to learn how to make your own?
You Will Need
Hood Pattern: I draft my own from Vince's old hoodies, so I have plenty of patterns. Check out the masterlist of free jacket patterns and tutorials here!
White fabric {I used fleece}
Black fabric {I used fleece}
Brown fabric {I used a faded t-shirt}
White bias binding
Sewing supplies!
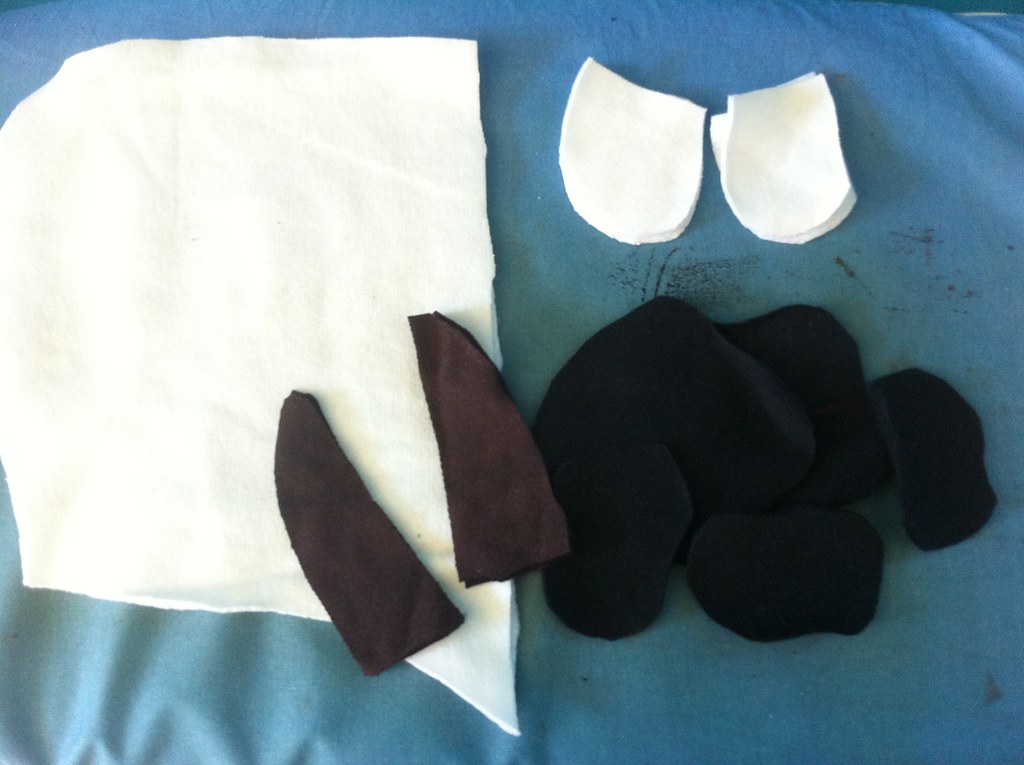
Cut out all your pieces.
From the white fabric you will need: 2 x hood pieces, 4 x ear flaps {2 pairs}
From the black fabric you will need: several cow-spot shaped pieces
From the brown fabric you will need: 4 x horn shapes {2 pairs}
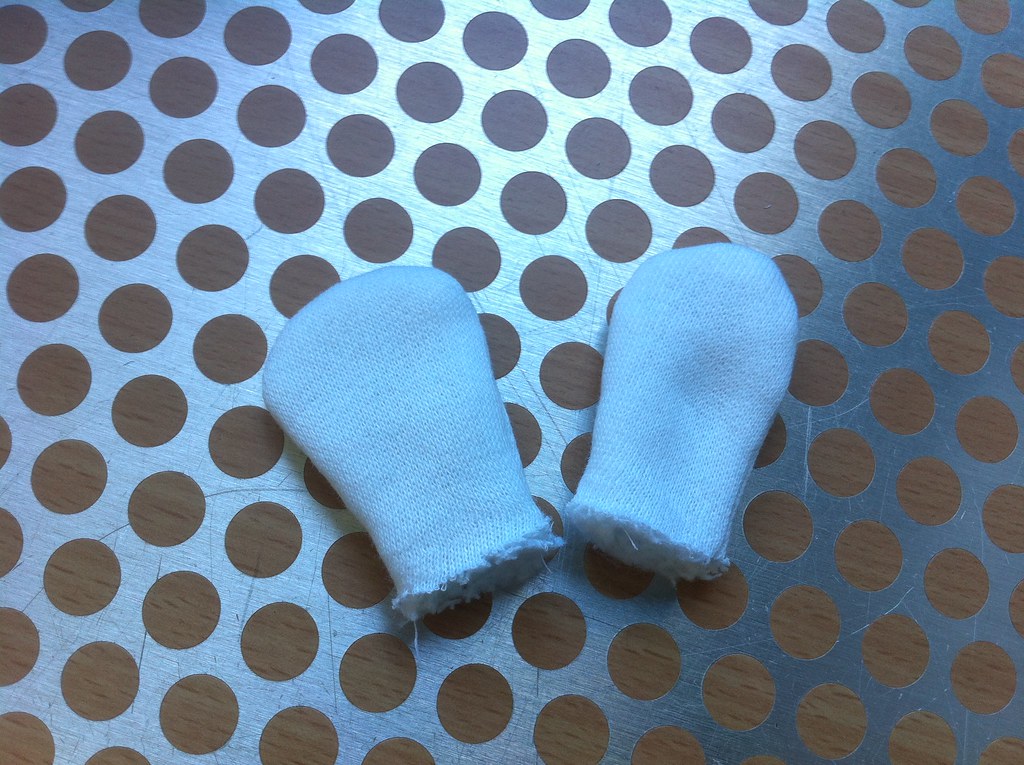
Sew two of the ear flaps together, leaving the flat bottom part open. Do the same for the other pair and turn them right way out.

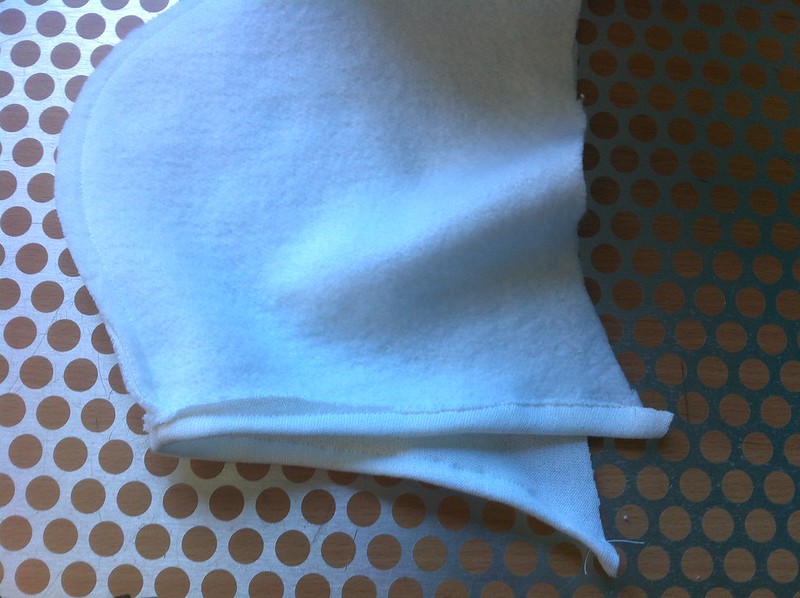
Place your hood pieces right sides together and stitch around the curved top & back of the hood. Make sure you don't stitch down the flat front or the curved bottom.
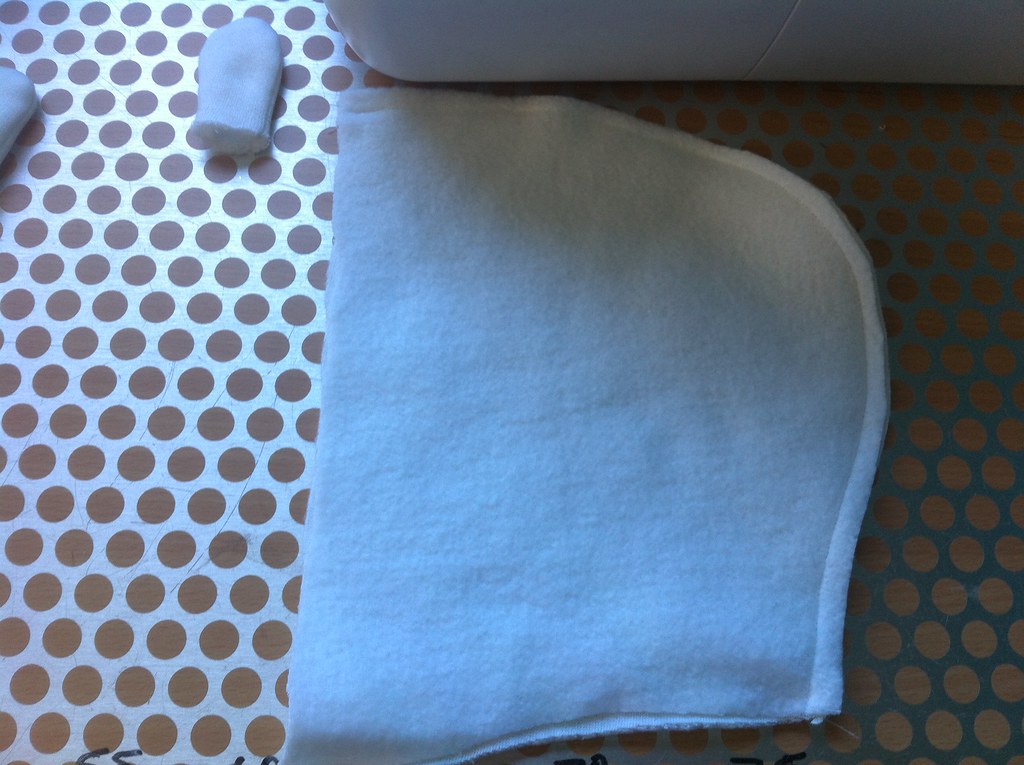
Fold up the bottom of the hood and hem along the curve.
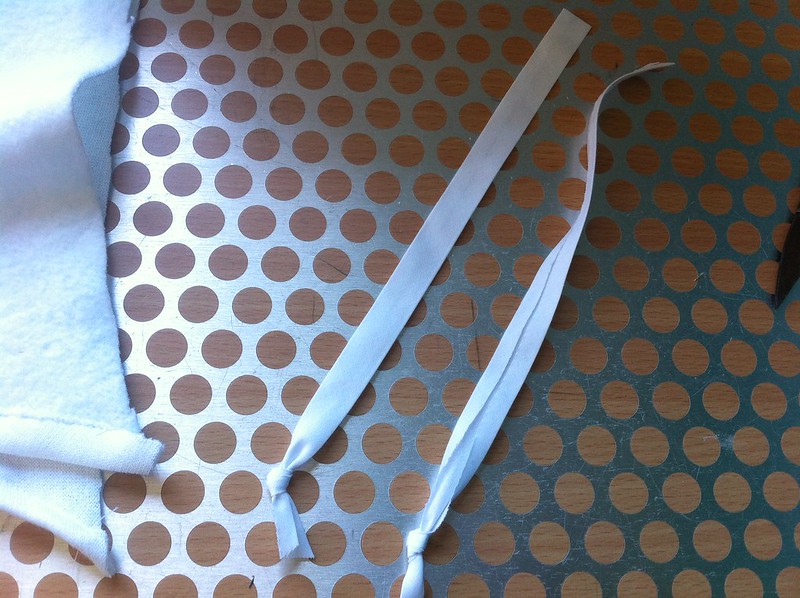
Cut your bias binding. Mine are about 20cm long. Tie a knot in one end of each piece.
Cut the corners off your hood at the bottom front.

Hem the front of the hood, folding the raw edge over 1cm and stitching. When you get to the lower edges, attach the bias tape in the hem, stitching securely.

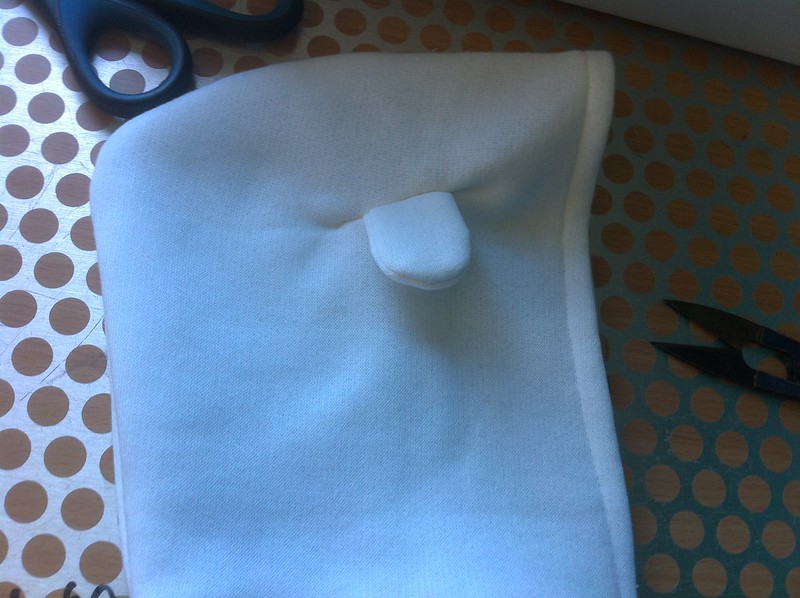
In the top of the hood, cut a horizontal slit where you want the ears to sit. The slit should be a tiny bit shorter than the width of the ear edge.
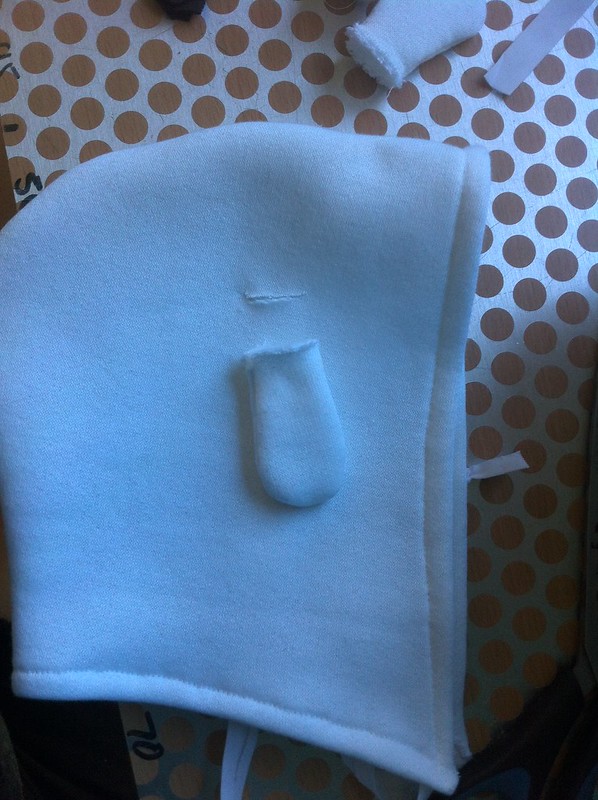
Poke the ear through the hole, making sure that the inside of the hood is facing up.
Fold the hood a little so you can stitch across the ear and anchor it into place. This is what it looks like before I trimmed it and neatened it up

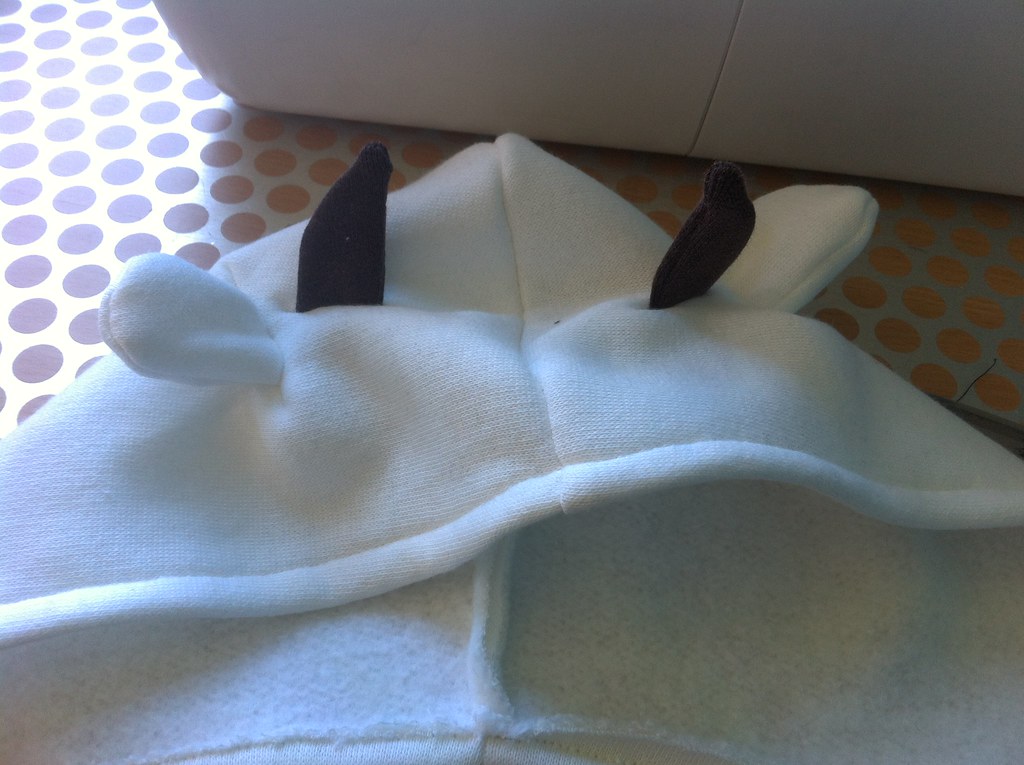
This is what it will look like!
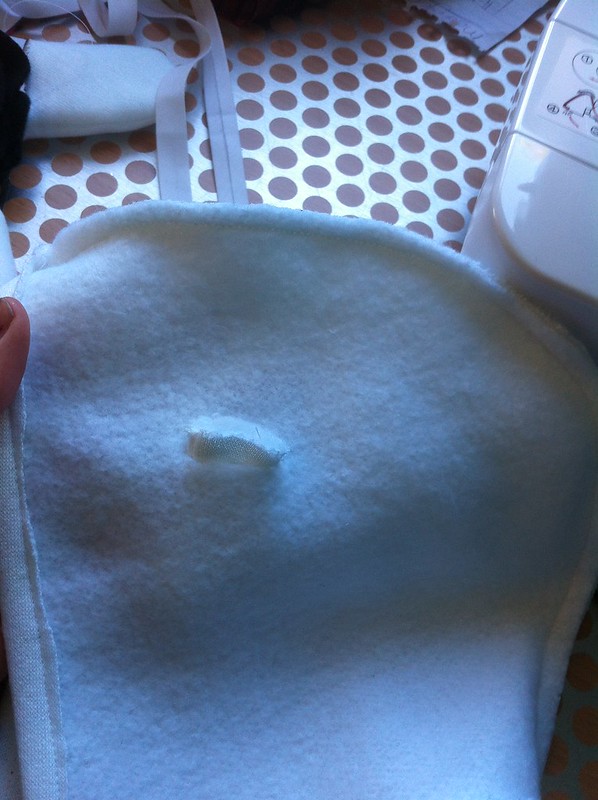
Stitch your horns together the way you did the ears, stitching along the two long sides of the horns and leaving the flat bottom open. Cut a second slit in the hood above the ear, this one going the opposite direction. This slit is for the horns.

Stitch the horns in the way the ears were attached.
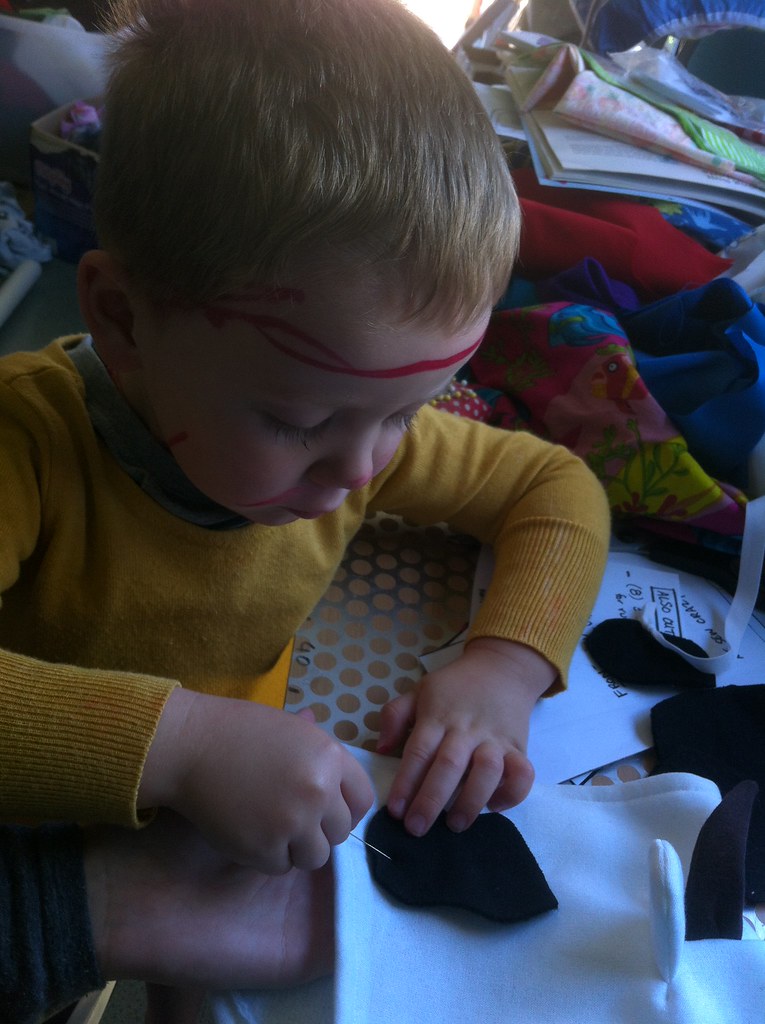
Pin the spots anywhere you like on the hood and stitch them
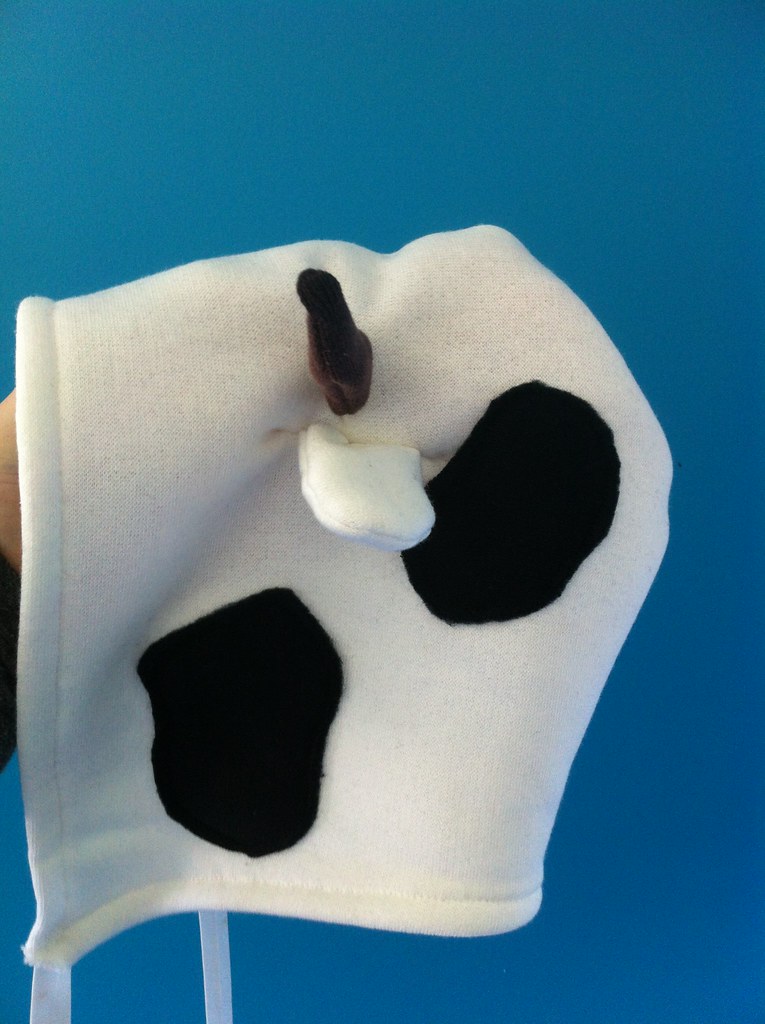

Mooo!
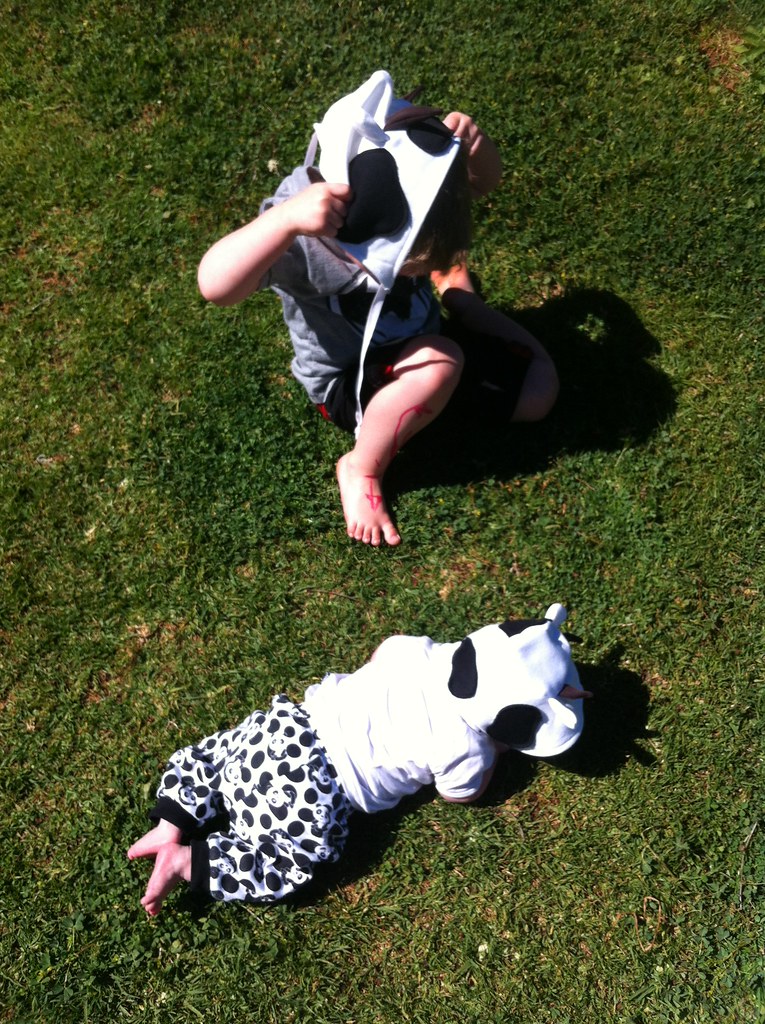
Oh you noticed all the red marker on my son? Monday morning we woke up to this masterpiece on the floor...

It was also on the tv, the mirror, and as the days go by I find more stuff. This morning I noticed his RC car from Toy Story is also brightly scribbled on. It's permanent marker, but most of it has been cleaned off now :D


 • www.max-california.com")

3 comments
Cow says MOOOOO - this is what I hear all day at my house. B's favorite animal is the cow - he has a cow stuffed lovie, he NEEDS a cow hood. Plus we have the restaurant in the states called CHick-fil-A (have you heard of it?) They do a once a year free chicken sandwich for anyone wearing a cow costume - maybe I should make them for the whole family.
ReplyDeleteHa - and of course he would get a RED marker - I'm terrified of the day the boys will no longer be in their cribs and could potentially roam the house while we sleep unaware ;op
~Suzanne
WHAT?! Holy adorable batman!!!!
ReplyDeleteSo much adorable! My boyfriend nearly died when I showed him the permanent marker situation. Possible because I was like, "Oh, here's something we've got to look forward to!"
ReplyDeleteI love comments!