
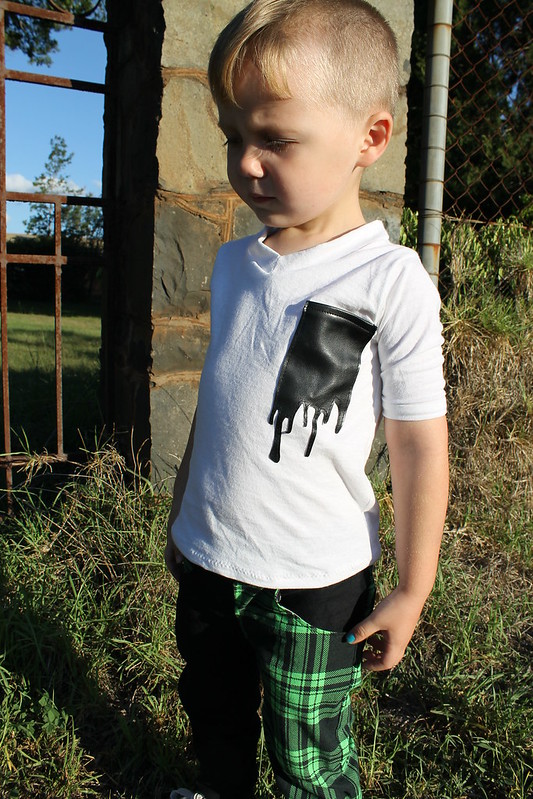
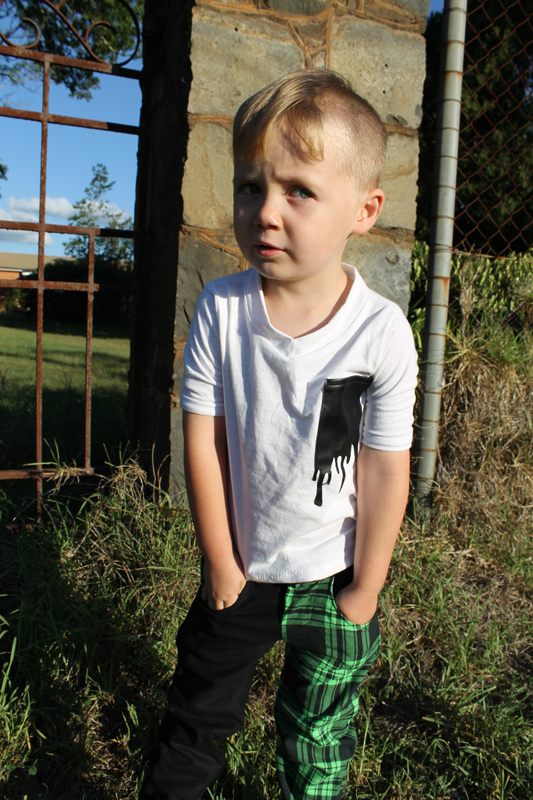
I made a tutorial for you on how to get the 'dripping' or 'melting' pocket look from week 3's Boys Week entry!
It is just a simple patch pocket, but made from pleather. You could use any other fabric, as long as it's not going to fray.

You're going to need:
- scrap of leather/pvc/fake leather/whatevers
- paper to make your pattern
- crayon
- sharp scissors
- baking paper
- pins
- sewing machine {unless you're hand-sewing that sucker}
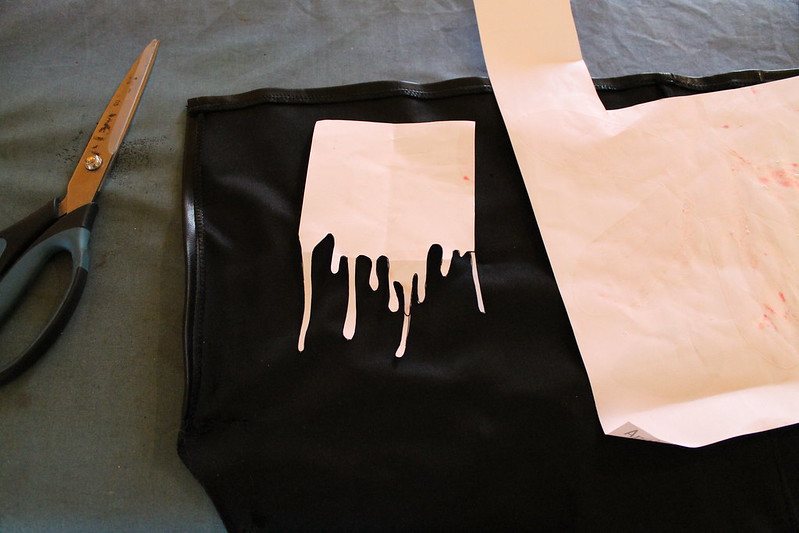
Grab a scrap of faux leather, mine was the offcuts of a pleather skirt I got from the op shop and cut into a mini for my sister. I used the hem of the mini skirt as the top of the pocket, so I didn't have to sew that. If you are using a fresh scrap, Just cut it straight across the top.
First of all, grab your paper to make a pattern. Draw a rectangle the shape & size you want your pocket {you're not going to need to worry about seam allowance}. I used this photo as a guide on drawing the drips.
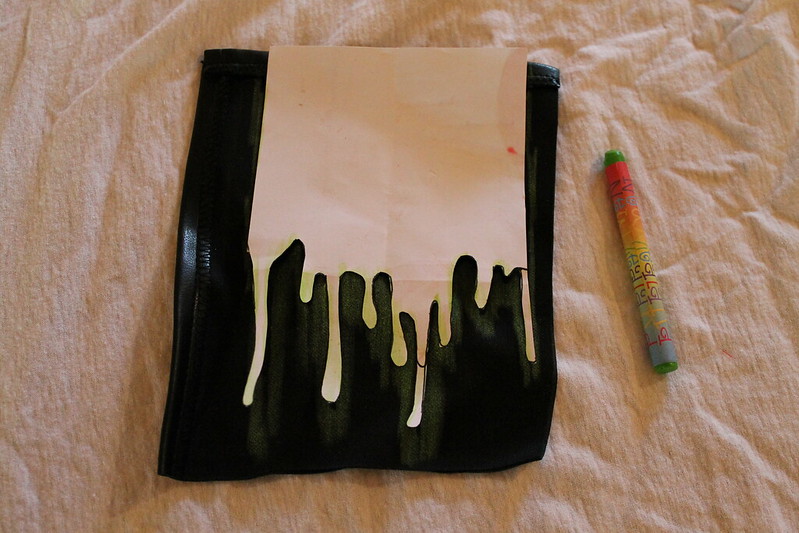
Cut out your new pattern. Now place it over the pleather {so the outside of the fabric is down and you're drawing on the back of it} and trace around it with a crayon. The crayon works so much better on this fabric than my chalk did, and it was what I had on hand. Just make sure it's a light coloured crayon if you're working on dark fabric and vice verse.

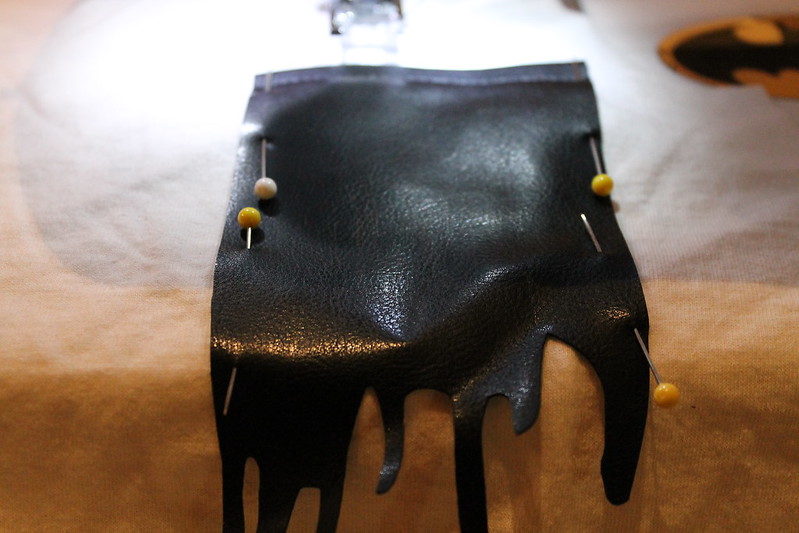
Cut out your pleather and pin it along the edges to the shirt where you want it to sit.
Place baking paper over the top, and change your stitch length to a bit longer than usual. On my machine I sew with a 2.5 or a 3 so I used a 3.5.

Now sew! Slowly and carefully! It should slide through your machine like it ain't no thing.
Once you've sewn it, carefully pull the baking paper off the top of the shirt, don't pull too hard or you will pop the seams.

Tada!

And you're done!


 • www.max-california.com")

3 comments
you are amazing - that is all ;o)
ReplyDeleteI loved this. This has been my favorite one element of this competition.
ReplyDeletethanks
ReplyDeleteI love comments!