
 • www.max-california.com")
This post was originally over at Project Run & Play!
(you can see more singlets i made in this post)
(you can see more singlets i made in this post)
 • www.max-california.com")
Hi! My husband has this singlet shirt with deep armholes that I LOVE when he wears {he has nice arms}, so I decided to make a small one for Vincent. I made some changes and I'd love to share with you how I made the Hooded Hipster singlet!
 • www.max-california.com")
It features:
Deep armholes
 • www.max-california.com")
A hood
 • www.max-california.com")
And a patch pocket {which you can make from contrast fabric if you like!}
You can also opt to have it without a hood!
 • www.max-california.com")
You ready? The pattern for this is a 3T, which you can download from here. {Please note I do not control the ads on Mediafire. Just don't click on anything except the green download button :) }You can alter an existing t-shirt pattern that fits your kiddie by lowering the armholes - make them almost double the original length. You can also widen the neckhole a little, not too much.
Note: The print guide is 8mm not 1cm, because I am super clever and use a fat permanent marker to mark it. As long as the space on the print guide is 8mm you are golden.
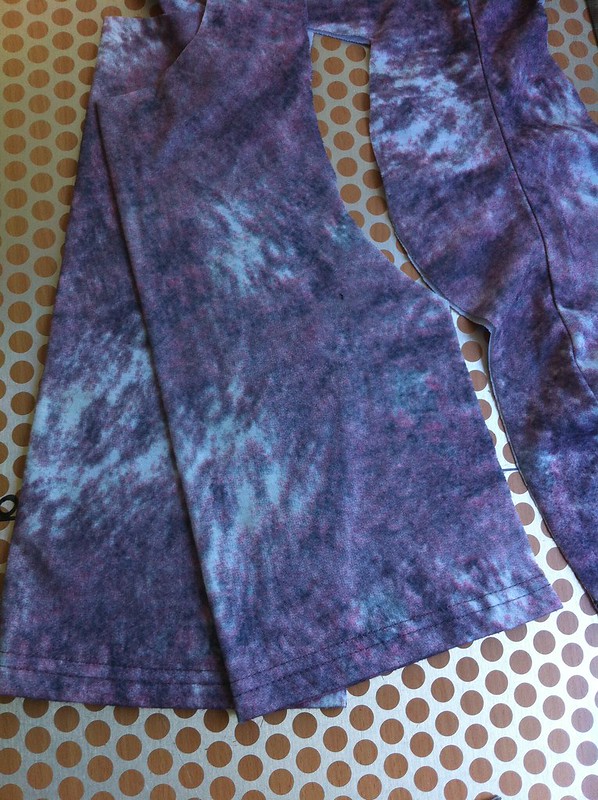
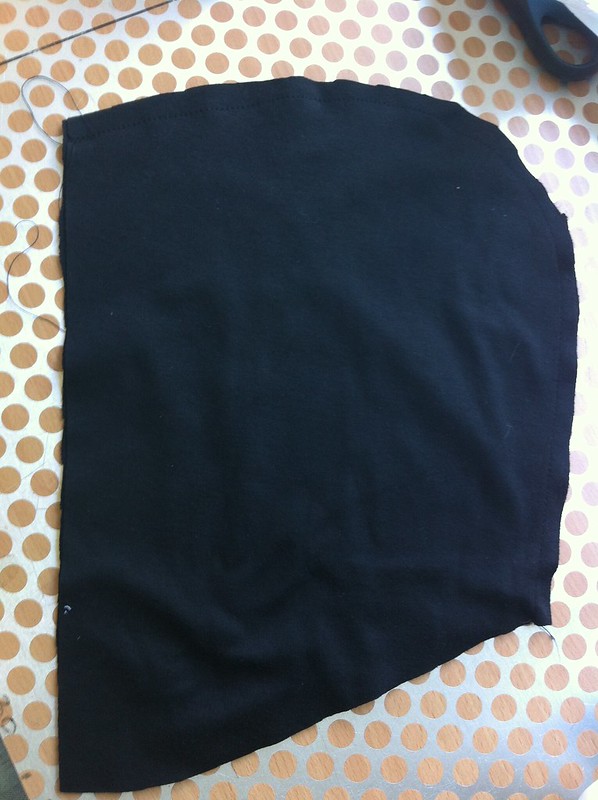
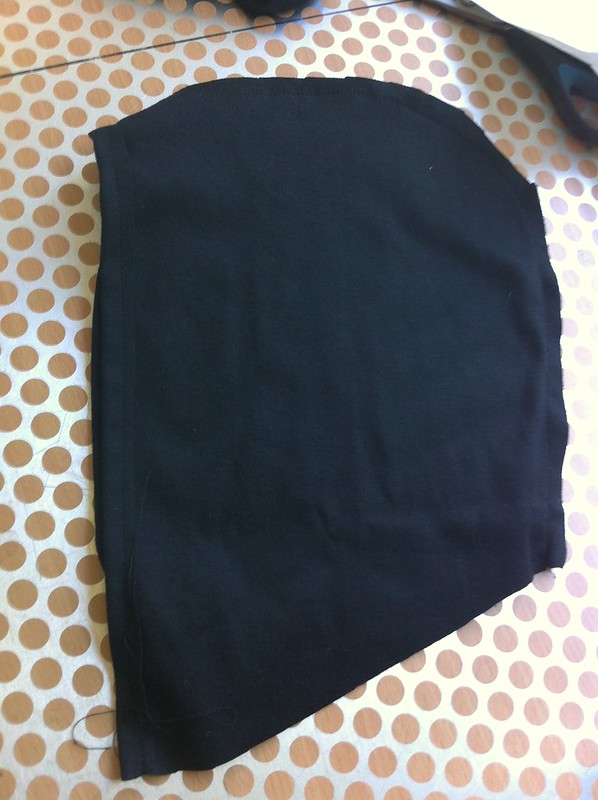
Following the cutting instructions on the pattern, you will need to cut one front on the fold of fabric, one back on the fold of fabric, two hood pieces and one patch pocket. The hood and the pocket are optional. If you are using a t-shirt like I did for the hoodless shirt, you can use the existing hem of the shirt for the hem of the new shirt. Just place your pattern pieces along the bottom of the shirt while cutting out.
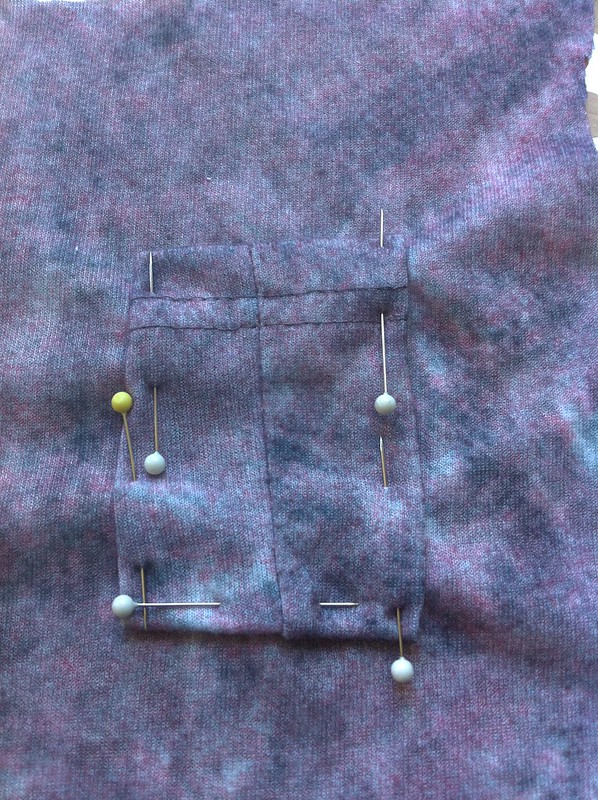
For the pocket of this shirt, I used the hem along the sideseam as the top of the pocket, otherwise just fold the top of the pocket over 1cm and stitch. Now position it on the front of the shirt where you want to attach it.

Fold the sides and the bottom of the pocket under 1cm and pin it to the shirt. Stitch along the edge about 0.5cm. MAKE SURE YOU DO NOT SEW ACROSS THE TOP. Otherwise you will just have a patch. And not a pocket.
Place the front of the shirt face down on top of the back of the shirt. Stitch across the shoulders.
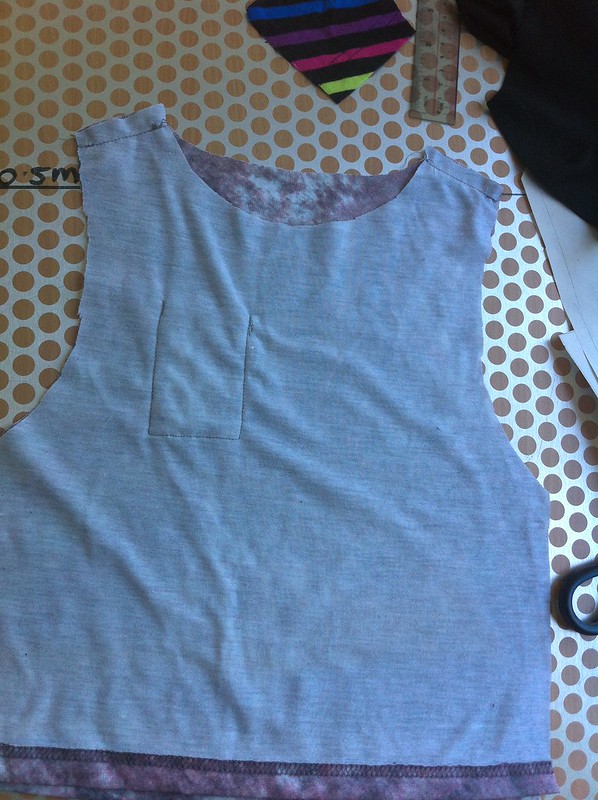
Open the shirt up and fold the armholes over 1cm. Stitch both sides. I use a zigzag stitch.
Hoodless version: Fold the neckhole over 1cm and stitch it also with a zigzag stitch.

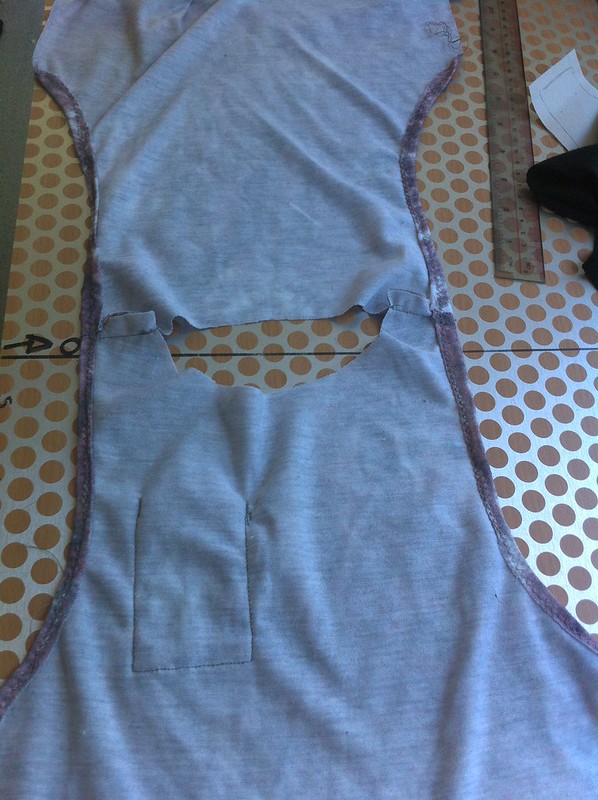
Both versions: Flip the shirt inside out again and stitch up the sideseams. You can use a straight stitch for this.

Now if your shirt doesn't have a hem on it, now is the time to do it. Flip up the bottom raw edge and stitch around using a zigzag stitch.
If you are making a hoodless shirt, stop here because you are totally finished!
If you are making the hooded version, read on!
Place your hood pieces right sides together. Stitch 1cm from the edge along the top and the curved back piece right down to the bottom.
Now open up the hood and flip the straight front pieces back - stitch along the front. You're 'hemming' the front of the hood {not stitching them together}
Fold your shirt in half so the front and the back are on folds. Place a pin on each fold, or do a small snip at the top to mark the centre front and the centre backs.

Pin the centre back seam of the hood to the centre back marker of the shirt. Make sure the outside of the hood is inside the shirt with the right side {outside} of the shirt on the inside {Right sides together}. Overlap the front of the hood pieces and pin to the centre front marker of the shirt. Pin the rest of the hood to the rest of the neck opening. With a zigzag stitch, stitch around the neck hole, securing the hood to the shirt.

Hood done :)
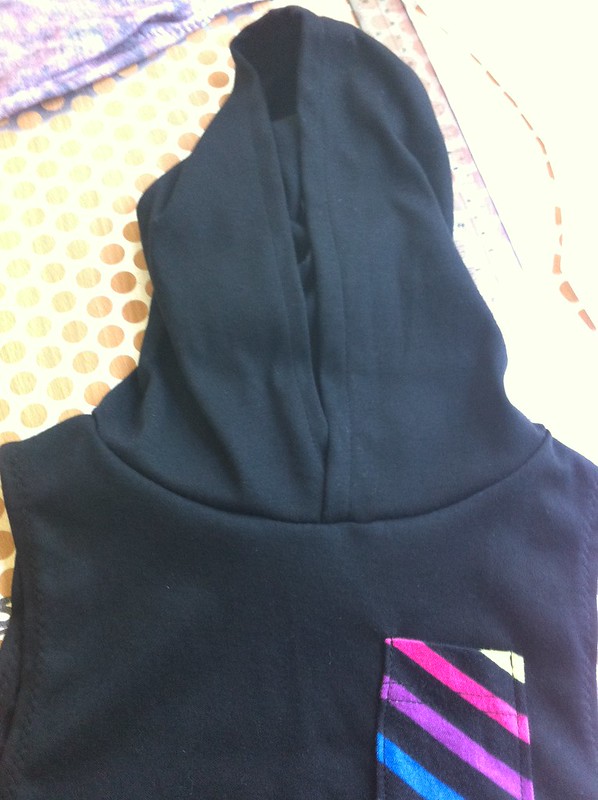
Shirt finished! Thanks for having me!
 • www.max-california.com")


 • www.max-california.com")

4 comments
This comment has been removed by a blog administrator.
ReplyDeleteThis comment has been removed by a blog administrator.
ReplyDeleteThis is absolutely adorable. Thank you so much for sharing the pattern, and thank you for the tutorial ^_^
ReplyDeleteI can't download the pattern with any of my programs.. :( is it possible I can get it in my email?
ReplyDeleteI would love to make this awesome singlet!!
juulnauta@gmail.com
Thanks in advance!
Greetings from Holland,
Juul Nauta
I love comments!