


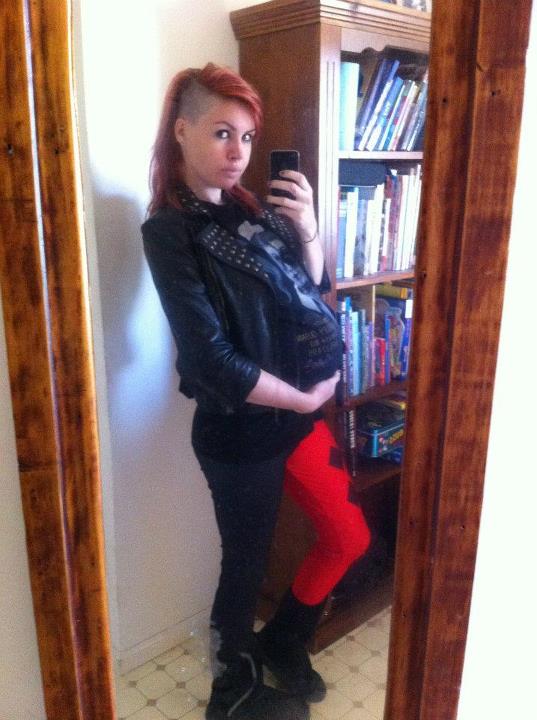
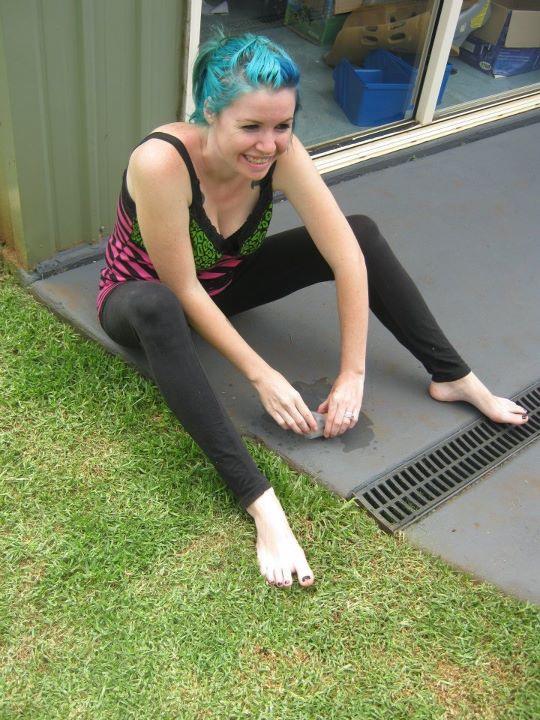
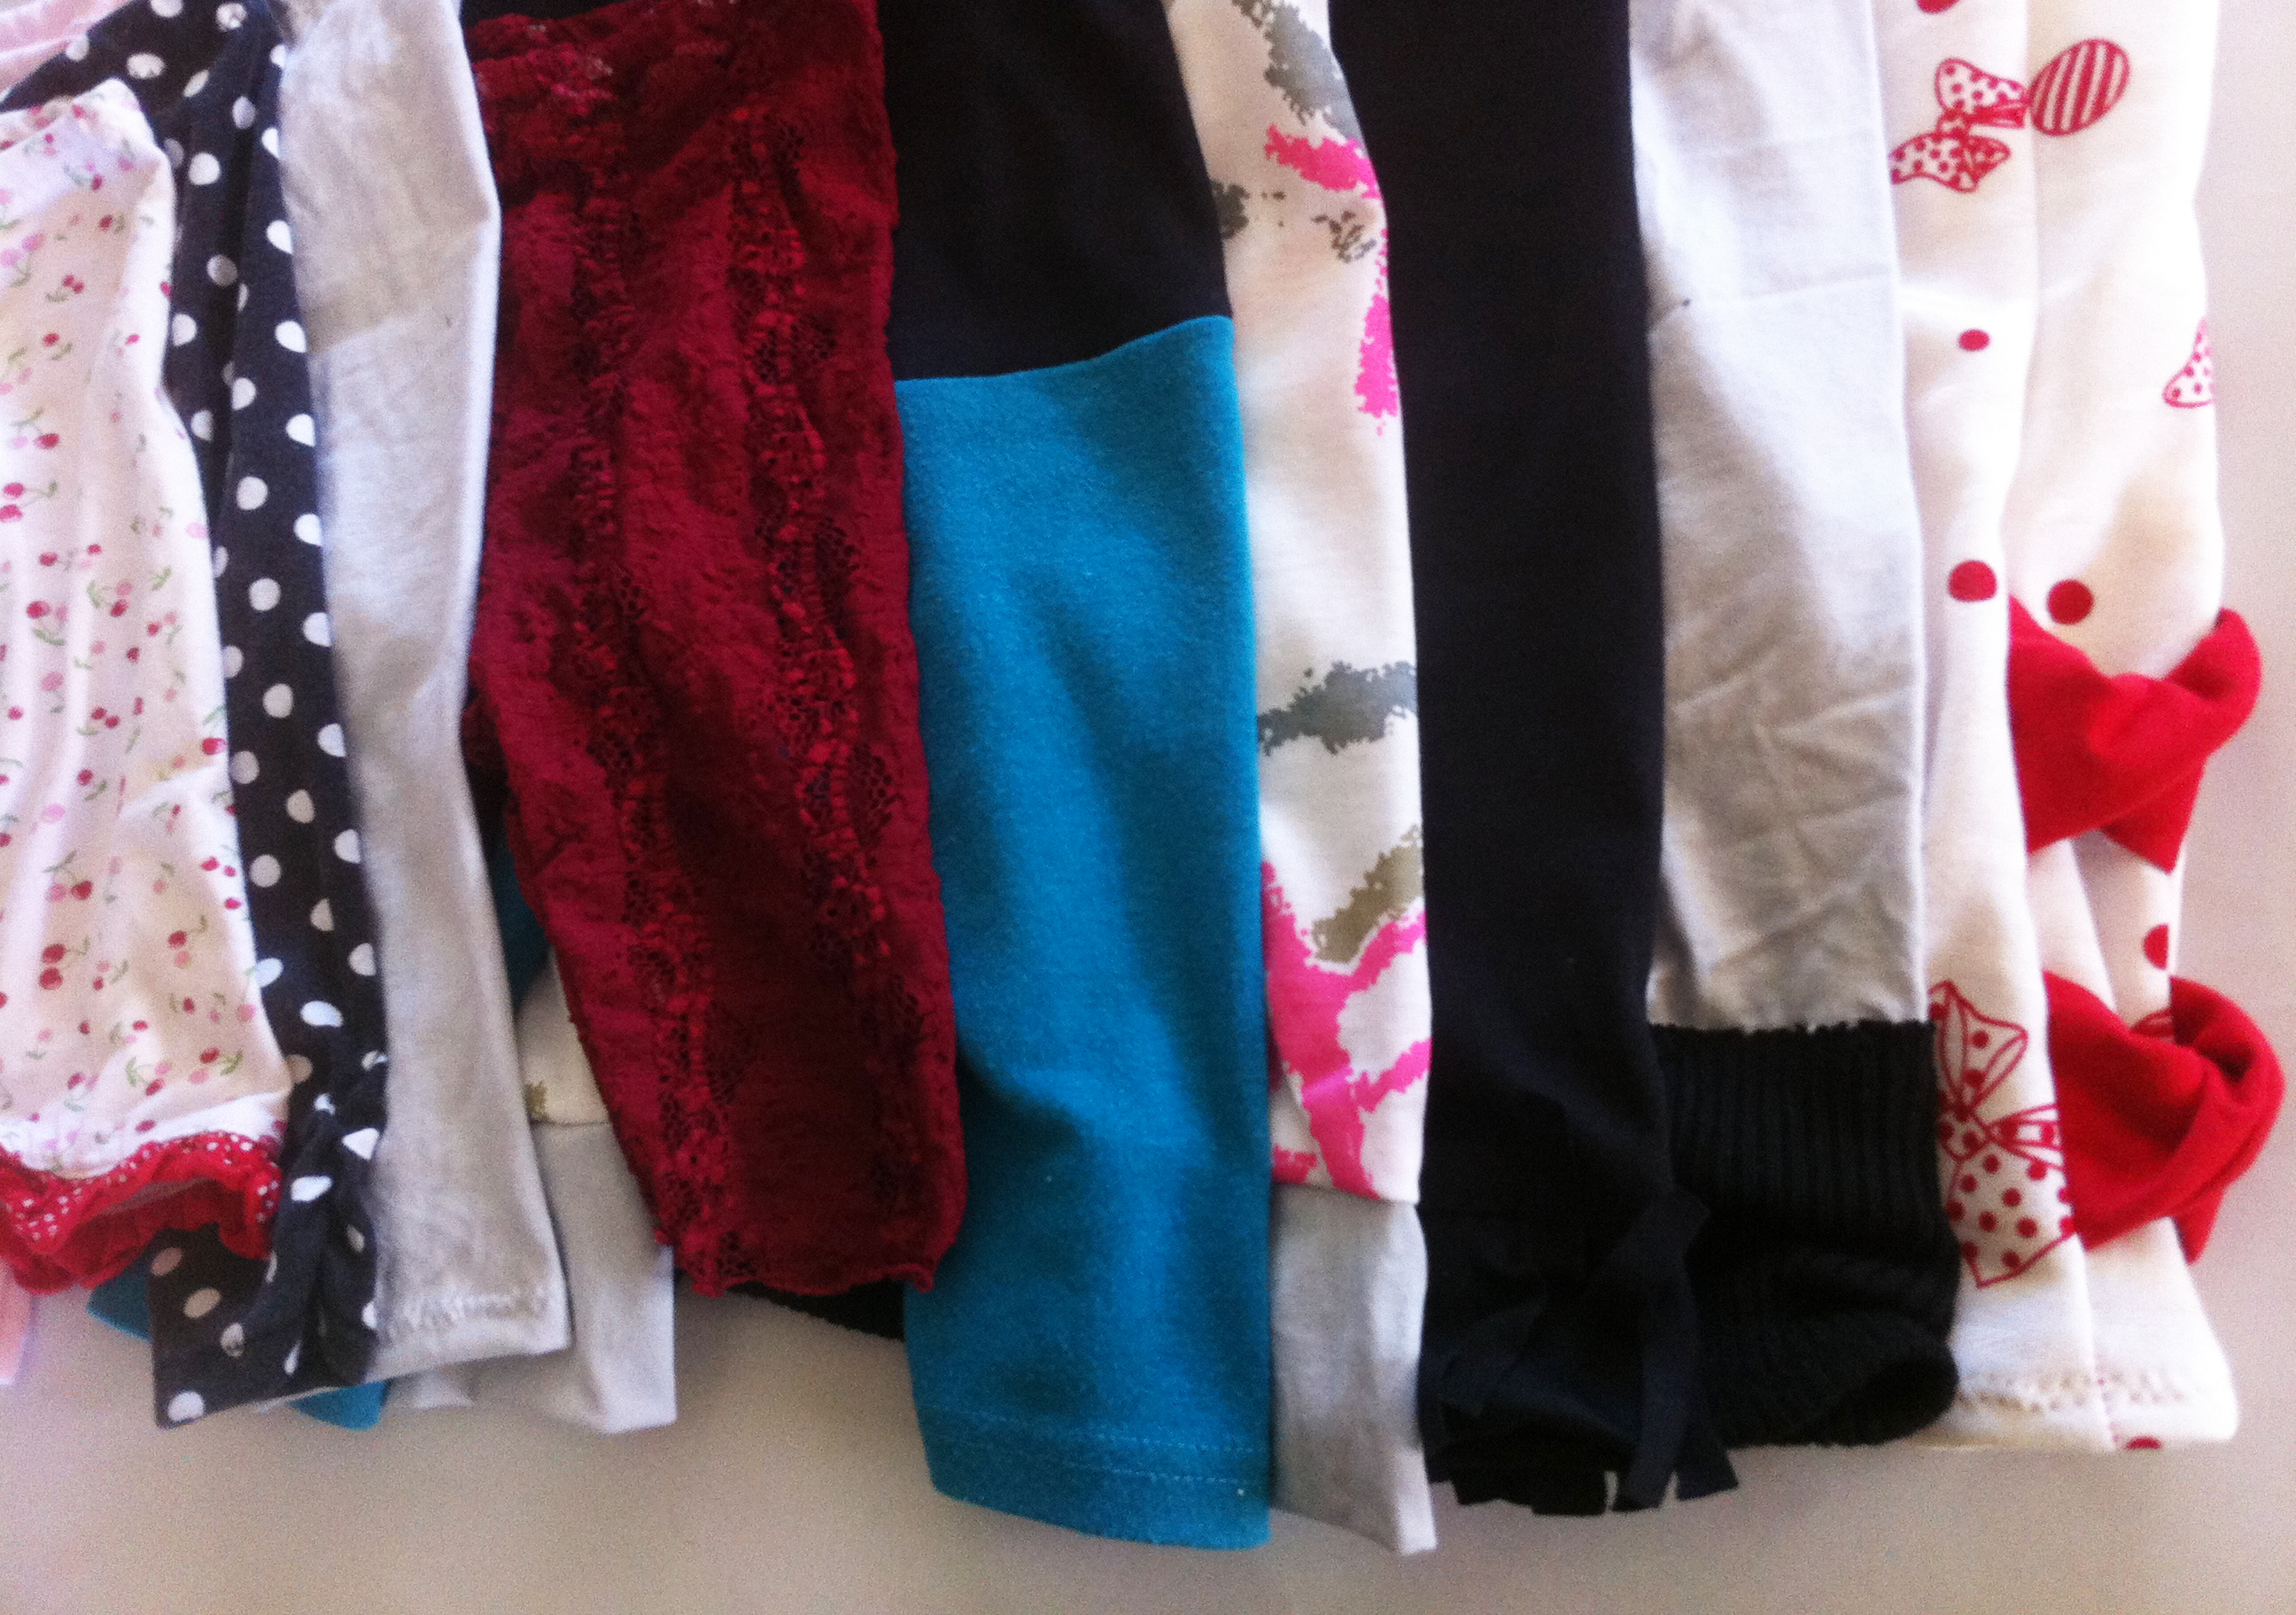
So I don't think it comes as a shock to any of my family and friends that I would eventually be doing a post devoted to leggings. See, I love leggings. I'm one of those people that wears leggings as pants and I'm not ashamed to admit it.
 |
| I made these! Snakeskin Leggings with studded knees. |

  |
I dressed Vince in leggings, not so much now that he's a proper boy, but when he was a bub it was the go-to legwear! So easy to take on and off and super comfortable.
So when I realised I was having a daughter I got SO excited about all the leggings I could make! I refined the leggings patterns I had made for Vince when he was little, and I have four sizes for you to download and print right here! There is newborn {0-3months}, 000 {3-6months}, 00 {6-9 months} and 0 {9-12months}. I've got a size 1 and 2 coming too. This tutorial will show you how to sew a basic pair of leggings, and I will be adding ways to embellish them and change them up! There is also an additional link for downloading JUST the newborn size by itself. If you want the multi-sized pattern then click the first link.
The patterns are just one piece, which you cut two of. There are no sideseams, which means less fiddling and quicker leggings. Also the front seam is a different shape to the back seam because NO ONE'S FRONT IS THE SAME SHAPE AS THEIR BUTT. Seriously. The back seam is a lot more curved and it goes up higher at the waist to make room for delicious nappy butts.
Click the link below to expand the tutorial! If you make some leggings, add them to the Flickr Pool!
Leggings are made from stretch fabric, so you can use old t-shirts, or whatever you have that stretches. Make sure your pattern pieces are laid out so that the greatest stretch of the fabric stretches ACROSS the leggings not up & down.
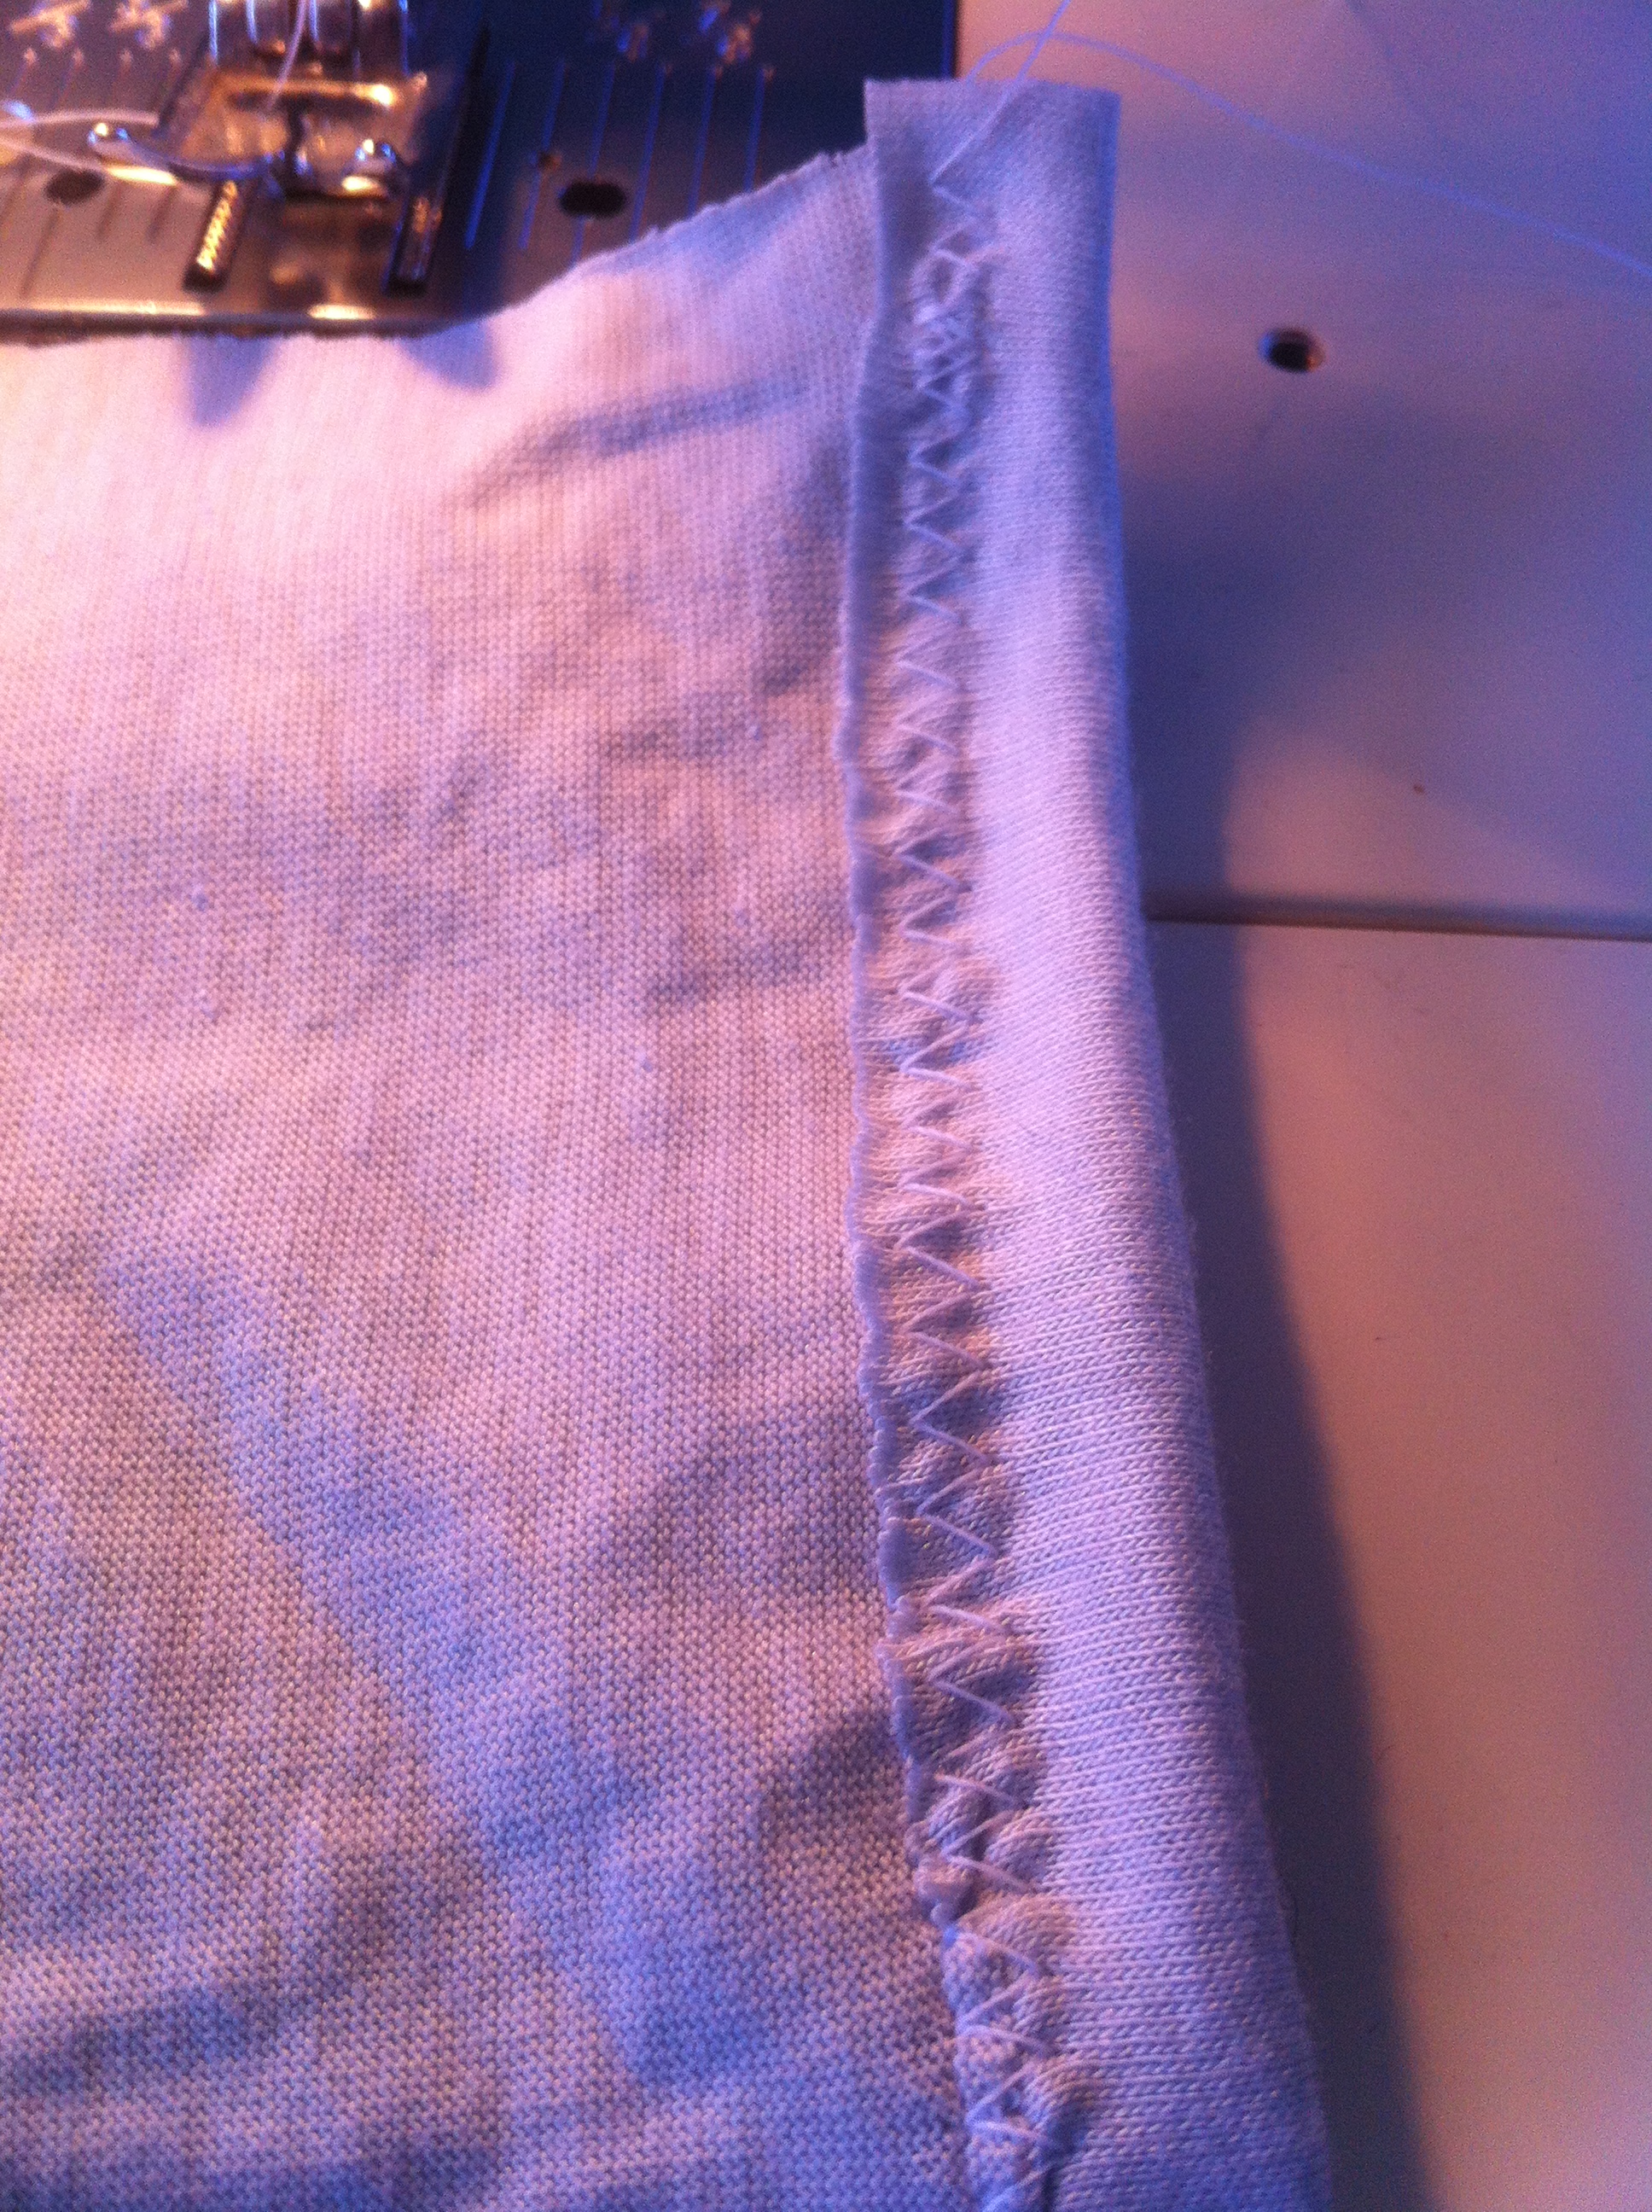
Cut out two of the pattern piece, make sure they are mirror images of each other. First let us hem the legs! Fold up the legs at the ankle one cm and stitch a ZIG ZAG stitch. The zigzag helps the fabric stretch. Do this for both the pieces.
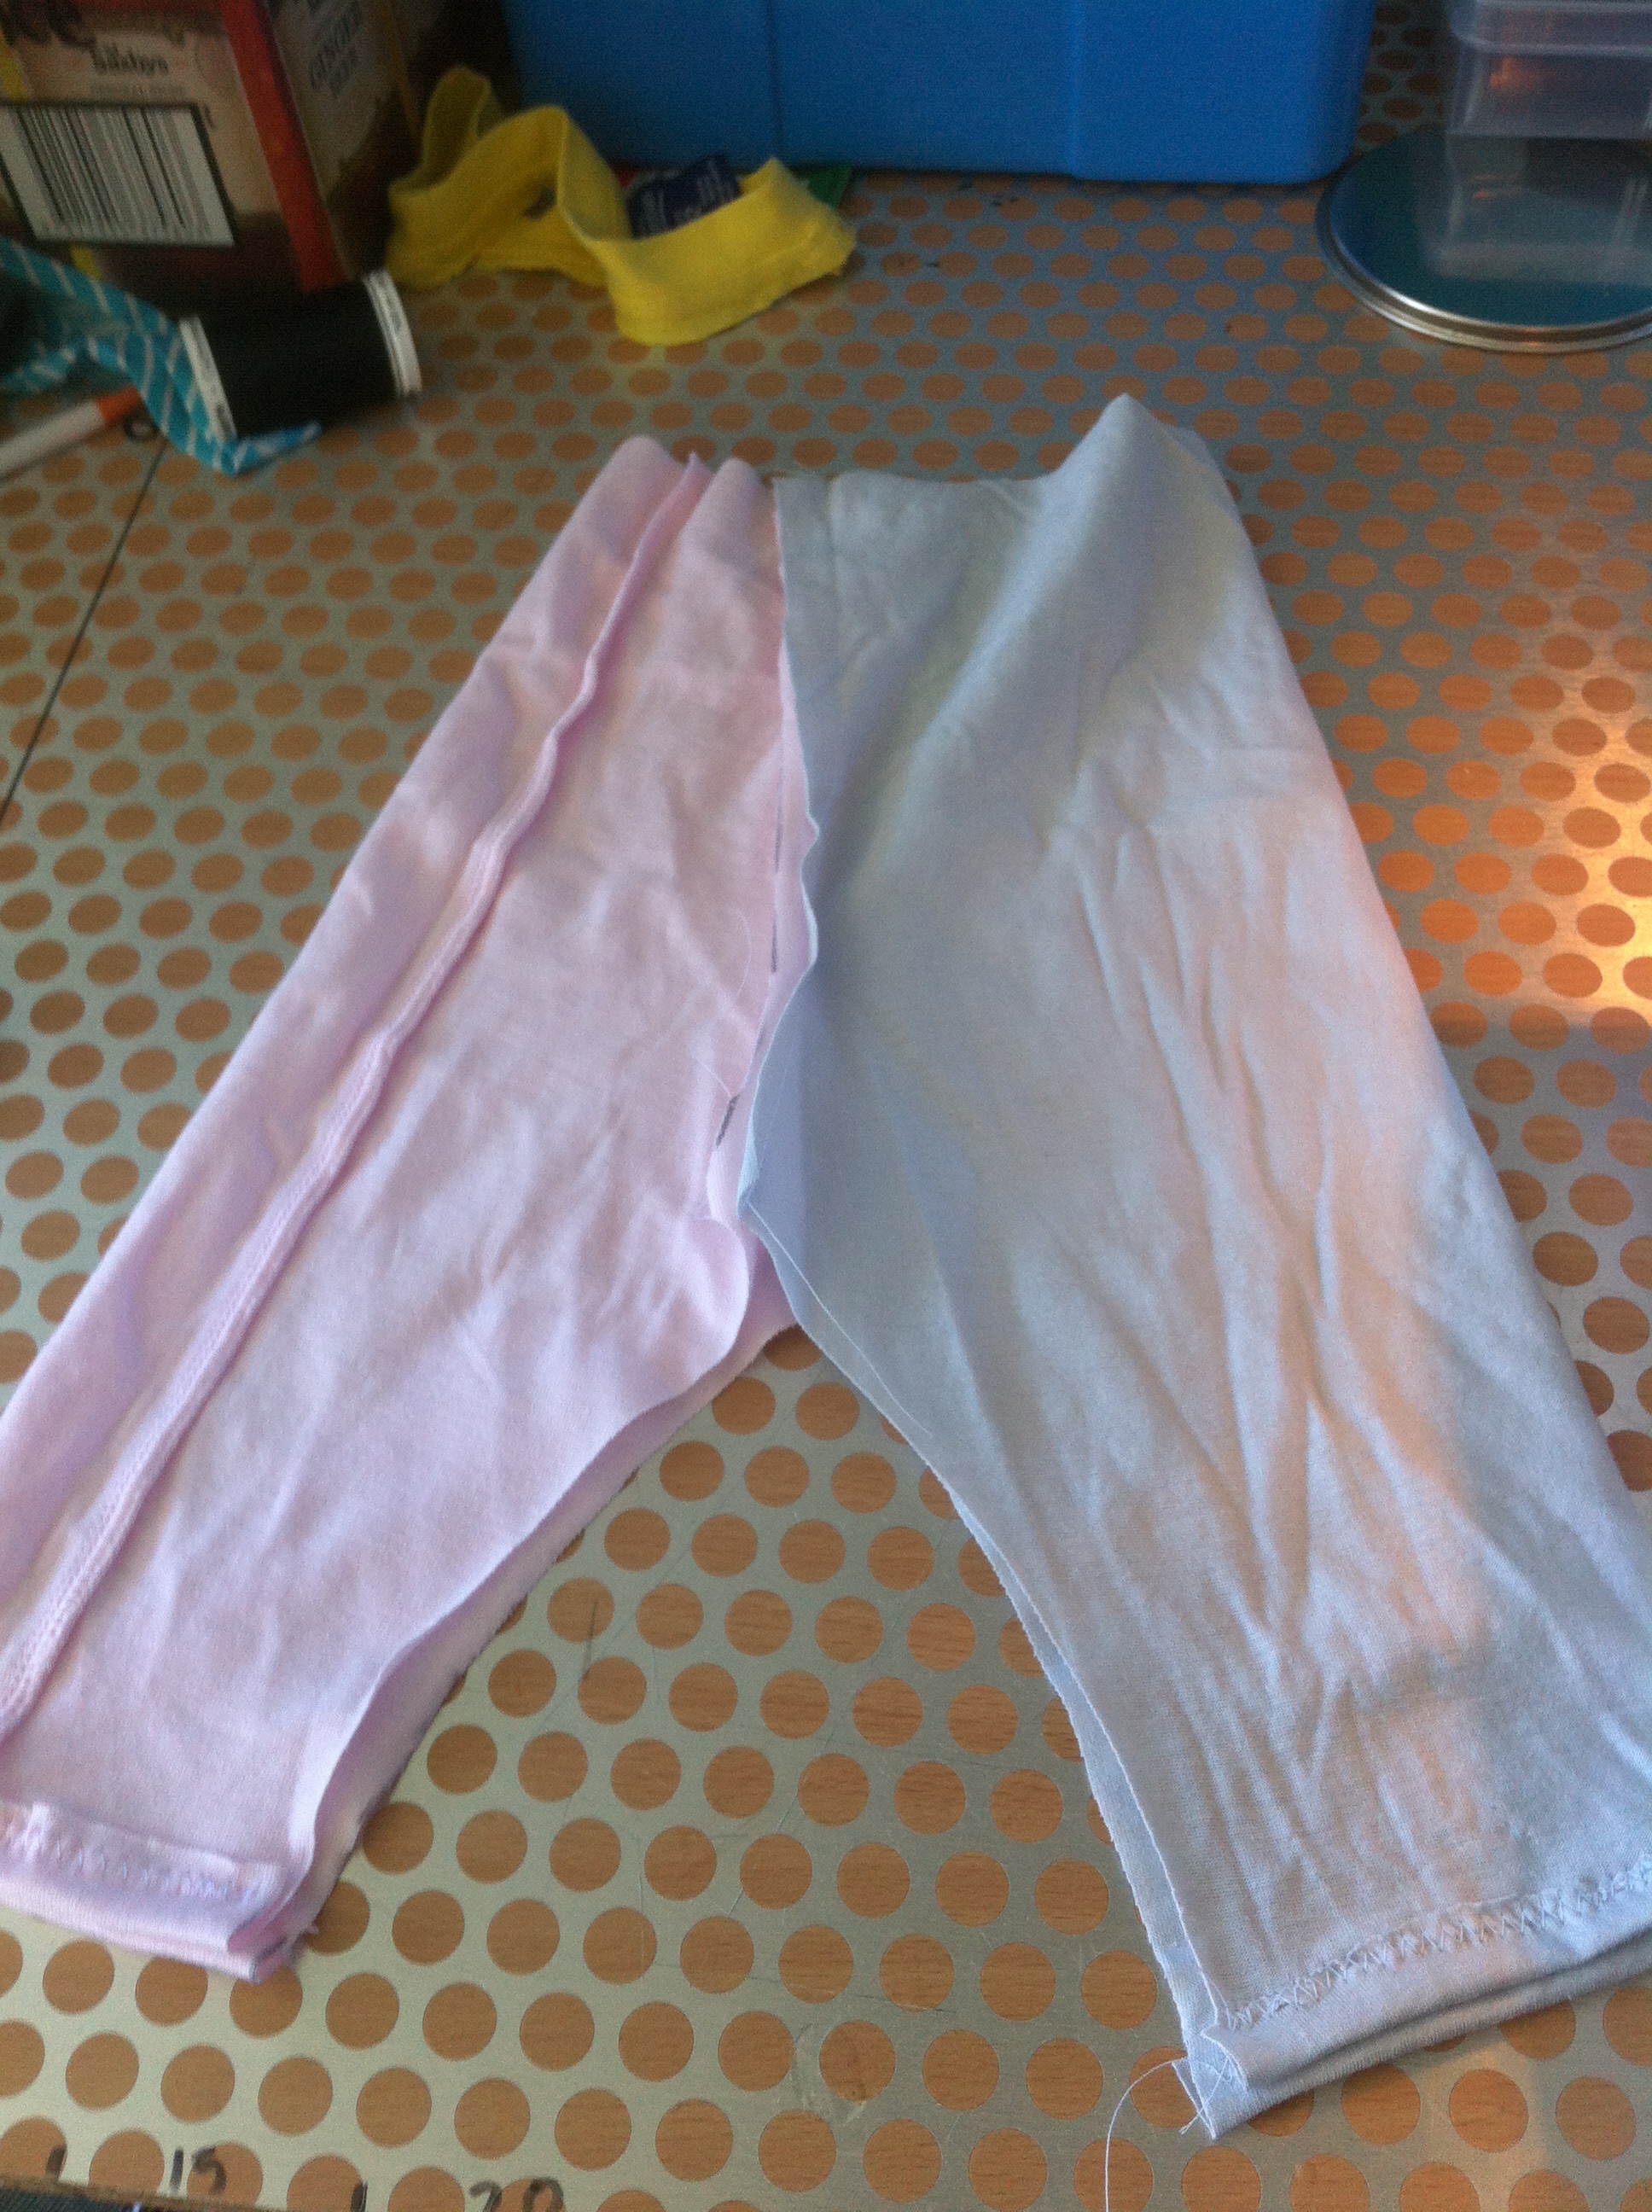
Lay one piece on top of the other so that the right sides are together. Stitch the front and back curves.
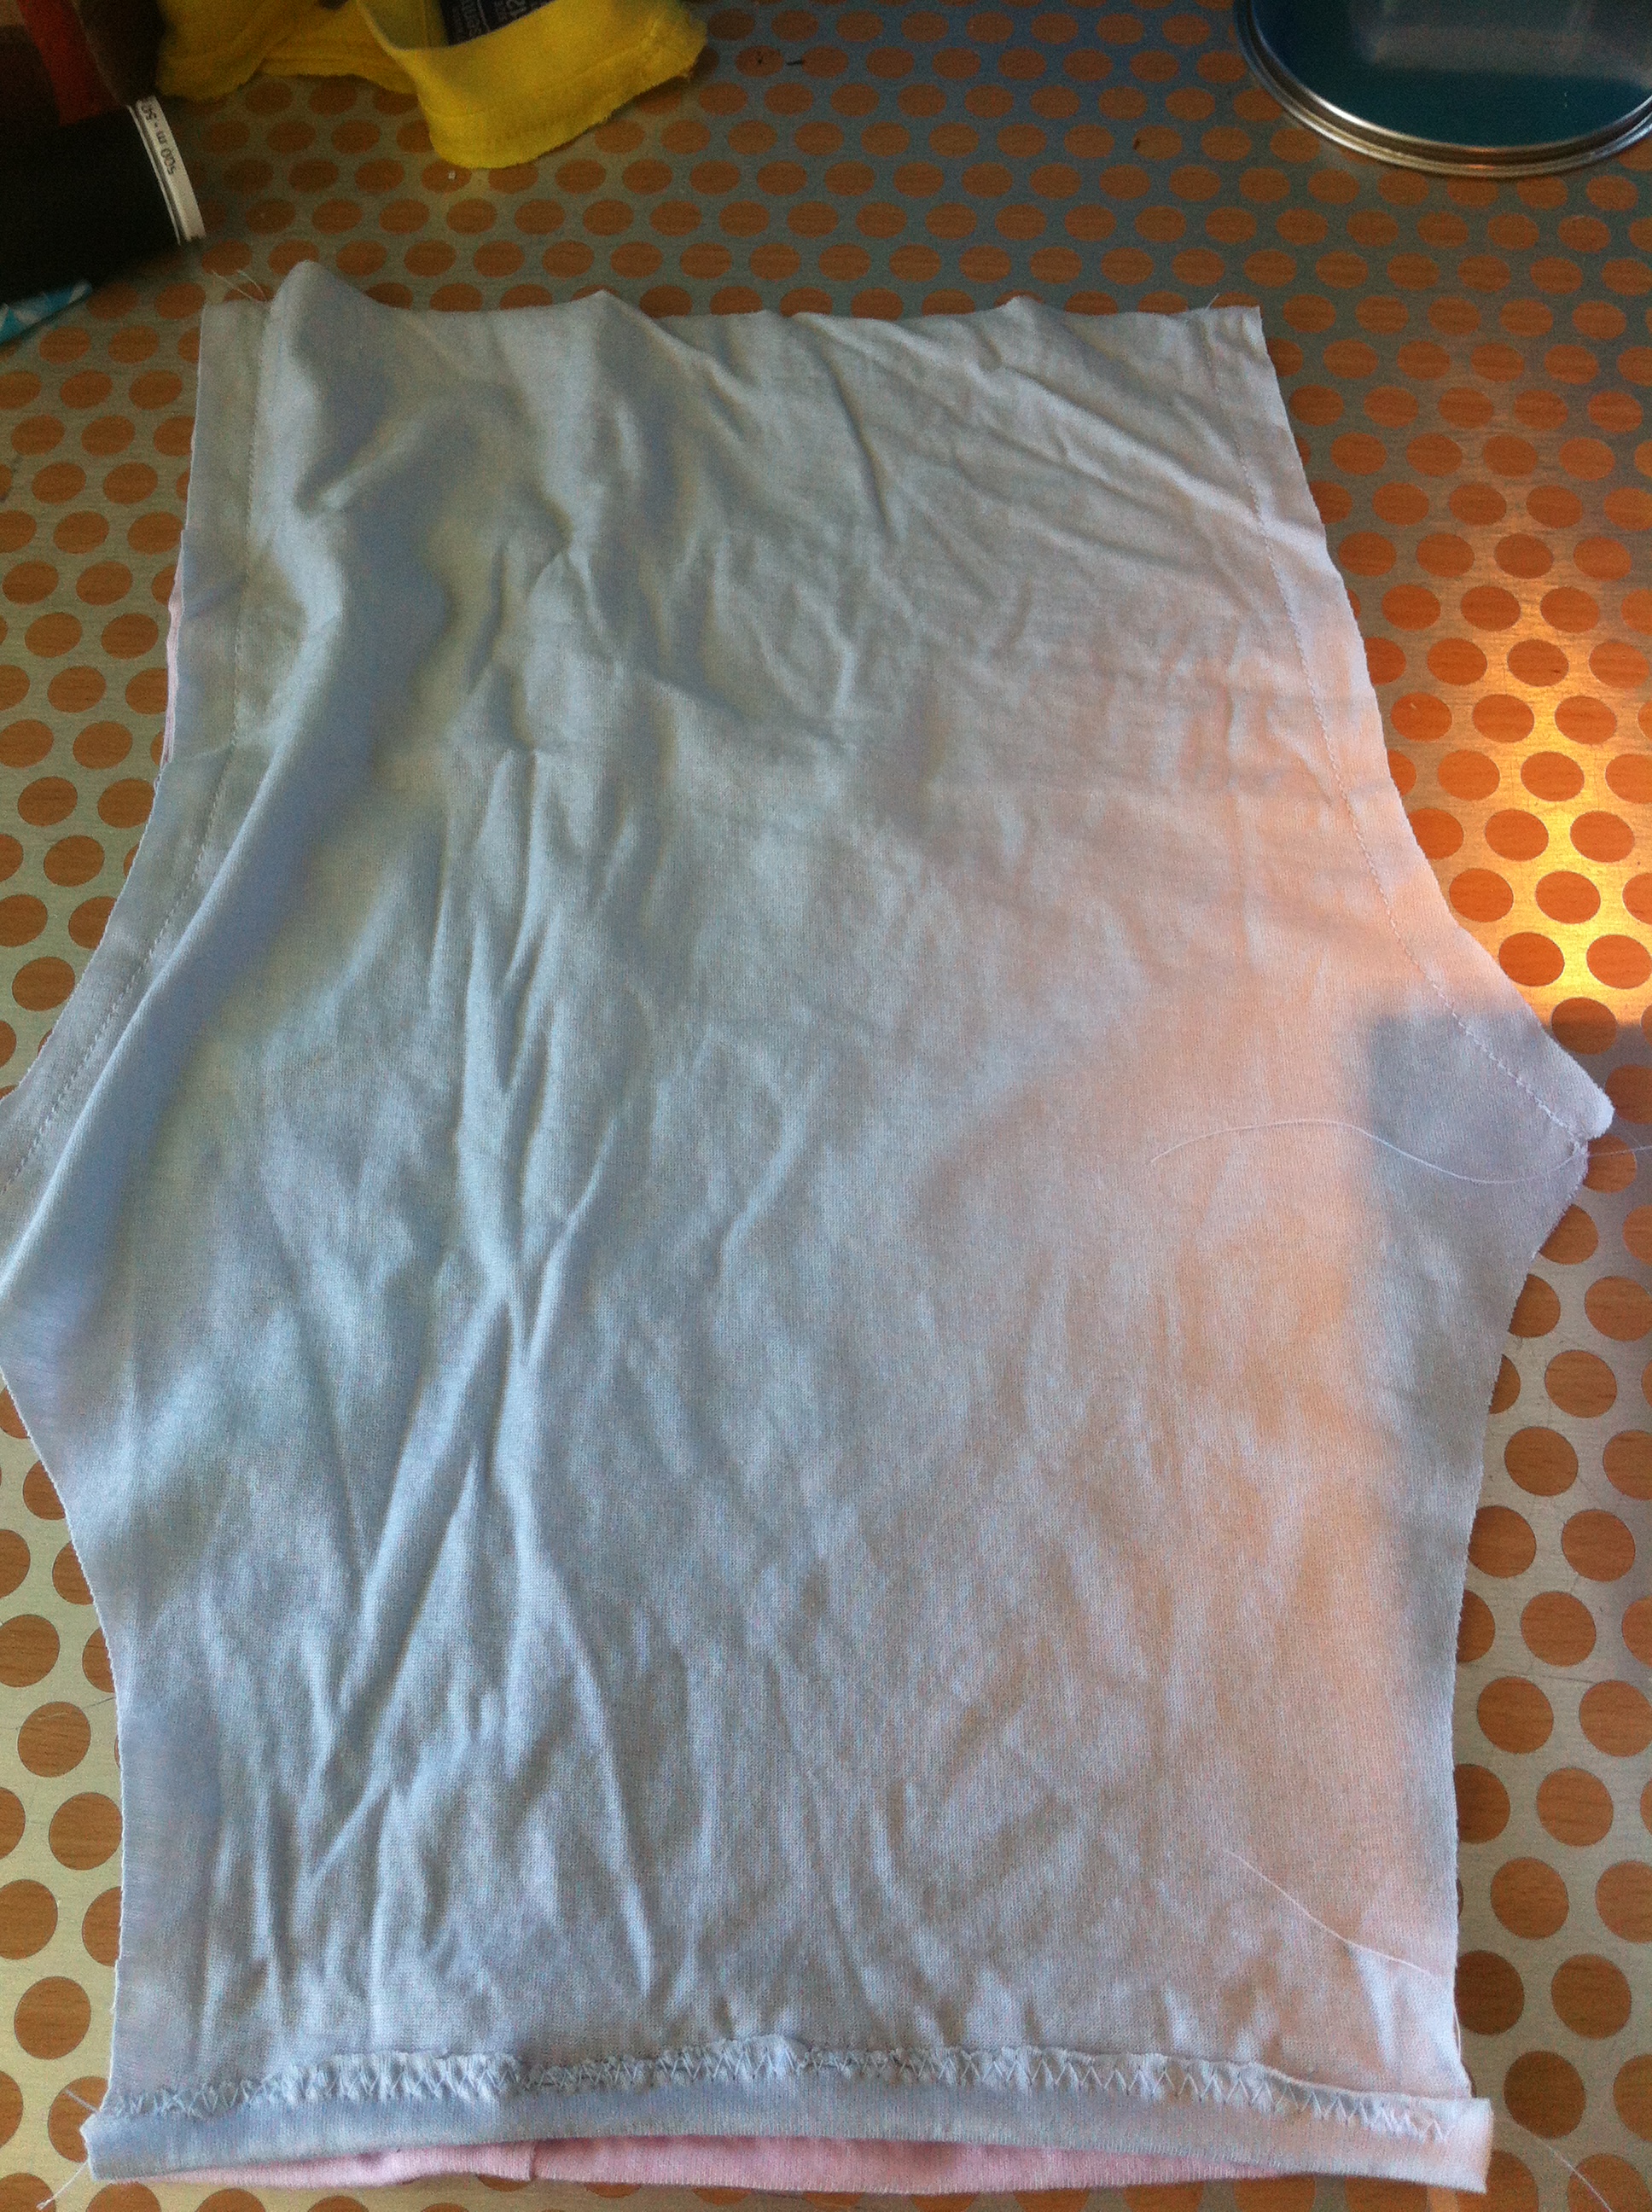
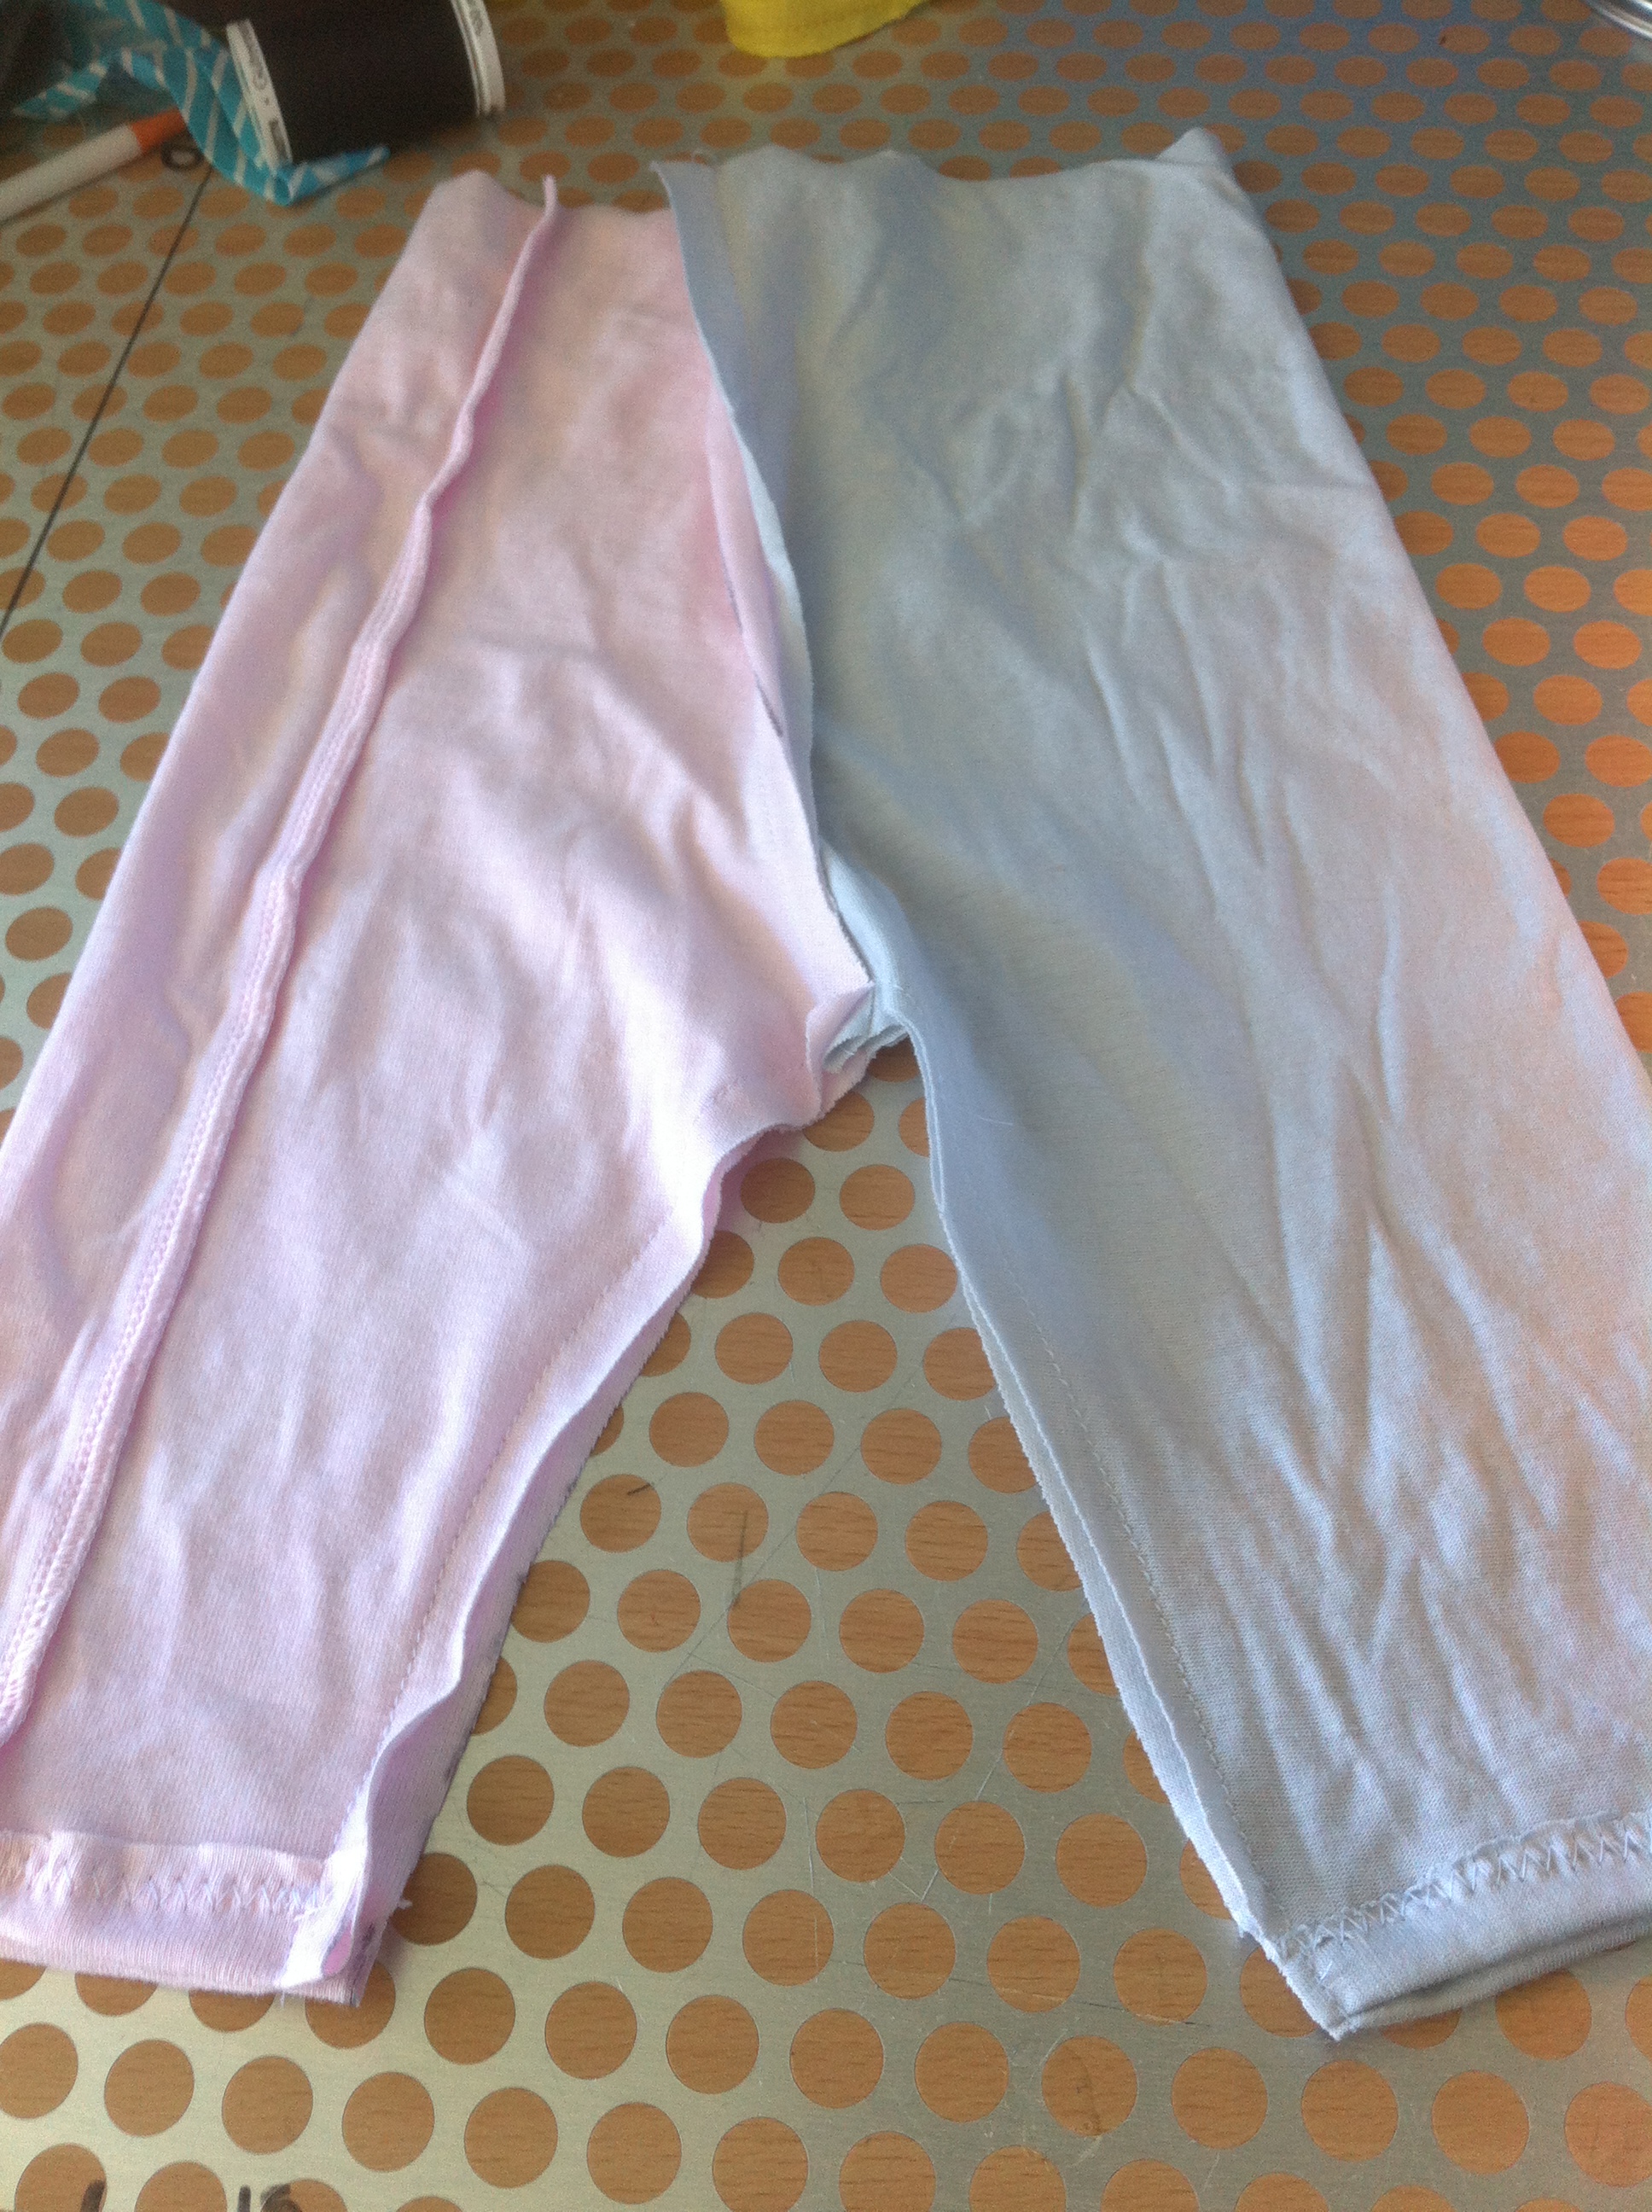
Now if you hold the leggings up you will see you've made a centre front and a centre back seam. Line them up at the crotch and make sure the hems on the ankles match up and stitch the leg seams and then stitch.
So you pretty much have a pair of pants now! We just gotta do the waist.
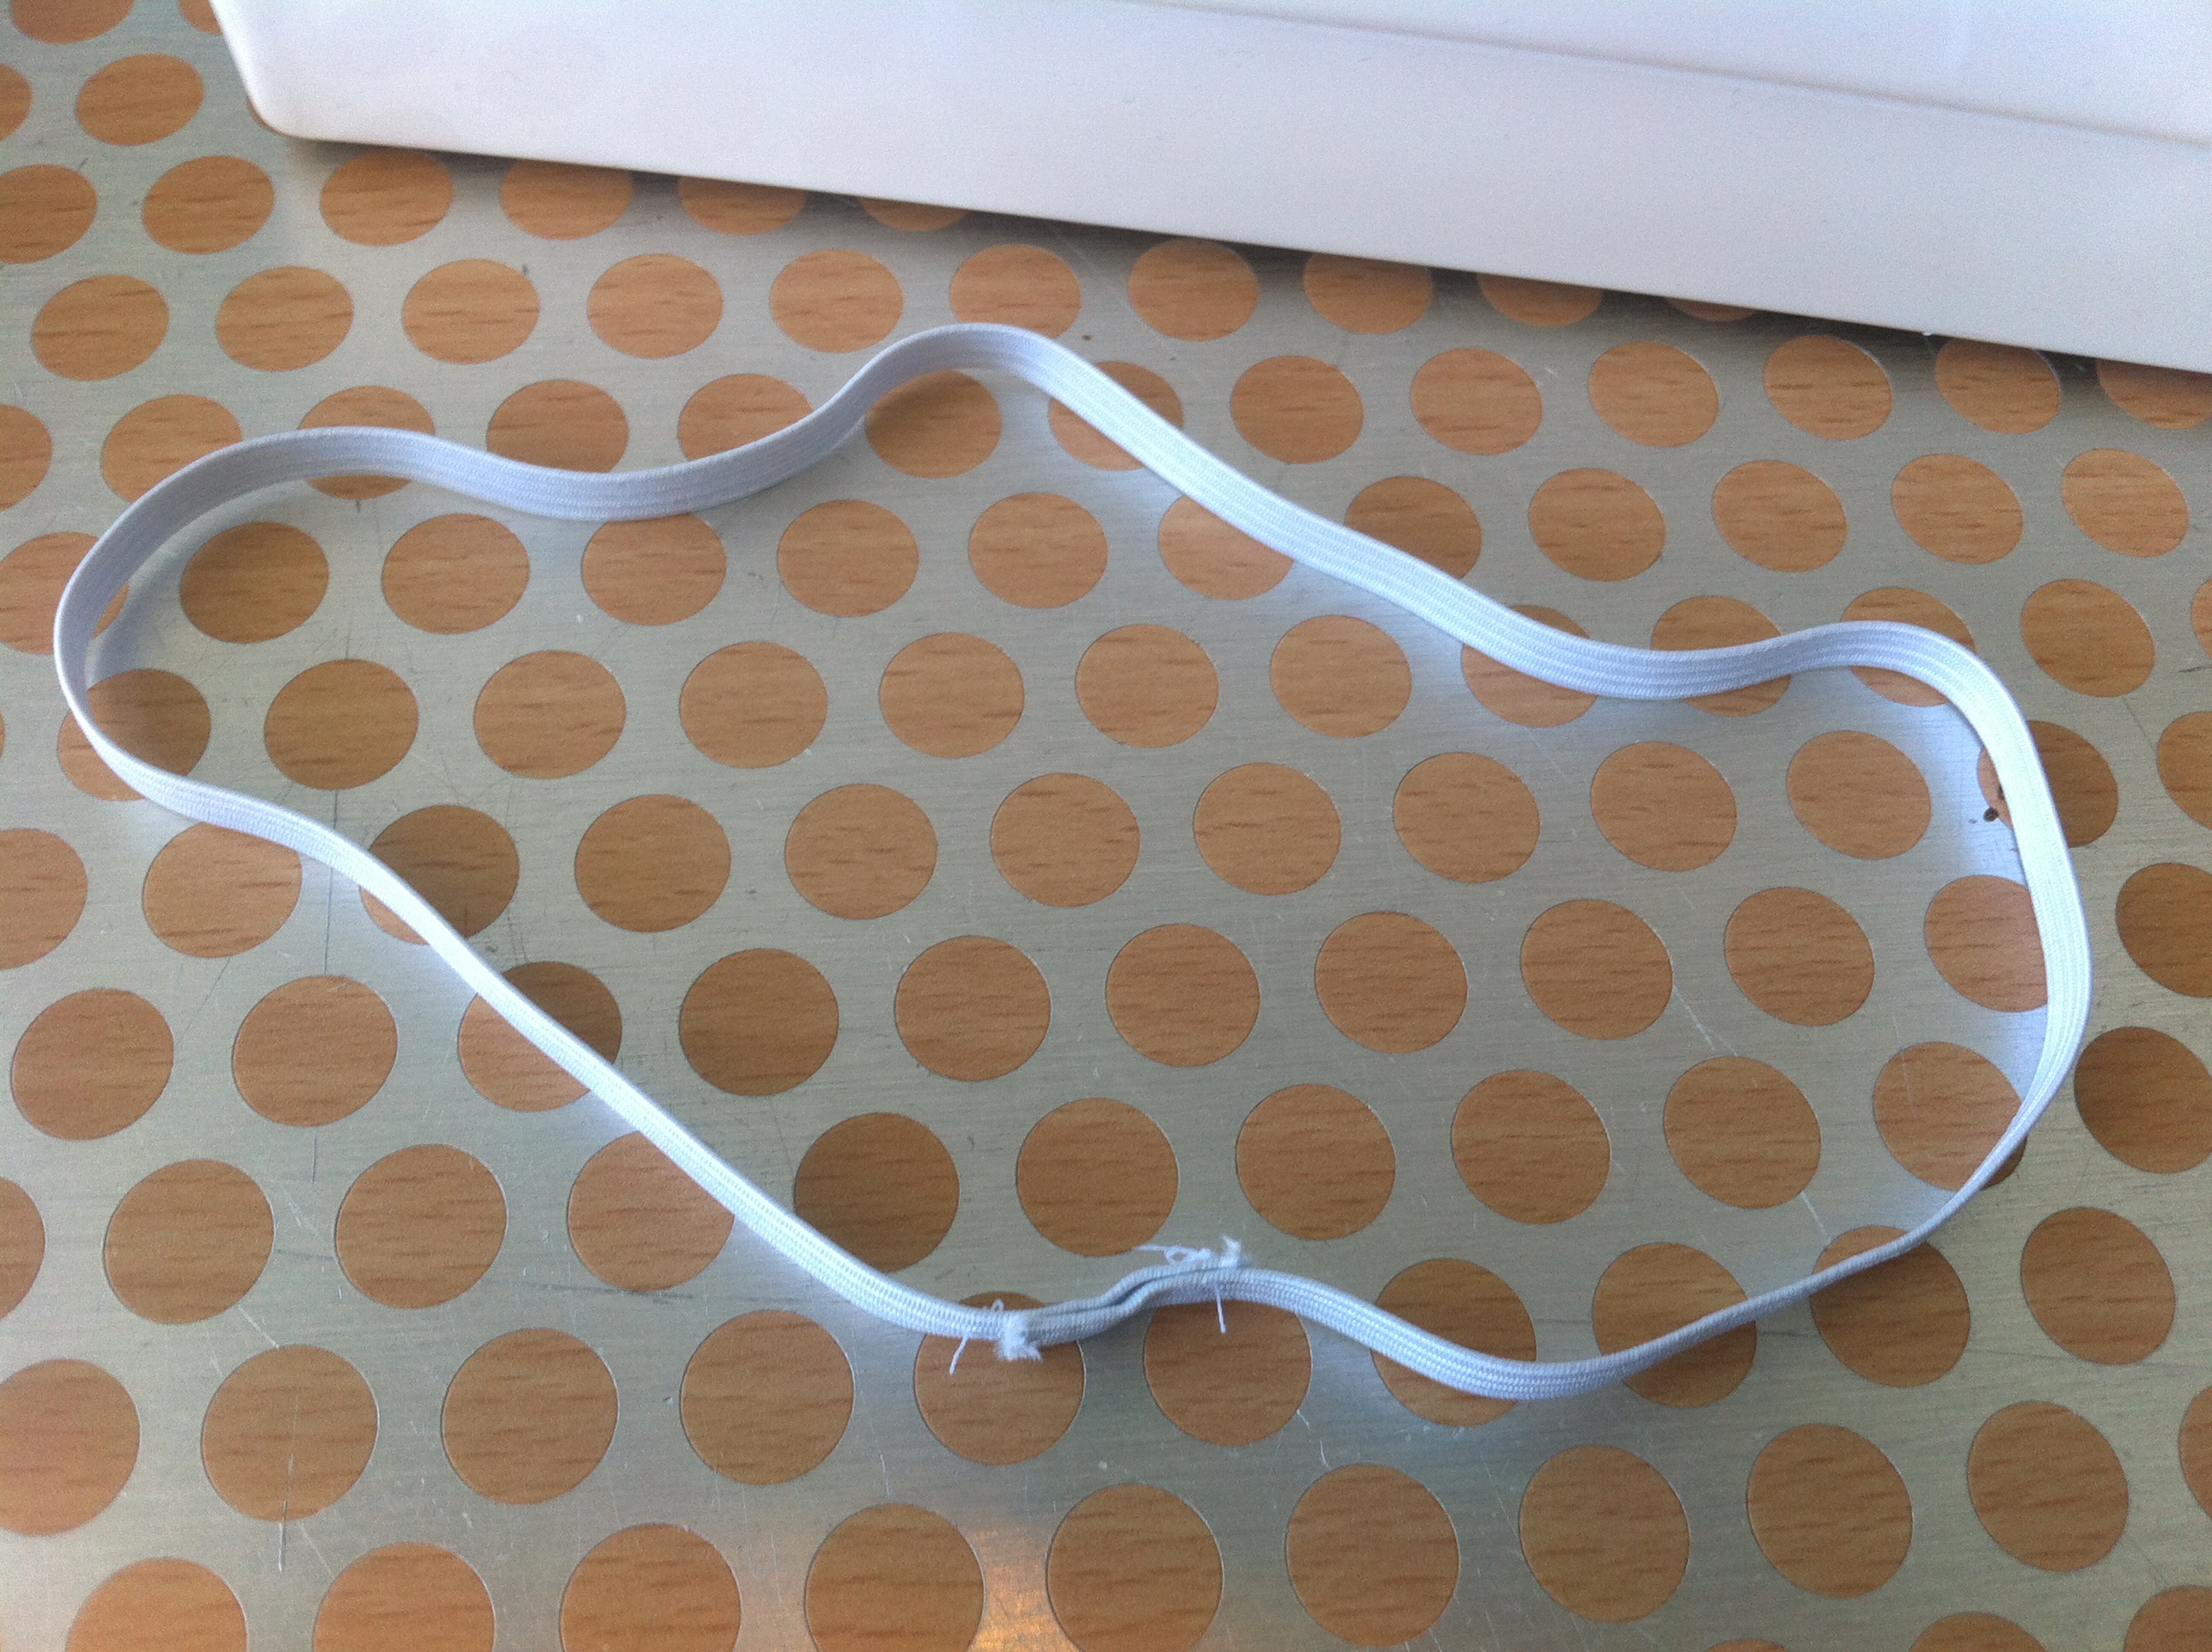
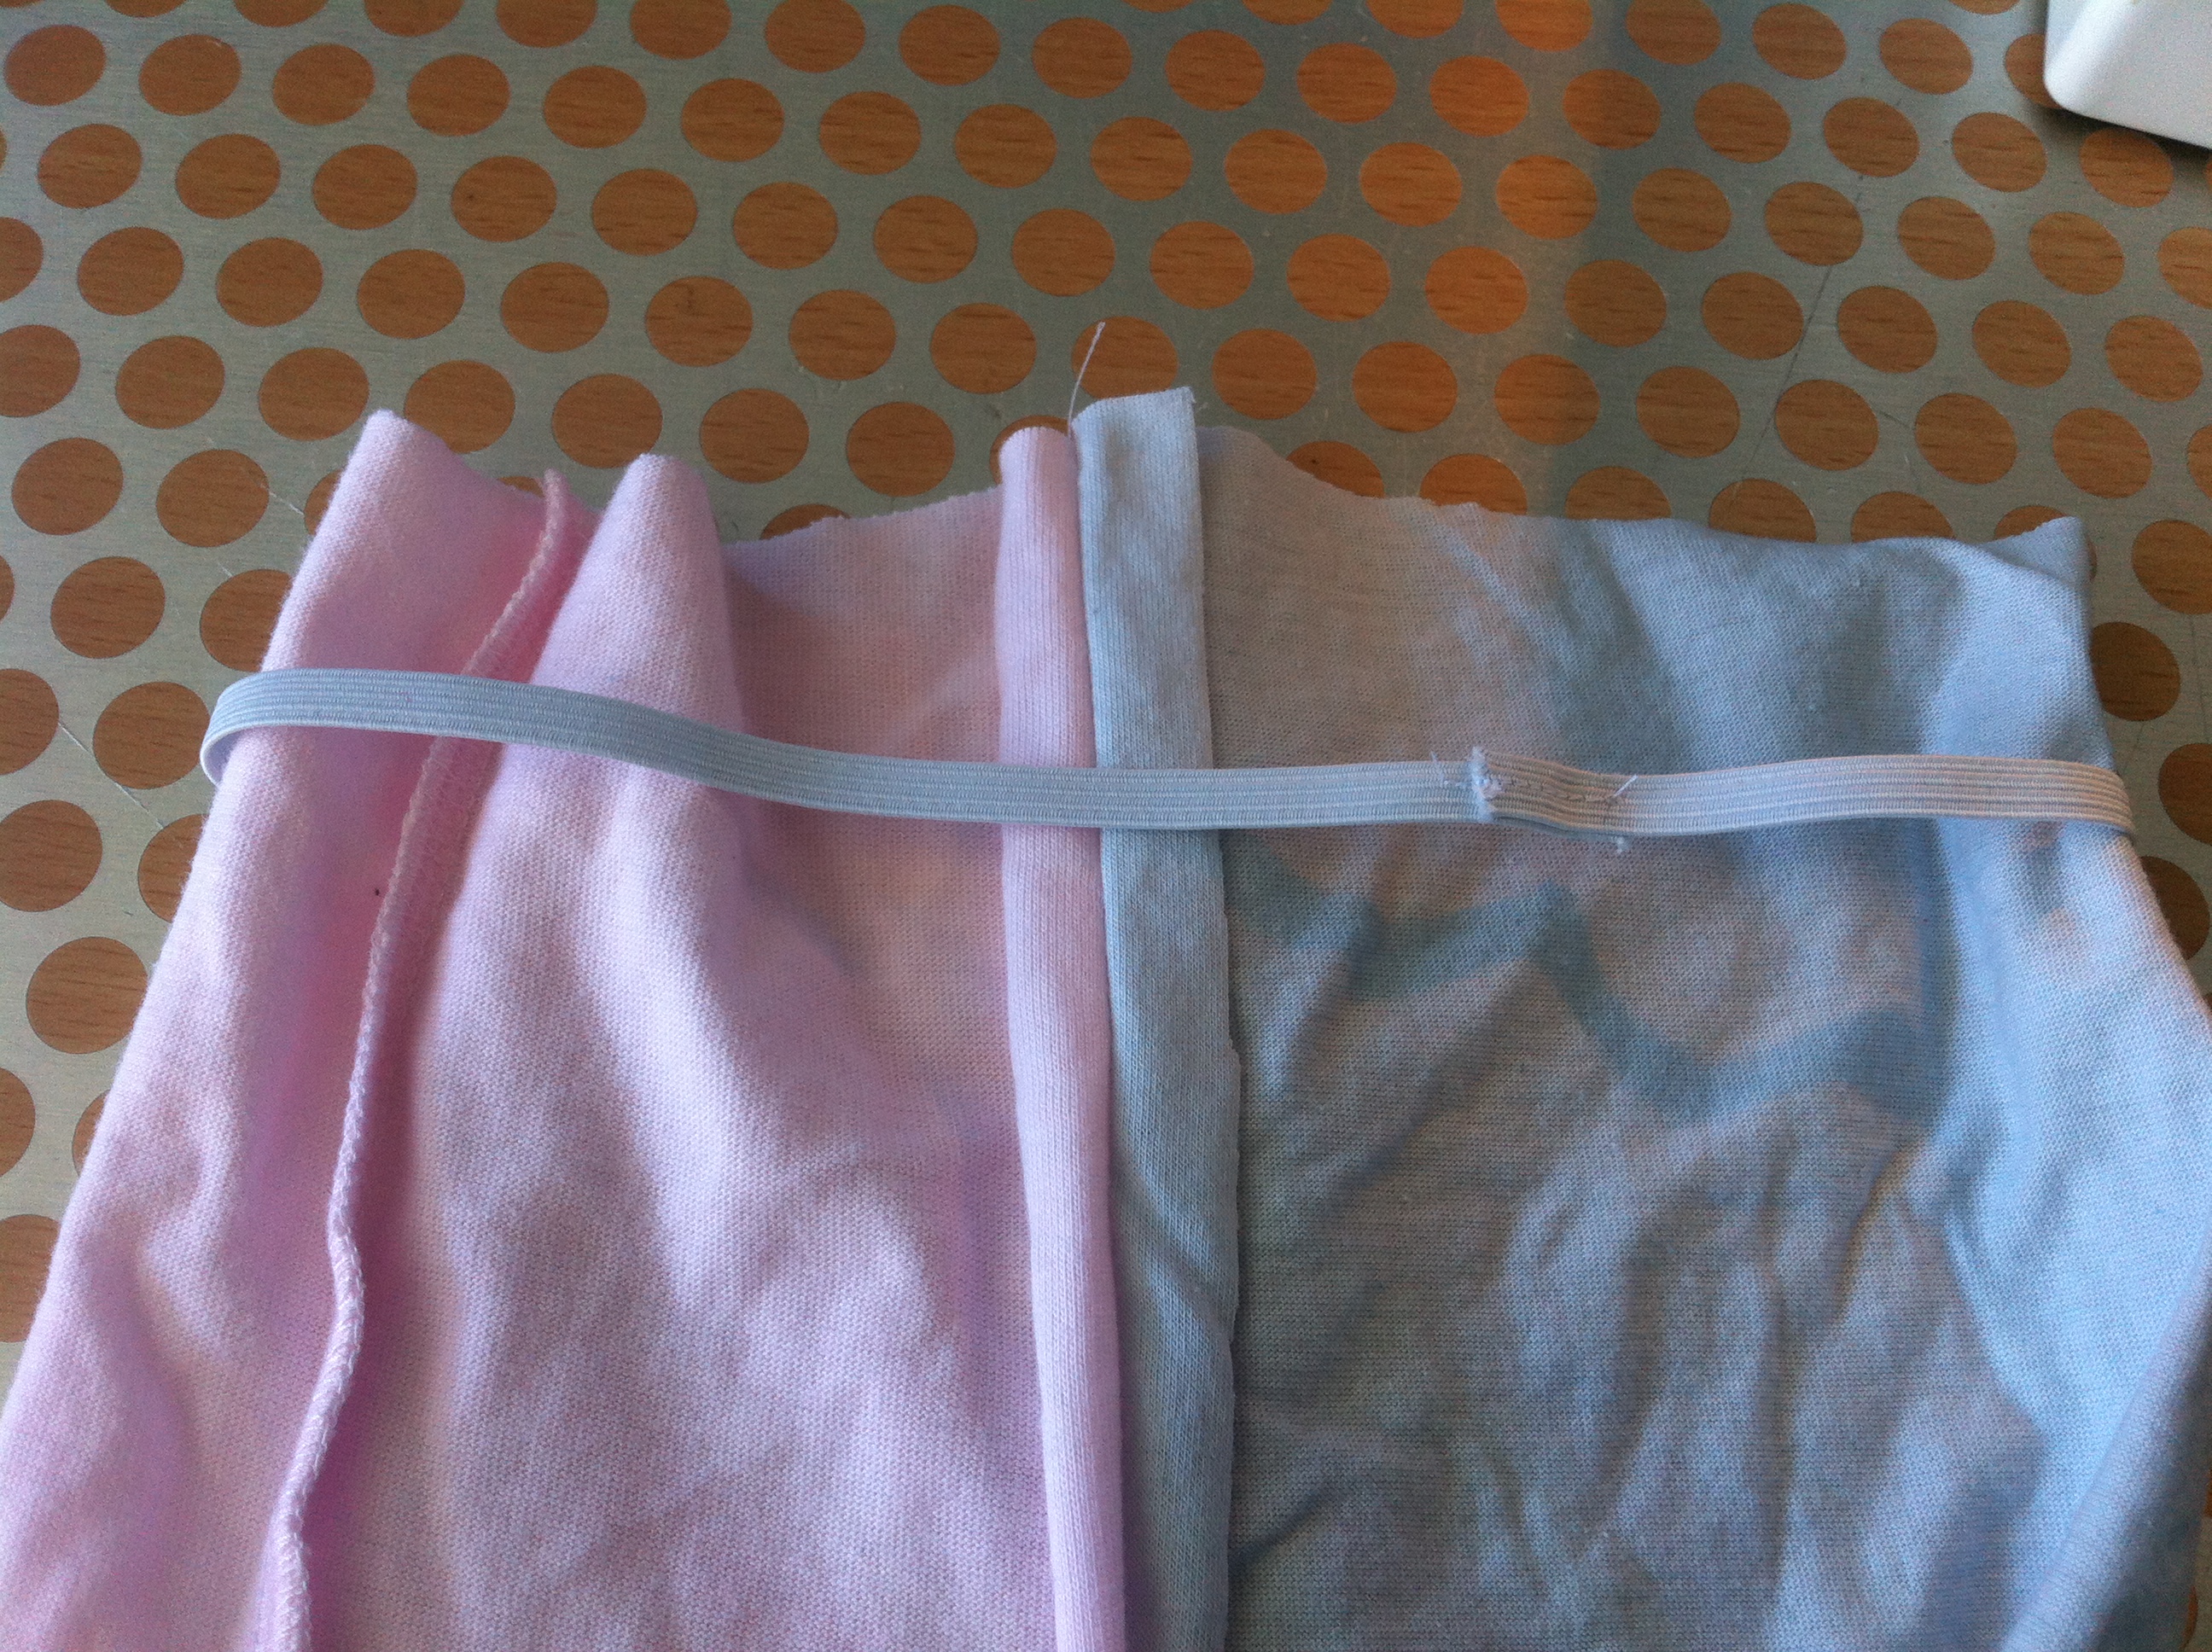
Cut the elastic for the waistband.
It's marked on the pattern pieces but here are the lengths again::
Newborn - cm
000 - cm
00 - 37 cm
0 - 41 cm
Overlap the edges of the elastic and stitch together securely so you have a loop.
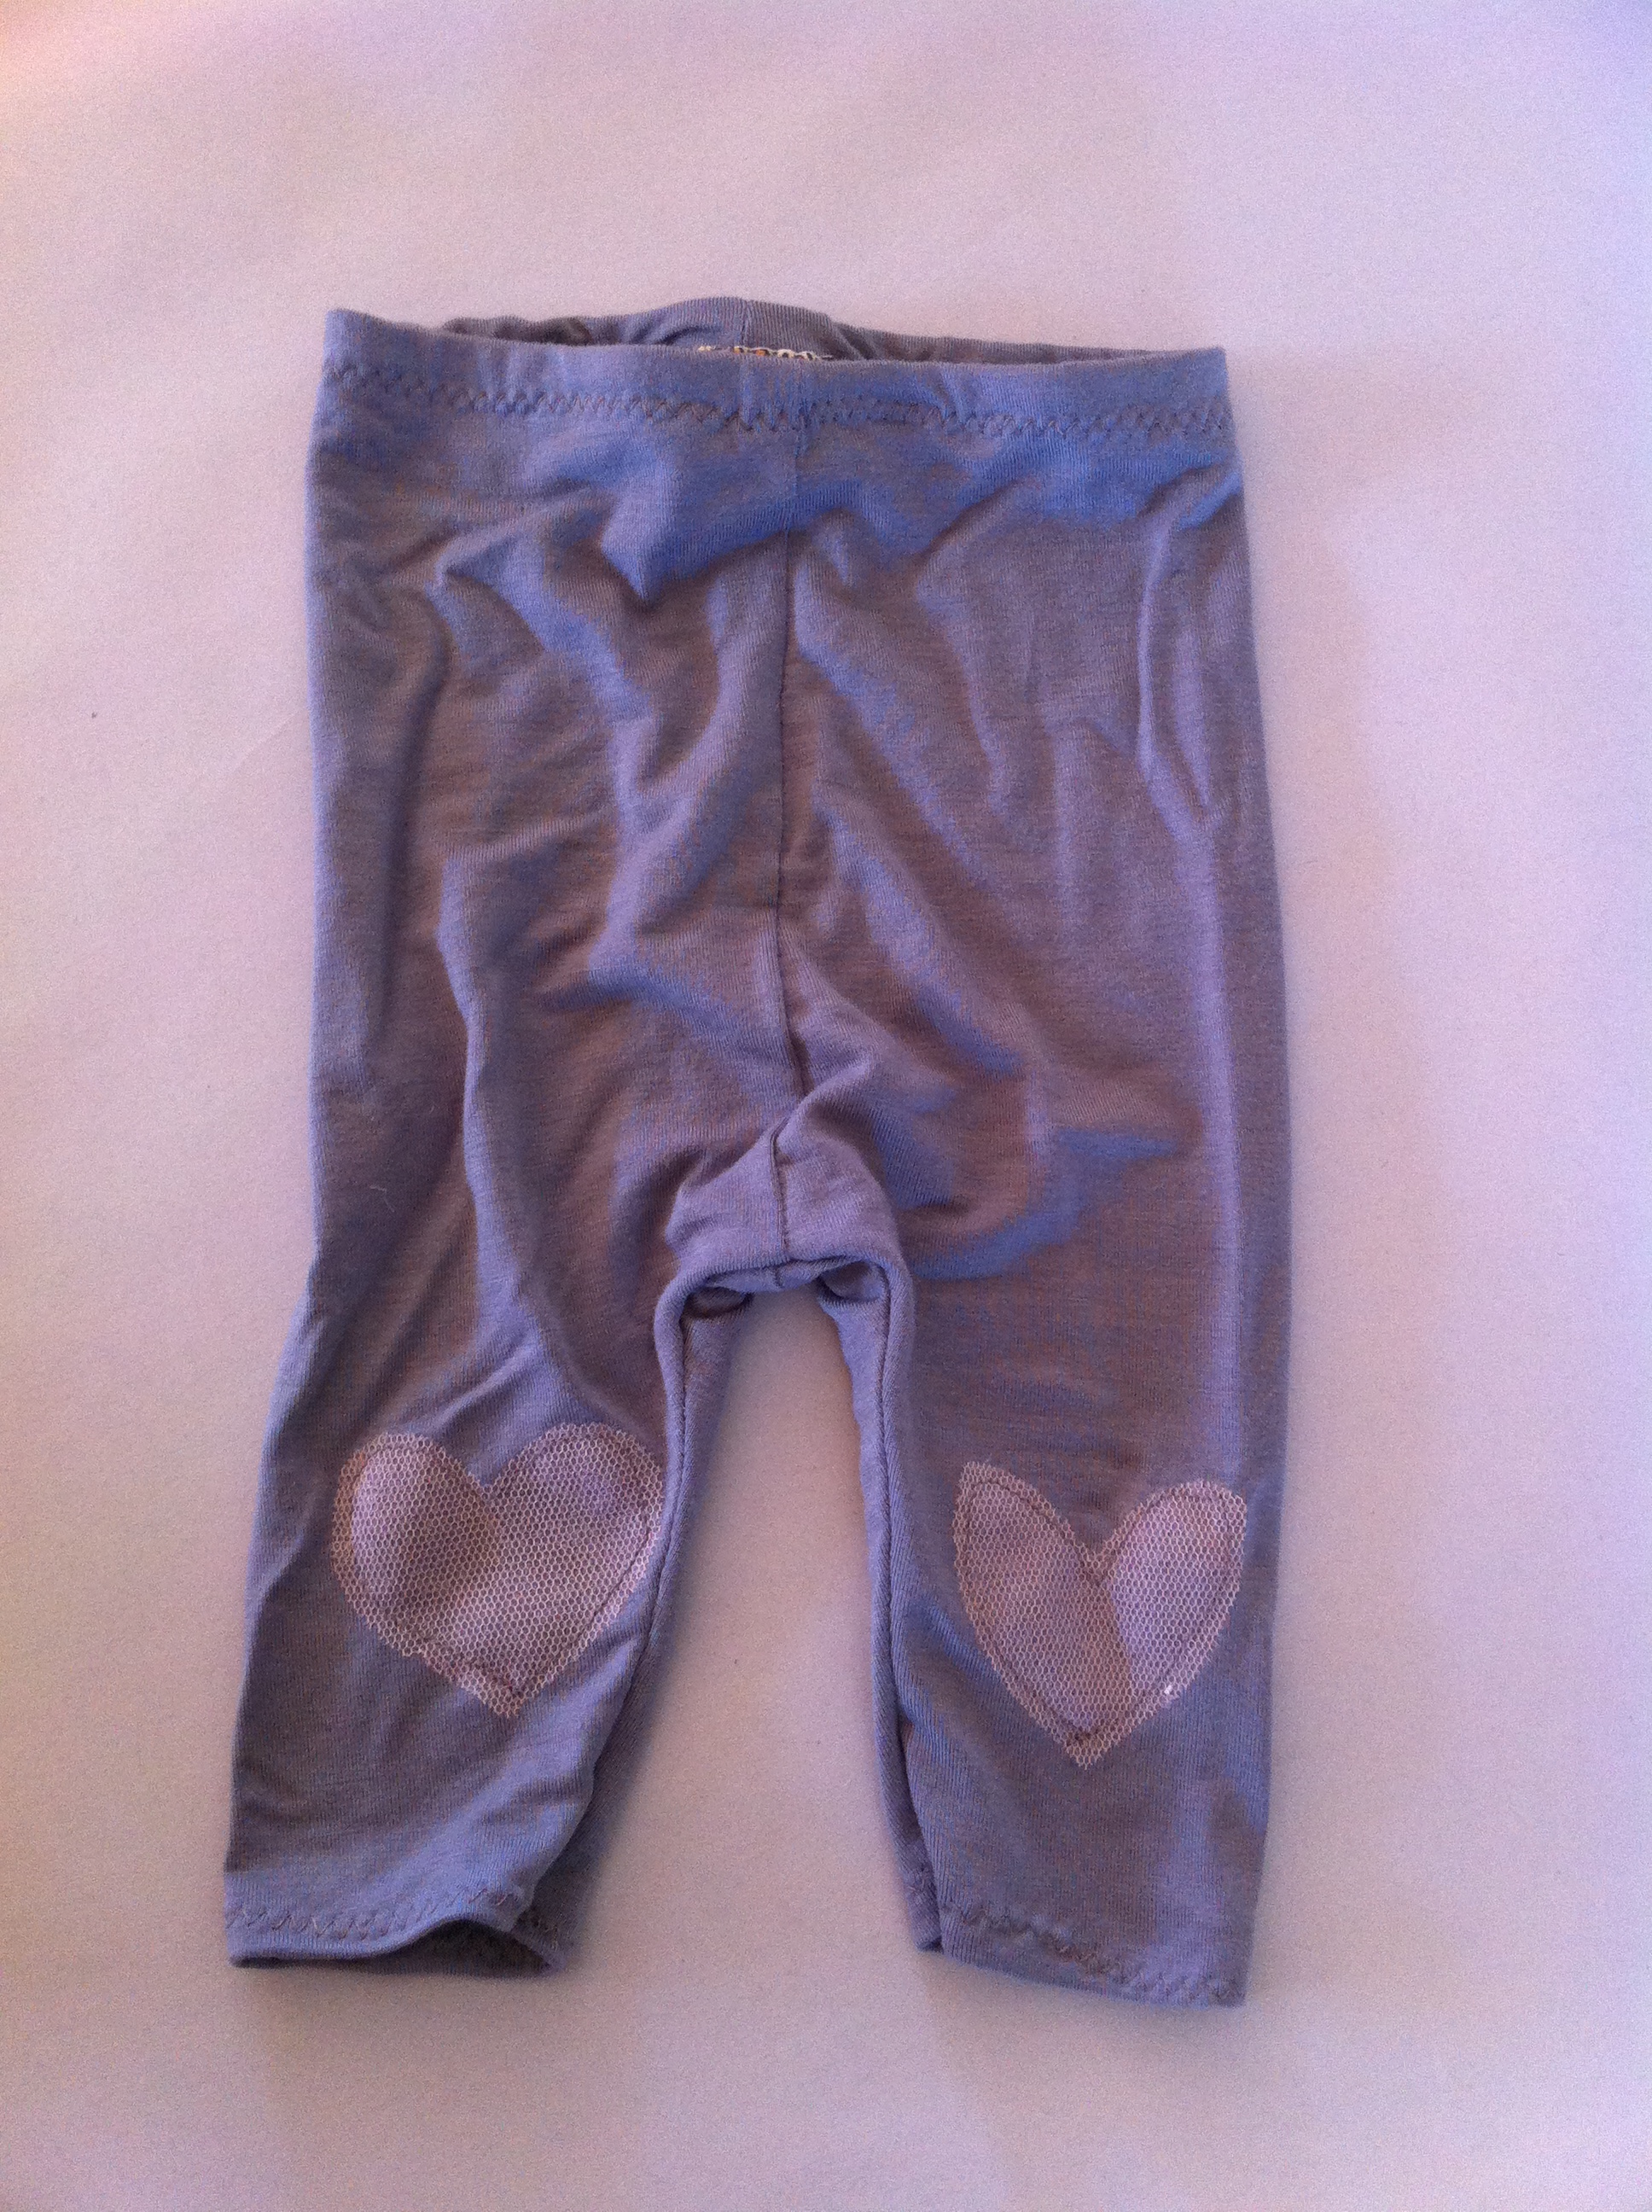
Now as you can see, at the waistband, the back is a lot higher than the front. This is to go over those huge nappy butts.
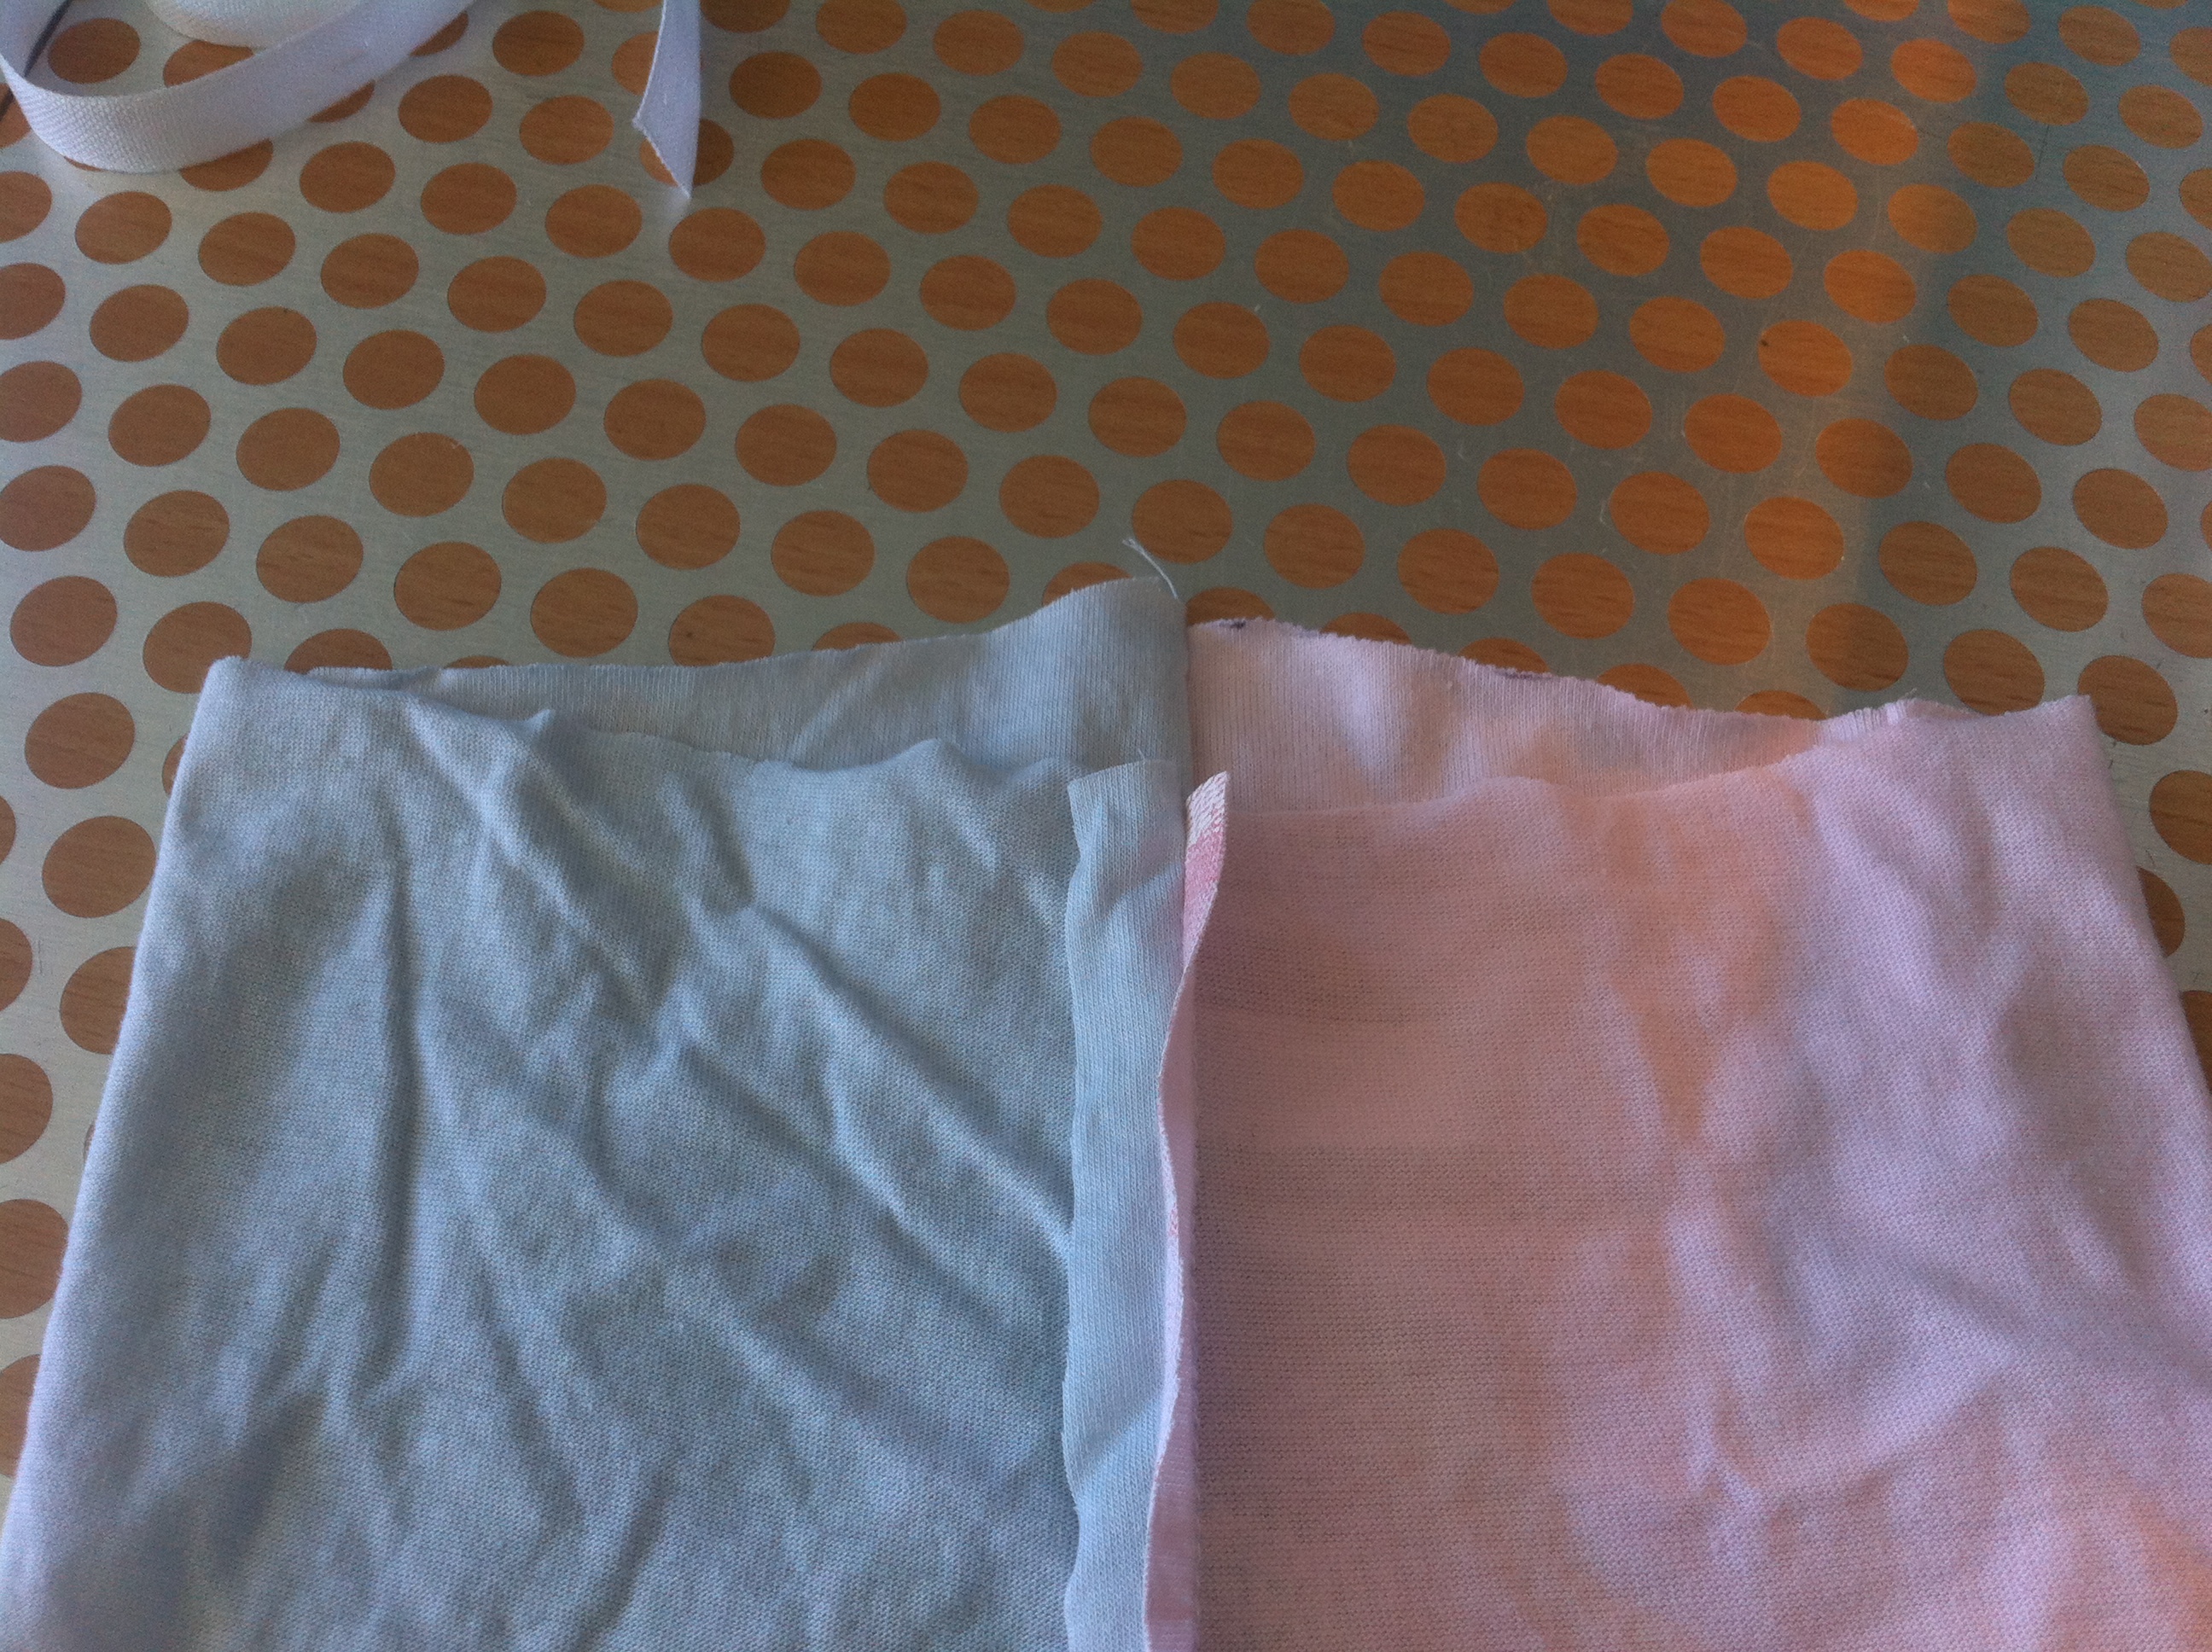
Slip the loop over the waist of the leggings and turn the leggings over so the back of them is facing up on top. I always put the part where the elastic overlaps itself at the back too, just to be neat.
Fold over the top of the waist about 1.5cm and pin. The elastic will be on the inside and you can stick some sort of little taggie in the centre back so that your husband can tell the front from the back... heheh. I just wrote the size on some cotton twill tape for now, because I'm waiting for some name tags for her to get here.

Using ZIG ZAG stitch again, stitch around the waist. Make sure you don't catch the elastic in your seam!


Stay tuned for the variations on this pattern that are coming REAL soon!


 • www.max-california.com")

7 comments
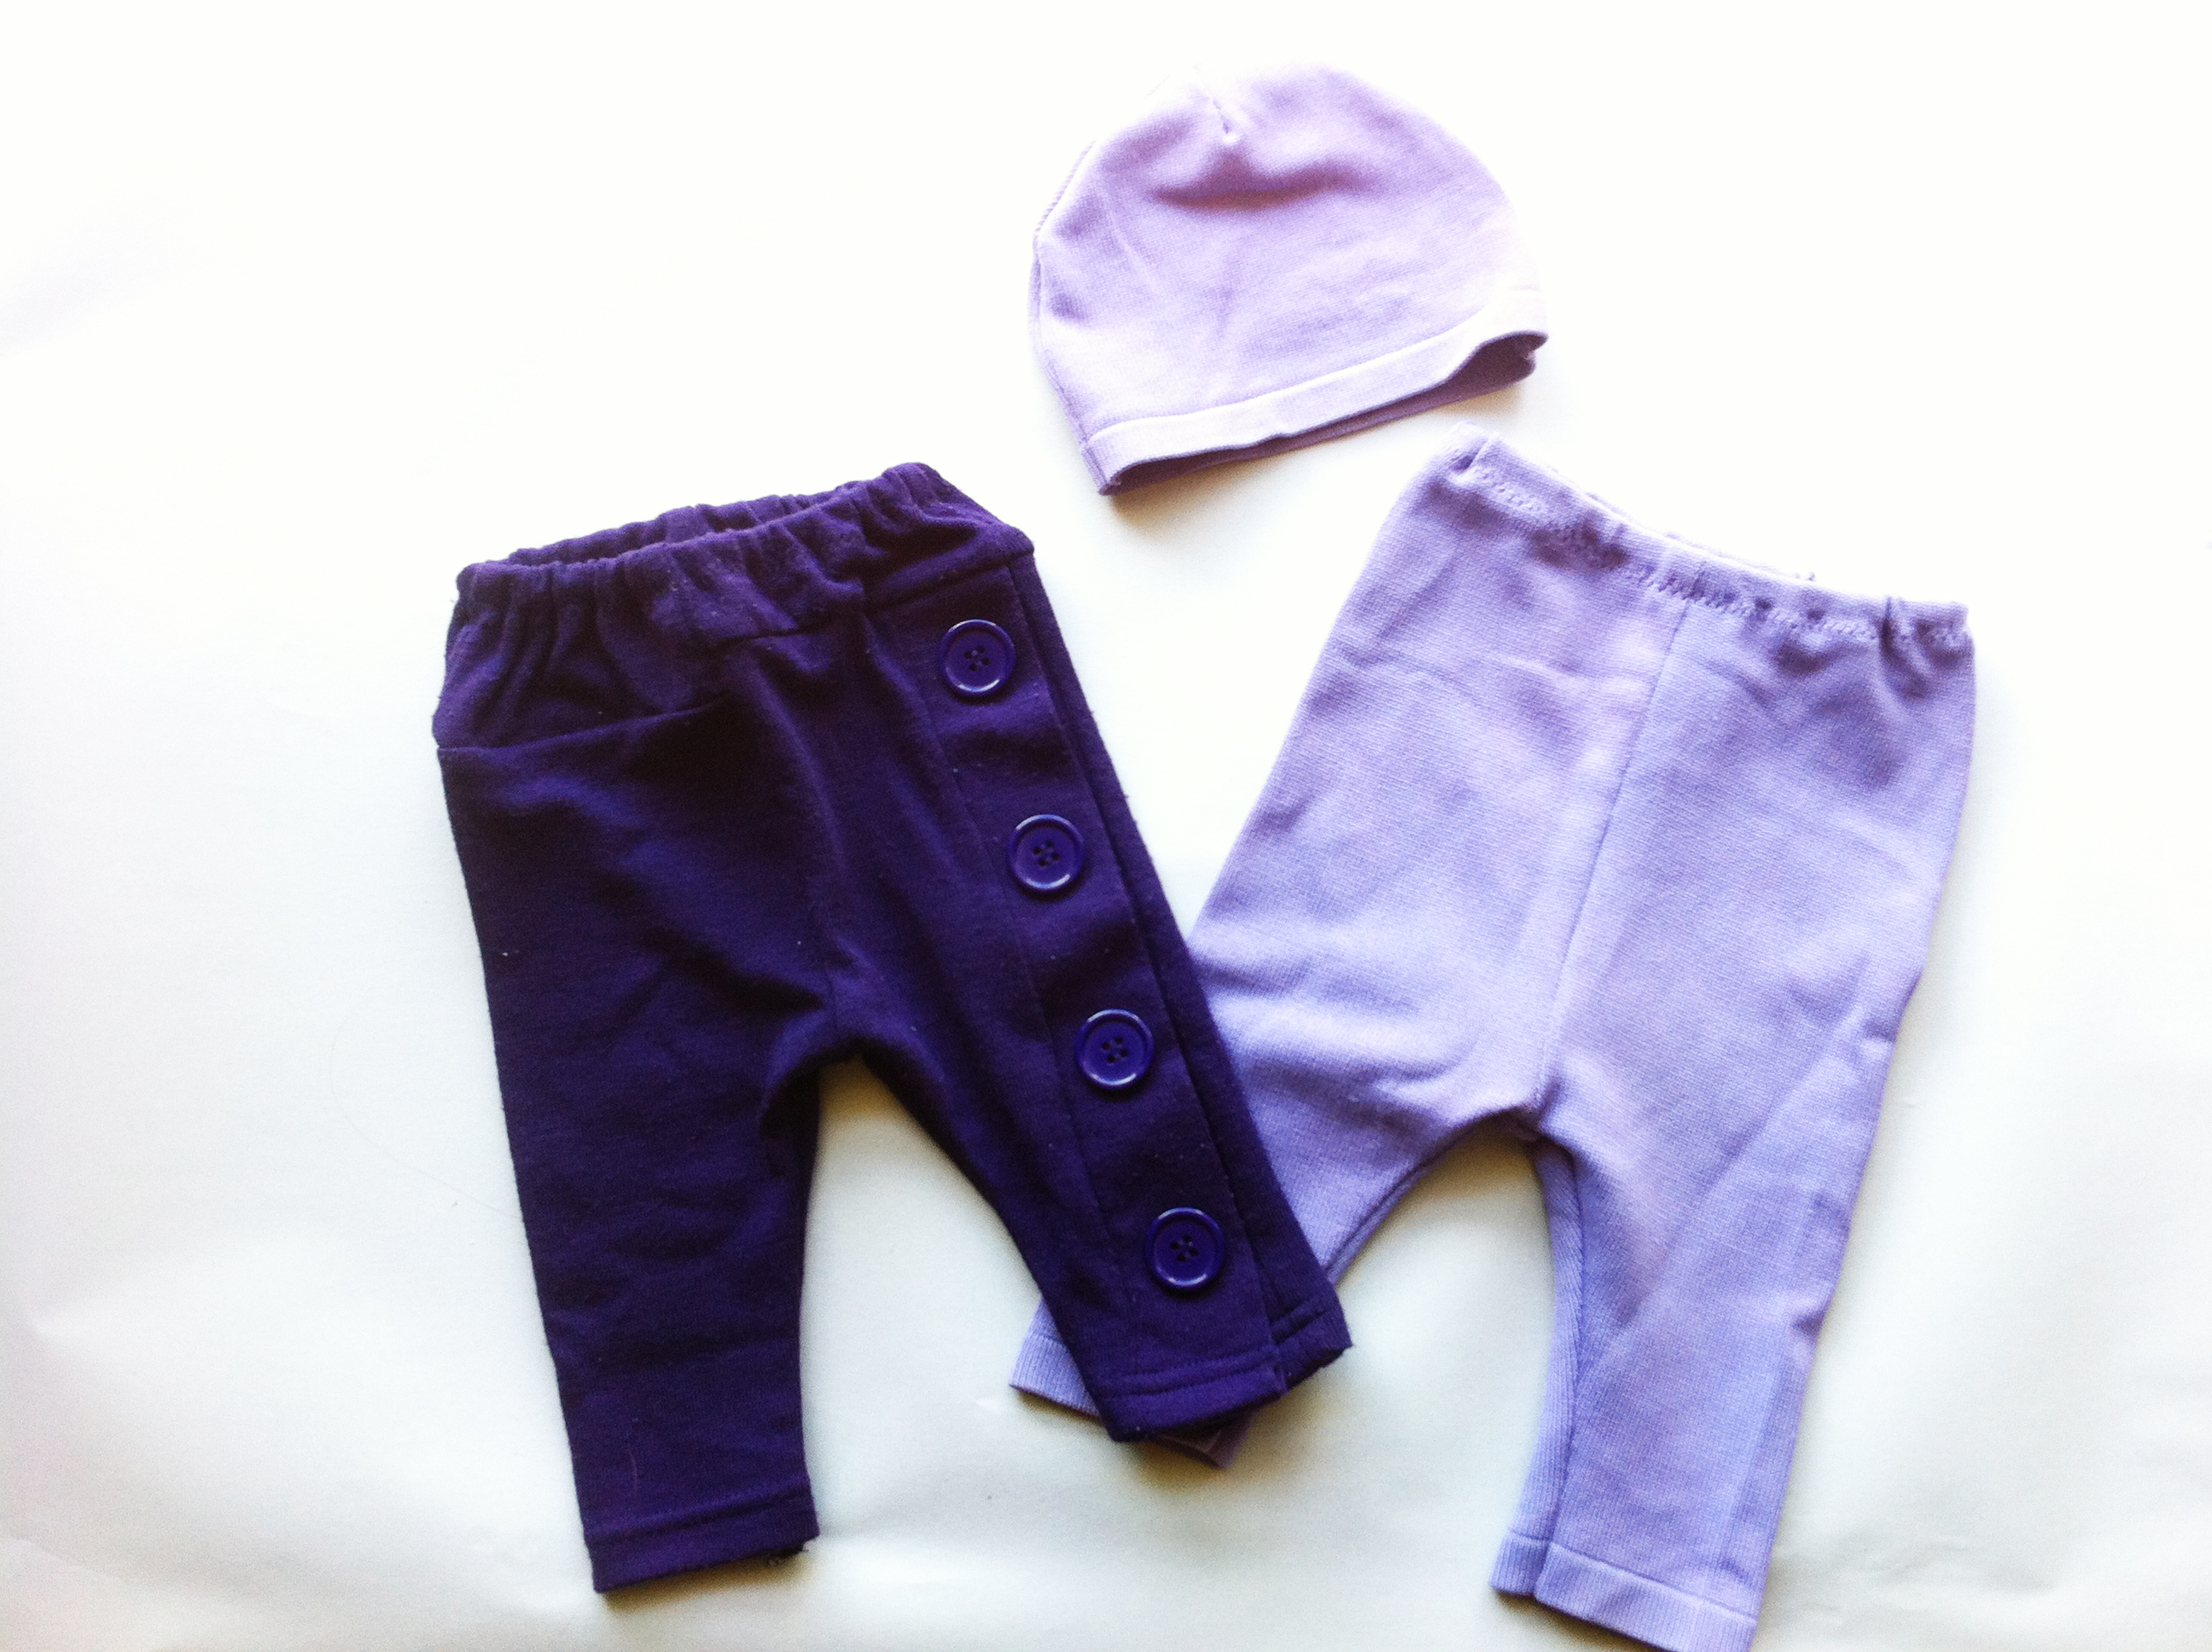
That is a great tutorial! I love them, and the leggings with the buttons in the last picture are fantastic. I don't have any children :-( but like you I LIVE in leggings and I'd love to make some for myself. Do you think it would be easy to make adult size? Obviously you do but I'm not as talented!
ReplyDeleteWhat a great tutorial! This really seems super-easy:)
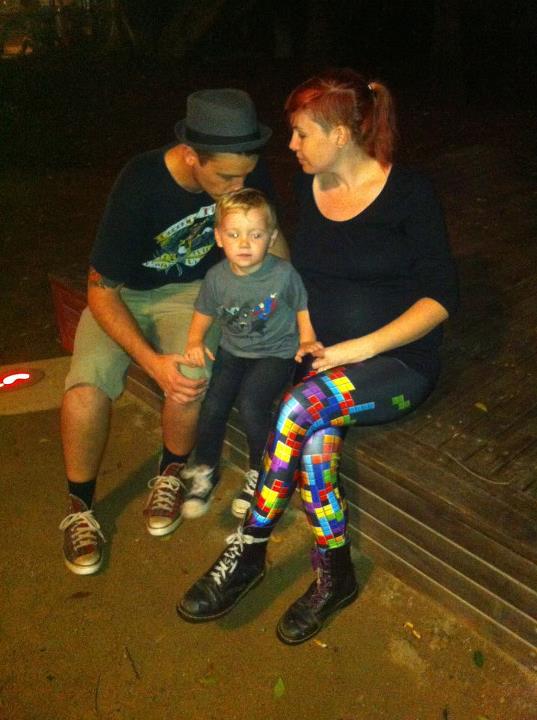
ReplyDeleteI love you in leggings as pants! These bebeh ones are so cute. I can't wait to be able to try out the tute.
ReplyDeleteI saw this pattern on sew set, but unfortionately i can't open it. not with my mac and not with windows. bummer!
ReplyDeleteI just found your pattern on sew set and was super excited about them! unfortionately i can't open them. download yes, but it wont open... what program do you use for opening it? Thank you!
ReplyDeleteok, i figured it out! yay! i just didn't have the right program. Thank you so much for this amazing pattern! love it!
ReplyDeleteI love this. I caan download the pattern but can't open,
ReplyDeleteI love comments!